User Guide
- Introduction
- Register and Purchase
- Create Video to DVD
- Burn Video to Blu-ray
- Edit Video Before Creating
Try It Now!
Introduction
Apeaksoft DVD Creator is the must-have combination tool for DVD and Blu-ray creators. It helps you to create various video files into DVD disc/folder/ISO file and Blu-ray disc/folder/ISO file on your computer.
Personality Menu
If you want more choices, you can click Menu on the upper right corner of the main interface. Here, you are allowed to choose language, preference, purchase, register, support, and more.
Purchase and Register
Purchase DVD Creator
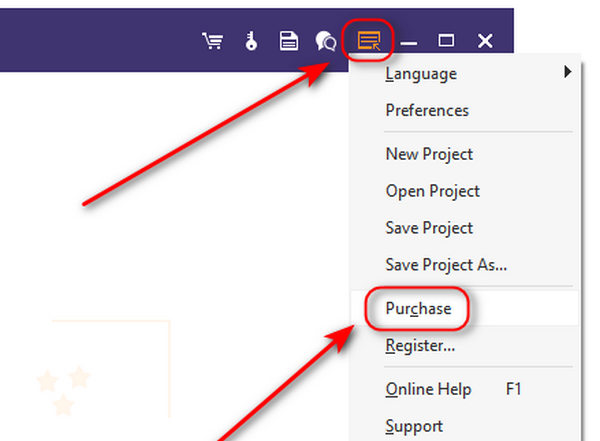
Click the Purchase this product online button on the top right corner to go to the purchase page. Then, you can choose your desired purchase plan.

Or you can click the Menu button on the right corner of the main interface, and choose Purchase.
Note: After you purchase it successfully, the registration code will be sent to the email address that you provided in the order form.
Note: After you purchased it successfully, the registration code will be sent to your email address that you filled in the order form.
Register DVD Creator
Click Register on the upper right corner of the main interface to open the registration window. You need to type in the email address and registration code and click OK to complete the registration of Apeaksoft DVD Creator.
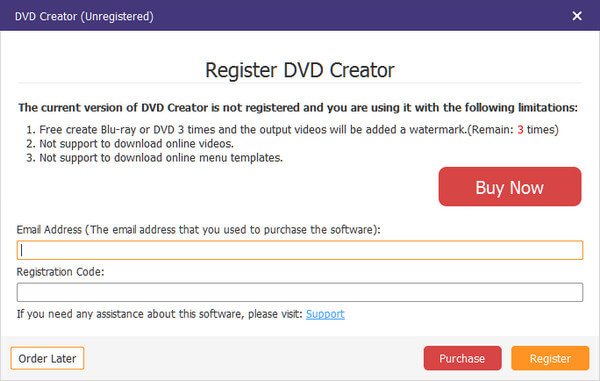
The email address is the email that you use to purchase this software.
The registration code is what you have received from your purchase email address.
create video to DVD
Step 1: Install DVD Creator
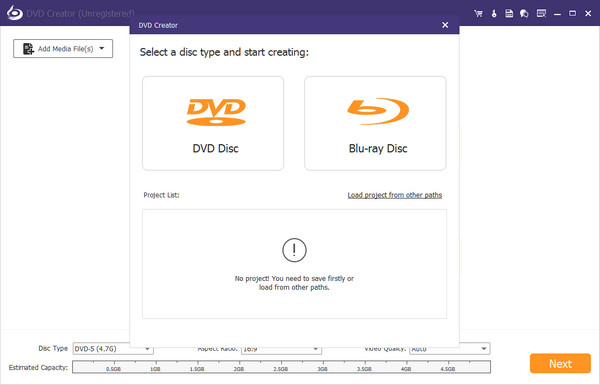
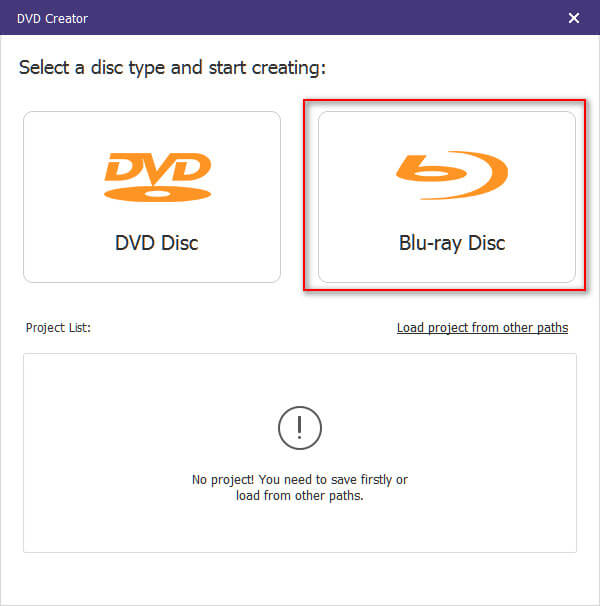
Firstly, download and install Apeaksoft DVD Creator on your computer. Select DVD Disc on the left side of the interface.
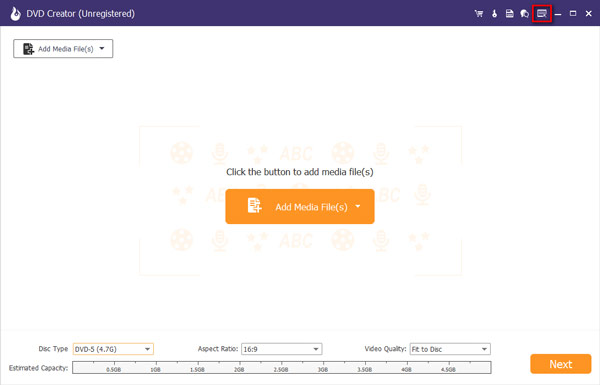
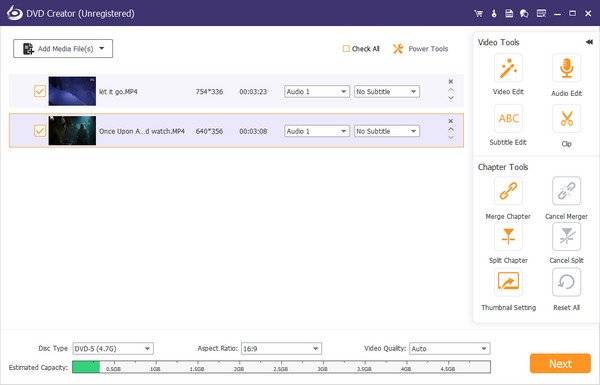
Step 2: Add video or load DVD
Click Add Media File(s) to import the video files into this program on your computer. Then click Next.
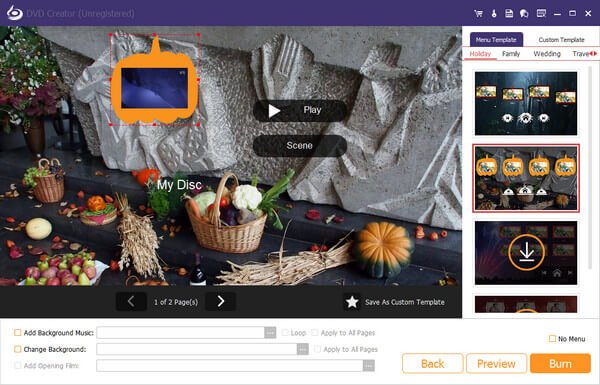
Step 3: Edit Menu
You can select from the menu template or customize the template to adjust the button, or title for your DVD file.
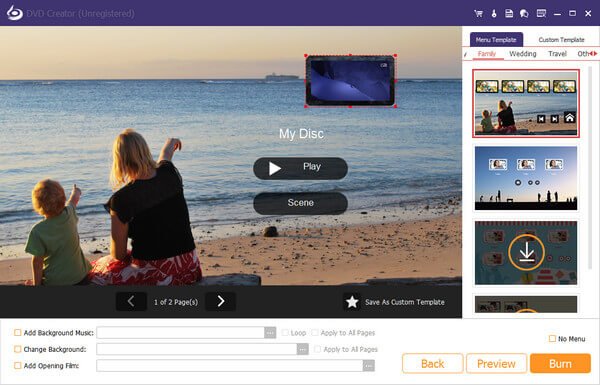
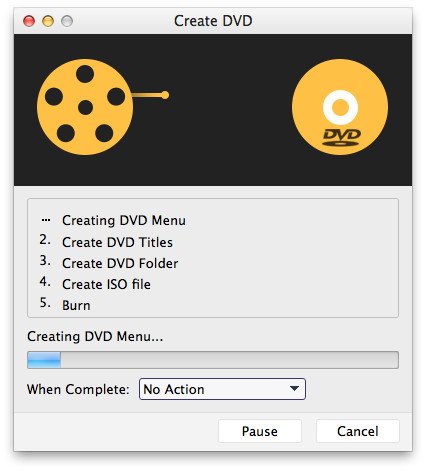
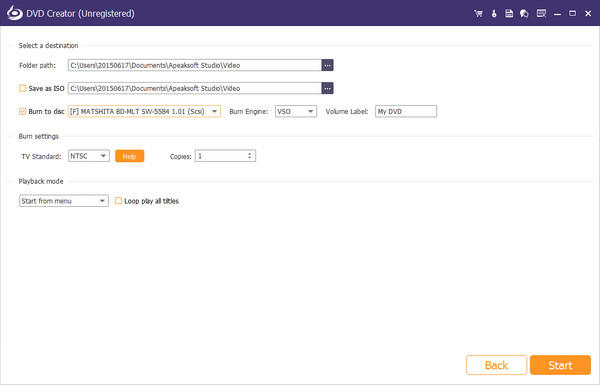
Step 4: Burn to DVD
After making all the settings, click Burn to get the output setting as destination for ISO file or disc mode, and select the TV standard and click Start to get the files burning.
burn video to Blu-ray
Step 1: Install DVD Creator
Free download, install and run this software on your computer. Select Blu-ray Disc on the right side of the interface.
Step 2: Add video or load DVD
Click Add Media File(s) to import the video files into this program on your computer. Then click Next.
Step 3: Edit menu
Select the menu from the menu template or customize the template to adjust the button, or title for your Blu-ray file.
Step 4: Burn to Blu-ray
Select the destination and burn settings and click Burn to burn video files into Blu-ray files.
Edit video before creating
The unique characteristic of DVD/Blu-ray Creator is that it enables you to edit your video as you want. You have multiple choices to edit your video, audio, subtitle, chapter tool and more.
After uploading the video, you can just click Power Tools on the right side of the top right of the interface to enter the editing window, where you can find various tools like Video Tools and Chapter Tools.
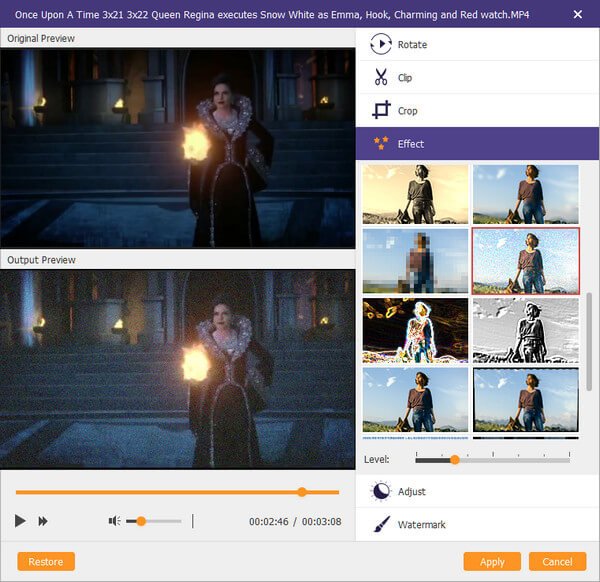
Video Editing: You can rotate, flip, crop, clip the video, add watermark, effect and adjust the video effects before burning.
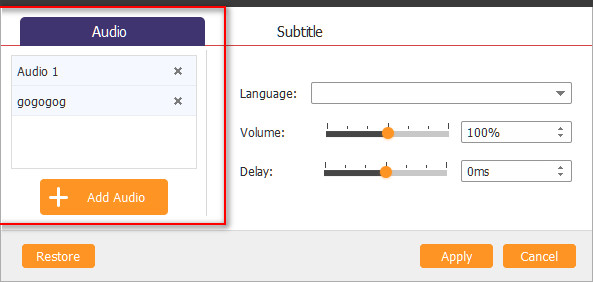
Audio Editing: For the audio edit tool, you are able to add the audio or remove the current audio track. For the volume or delay, you are able to customize by yourself.
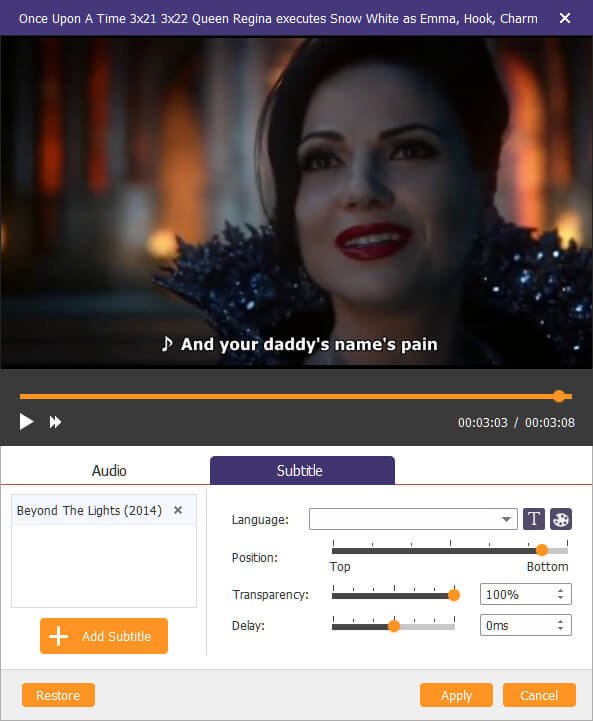
Subtitle Editing: You are able to add UTF, SRT, SMI, TXT, SSA, RT, JSS, AQT, JS, ASS, and VTT subtitle and adjust the transparency, position, delay, etc.
Merge & Split chapter: You are capable of merging several chapters into a long one, and split one chapter into several chapters freely.
Thumbnail setting: You are allowed to upload a local image or intercept the current video screen as the thumbnail image.
User Guide
- Introduction
- Purchase DVD Creator
- Register DVD Creator
- create video to DVD
Try It Now!
Introduction
Apeaksoft DVD Creator for Mac works great to burn any video file into DVD disc/folder/ISO file on Mac (macOS Sequoia supported). It helps you burn video in MP4, MOV, MKV, WMV, AVI, 3GP, FLV, VOB, etc. to DVD easily and provides you with powerful editing features. Weave your own video moments into DVD for forever preservation.
Purchase DVD Creator
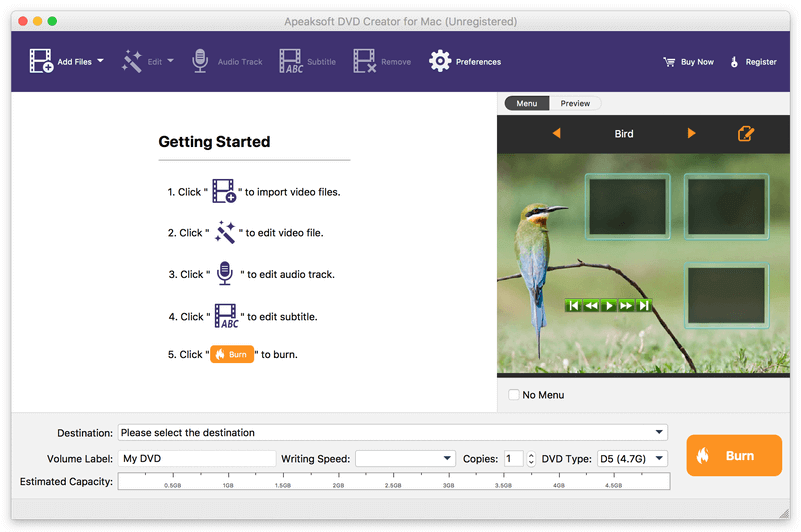
Step 1: Download, install and launch DVD Creator for Mac.
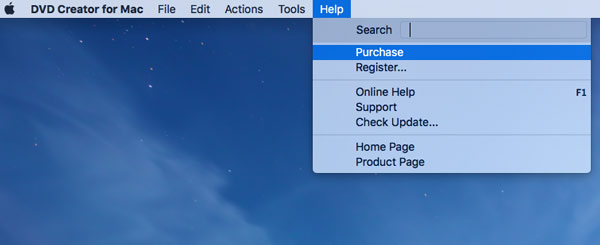
Step 2: After launching this program, click Help on the top side of the interface and choose Purchase to open the registration window.
Register DVD Creator
Step 1: Download, install and launch DVD Creator for Mac.
Step 2: After launching this program, click Help on the top side of the interface and choose Register to open the registration window.
You need to input your email address and registration code in the bar.

Email address: The email address you used to purchase this product.
Registration code: After your purchase, the registration code will be sent to your email address.
NOTE: Just copy and paste the registration code into the registration window to avoid any mistake.
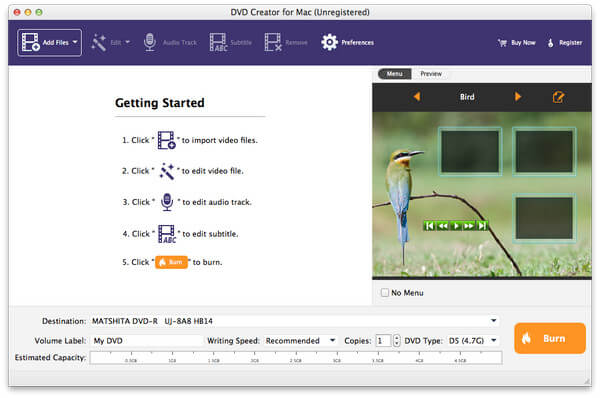
create video to DVD
Step 1: Click Add Files to select Add Video or Add Folder from the drop-down list to import the video files for burning. Meanwhile, insert a blank DVD disc into your drive.
Step 2: Click Edit option to start the editing window, where you are able to adjust effect, trim, crop and watermark your video file.
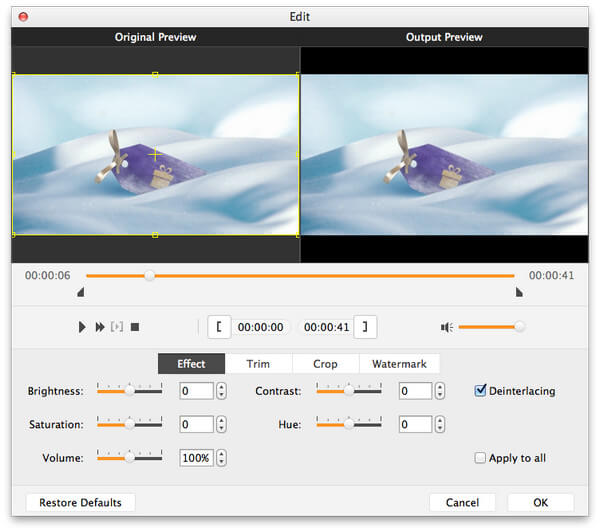
Effect: Adjust brightness, saturation, volume, contrast, and hue.
Trim: Drag the mouse to the starting and ending time. Or set the time value directly.
Crop: zoom in and out video file to get rid of the annoyed letterbox.
Watermark: Add text or picture to mark your working easily. You can also set the transparency to specify it.
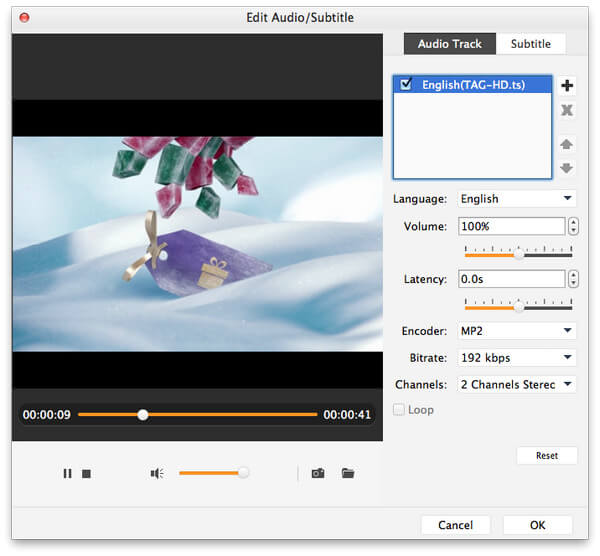
Step 3: Click Audio Track and Subtitle to add background music and subtitle for your file.
You can add, delete, even change the audio track and subtitle according to your own settings.
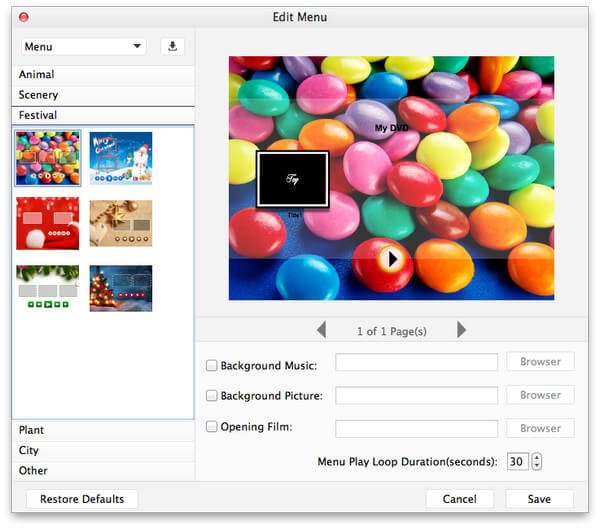
Step 4: Click the edit button on the right window in the interface to set the menu style, button style, chapter menu, background music, opening film, etc.
Step 5: After making all settings, just click Save button. Click Burn to start the creating process on your Mac.