AppleはiPhoneに、驚くほど高画質な写真を撮影できる高性能カメラを搭載しています。しかし、場合によっては、写真を撮影した後に、写真がぼやけたり、解像度が低く保存されたりすることがあります。 iPhoneで画像の解像度を上げる方法?
この記事では、iPhoneのカメラ画質や低解像度の写真を改善するための3つの便利な方法をご紹介します。iPhoneでカメラの設定をカスタマイズしたり、写真の解像度を変更したりする方法については、この記事を読み進めてください。
ページコンテンツ:
パート1:iPhoneの写真アプリで写真の解像度を上げる
実際、追加のツールを使わずに、iPhone に付属のフォト アプリで低解像度の写真の鮮明度を直接高めることができます。
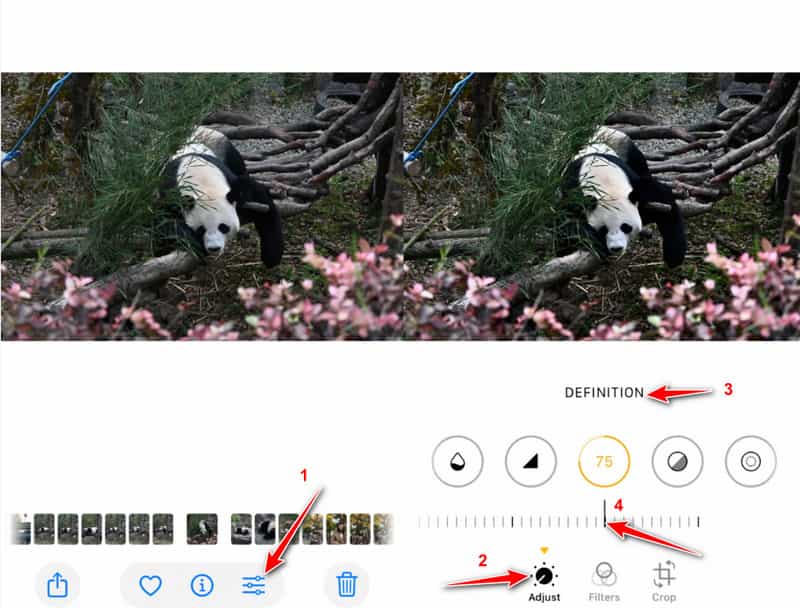
ステップ 1: Video Cloud Studioで 写真 アプリを開いて、補正したい写真を選択します。
ステップ 2: クリック 編集 下部のボタンをクリックすると、さまざまな編集ツールが表示されます。
ステップ 3: まず Adjust タブ。左にスワイプして or 鋭さ スライダー。
ステップ 4: スライダーを徐々に右にスライドすると、写真の詳細と鮮明さが向上します。
パート2:iPhoneの写真解像度をオンラインで向上させる[編集者の選択]
iOSには、iPhoneで撮影した写真や動画を直接編集できる便利な編集機能が多数搭載されています。これらのツールは鮮明度を向上させたり、細部を調整したりできますが、写真の解像度を実際に上げるわけではありません。そのため、解像度の低い写真を修正するには、サードパーティ製の画像編集ツールに頼る必要があります。ここでは、使いやすいサードパーティ製の画像編集ツールをご紹介します。 Apeaksoft無料画像アップスケーラー. 写真の解像度を上げ、ぼかしやノイズを除去し、品質を損なうことなく画像のサイズを変更する簡単な方法を提供します。
ステップ 1: Safariアプリを開いて検索し、 Apeaksoft無料画像アップスケーラー ウェブサイトをご覧ください。
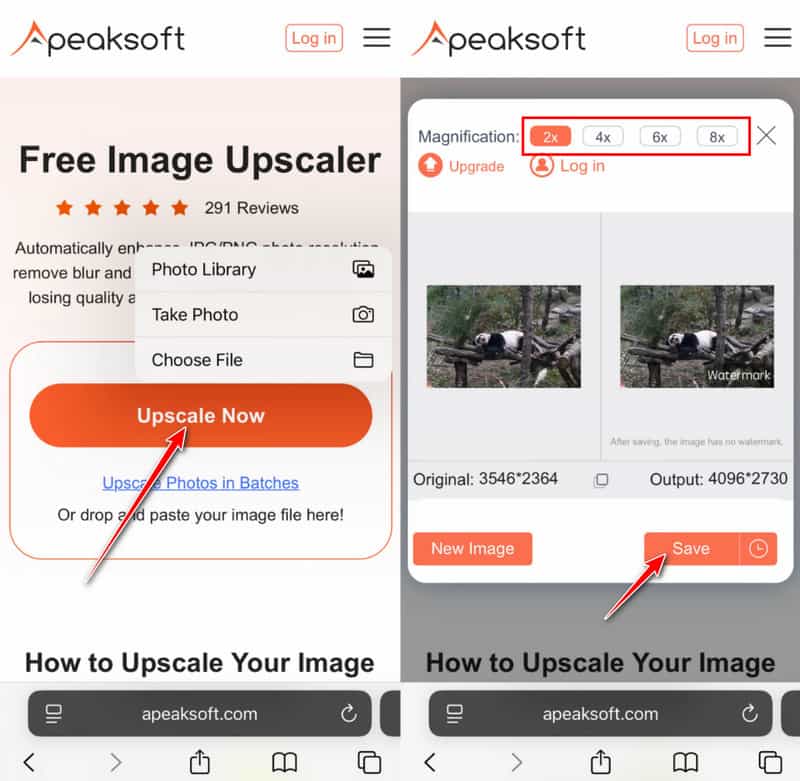
ステップ 2: 今すぐ高級化 ボタンをクリックして対象の写真を選択します。
ステップ 3: AIが写真を自動的に処理するまで、しばらくお待ちください。画像のアップロードが完了すると、写真の解像度を上げ、ノイズを低減し、ぼやけた部分を補正するなど、最適化のための様々な処理が自動的に行われます。その後、2枚の画像の比較が表示されます。
ステップ 4: 上部の拡大領域で写真を拡大することもできます。
ステップ 5: 解像度が上がった写真に満足したら、 Save ボタンを押して iPhone に保存します。 この無料画像解像度増加ツールは、強化された画像に透かしを追加しません。
ヒント: このオンライン画像アップスケーラーでは、 ズームした写真を強調する.
パート3:Adobe Lightroomを使ってiPhoneの低解像度写真を修正する
ほかに オンラインで写真の解像度を無料で上げるAdobe Lightroomは、シャープニング、ディテール強調、ノイズ低減といった高度なオプションを備えています。ぼやけた写真や解像度の低い写真を改善するのに最適です。iPhoneでLightroomを使って低解像度の写真を修正する方法については、以下の手順に従ってください。
ステップ 1: App StoreでAdobe Lightroomを検索してダウンロードしてください。Adobeアカウントでサインインまたは登録してください。
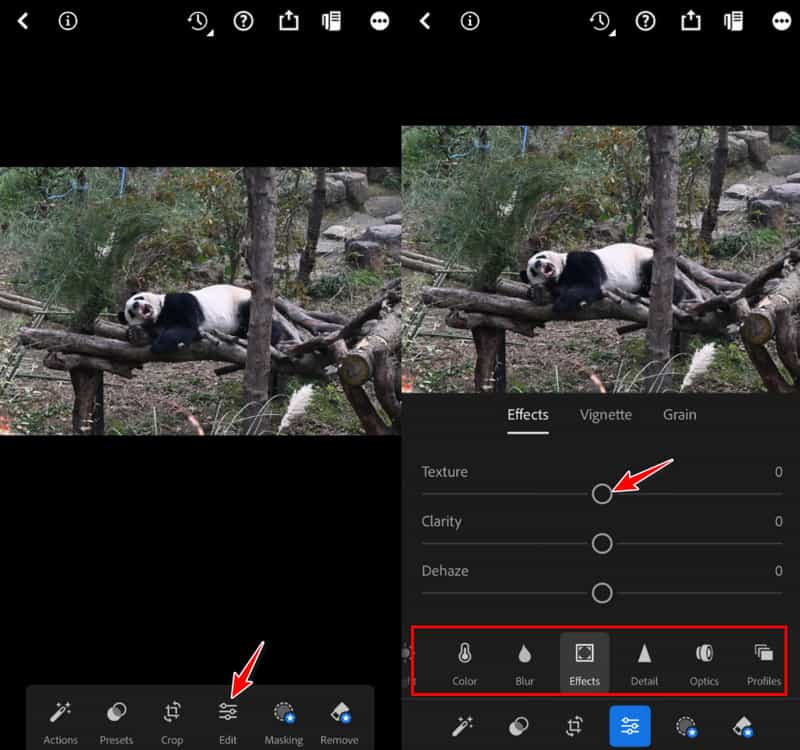
ステップ 2: 処理したい写真を選択し、下部の「編集」タブに進みます。
ステップ 3: 次に、このタブのさまざまなオプションの下にあるスライダーを左または右に動かして、対応する調整を行うことができます。
パート4:iPhoneで高解像度の写真を撮るためのヒント
ぼやけた画像や解像度の低い画像にならないようにするには、適切な撮影テクニックとカメラ設定を使用することが重要です。ここでは、iPhoneで写真を撮る前に知っておくべきヒントをいくつかご紹介します。
1. 対応する設定をカスタマイズする
iPhone カメラには、高品質の写真を簡単に撮影するための多くの高度な設定があります。 カメラの品質を修正し、iPhone でキャプチャした写真の解像度を変更するには、これらの設定をカスタマイズする必要があります。
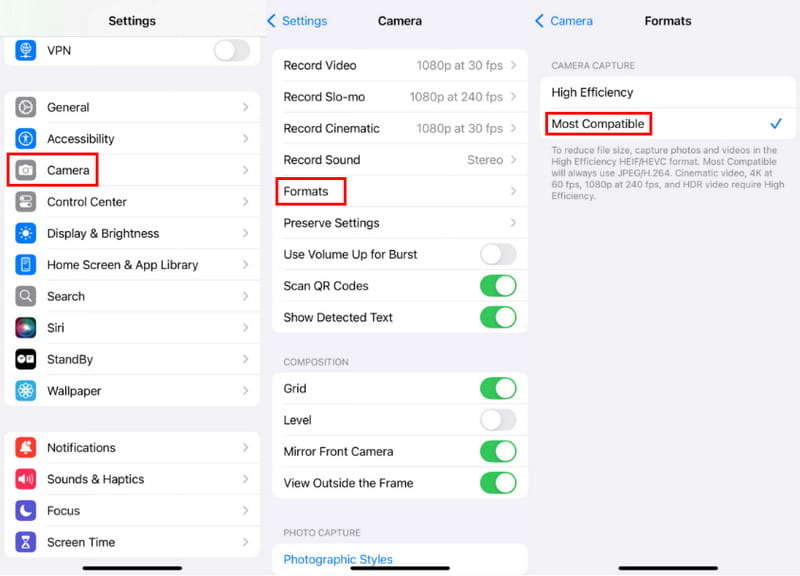
ステップ 1: Enter 設定 下にスクロールして、 カメラ オプションを選択します。
ステップ 2: その後、あなたはタップすることができます フォーマット iPhone のカメラがキャプチャした写真やビデオをどのように保存するかを確認します。 タップ ほとんどの互換性 JPEG/H.264 を使用して写真やビデオをキャプチャします。 有効にすることもできます アップルプロロー 高解像度の写真を撮る。
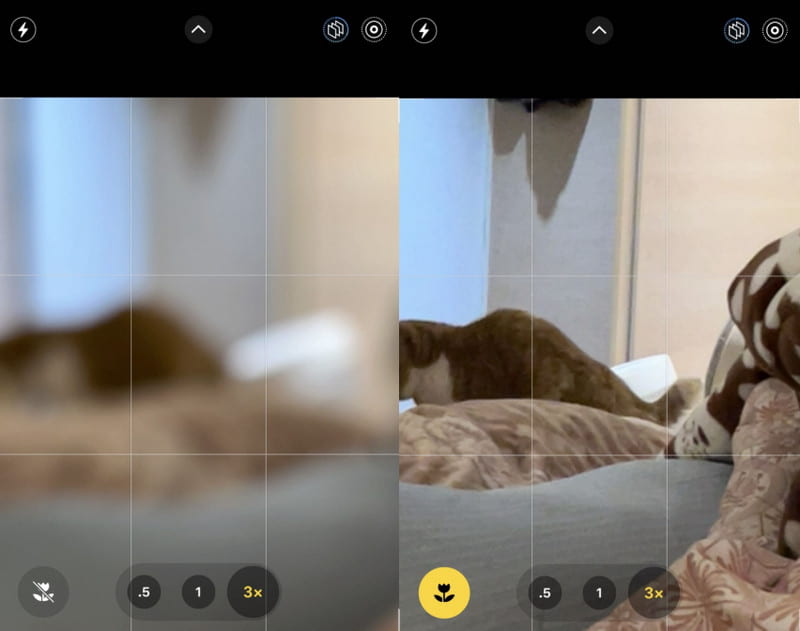
ステップ 3: 高品質の画像を簡単にキャプチャするために、オンにすることもできます より速い射撃を優先する, レンズ補正, マクロ制御. これらの機能はすべて、iPhone のカメラの品質を修正するのに役立ちます。
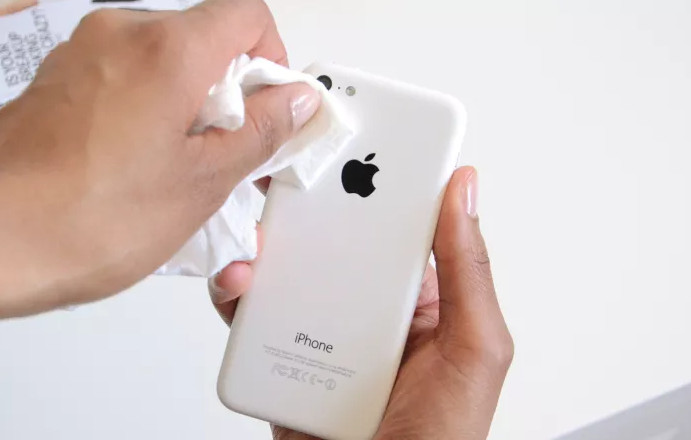
2. レンズを清潔に保つ
ほこり、指紋、汚れによって写真がぼやけたり焦点が合わなくなったりしないように、柔らかいマイクロファイバーの布で定期的にレンズを拭いてください。
iPhoneのカメラがぼやけている場合は、どうすれば直りますか?iPhoneのカメラがぼやけている場合は、まずレンズを拭いて清潔な状態であることを確認してください。また、iPhoneのケースを外すことで、ぼやけたiPhoneカメラを修復できる場合もあります。場合によっては、カメラアプリを一度閉じてから再度開くことで問題が解決することもあります。それでも問題が解決しない場合は、iPhoneを再起動するか、iOSシステムをアップグレードしてください。
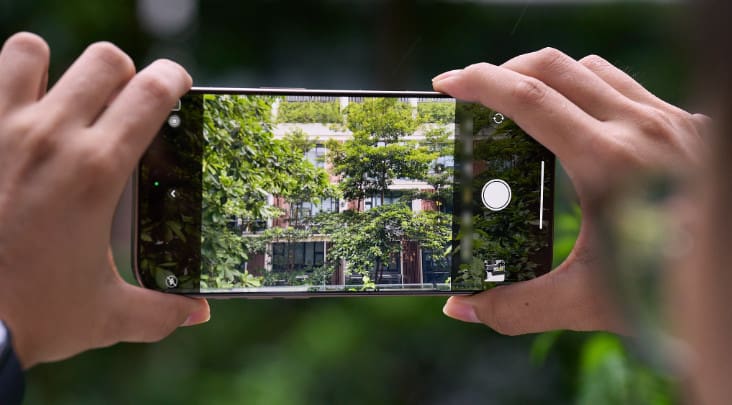
3. ショットを安定させる
撮影中はスマートフォンを安定させてください。両手で持つことも、三脚を使用することもできます。
4. 正確な焦点を設定する
シャッターを押す前に必ず画面をタップしてフォーカスを設定してください。
5. 明るい環境を見つける
明るい環境で写真を撮るようにしてください。必要に応じて、フラッシュやナイトモードをオンにして画質を向上させることができます。
結論
キャプチャした写真の画質に満足できない場合は、カメラの設定に移動してカスタマイズし、iPhone のカメラの画質を修正してください。 iPhoneの低解像度の写真を修正する. キャプチャした画像の解像度を変更または増加するには、推奨される Apeaksoft無料画像アップスケーラー.
関連記事
HEICはiPhoneとの互換性が低く、Windowsの標準プログラムでは開くことができません。この記事を読んで、WindowsでHEICを開く方法をご確認ください。
Adobe Photoshop で画像を高解像度にしたいが、方法がわからない? この投稿では、Photoshop を使用して画像の解像度を上げるための詳細なガイドを提供します。
iPhone のバースト写真は、XNUMX 回押すだけで複数の写真を取得できます。 この記事では、この機能と連写画像の転送方法を紹介します。
Windows/Mac の Photoshop で HEIC 画像を開けませんか? この記事を読んで、この新しく開発された iOS 画像ファイルを Adobe Photoshop で編集する XNUMX つの簡単な方法を学んでください。
