携帯電話で撮った大切な写真をプリントアウトして、ポスターのように壁に貼りたいと思いませんか?ピクセルのクオリティが低くて、うまく印刷できないなんてことはありませんか?ご安心ください!この記事で、その方法をご案内します。 写真を拡大して印刷する方法 一枚の写真を鮮明に出力する場合でも、写真を拡大して複数ページに印刷する場合でも、高品質で印刷できます。
ページコンテンツ:
パート1:印刷時に画像を拡大する必要がある理由
デジタル画像を物理的な写真に変換する際、拡大処理はプリントの品質を保証する上で非常に重要なステップです。これは主に以下の2つの理由によるものです。
異なる解像度基準
デジタル画面では鮮明さを維持するために72~100PPIで十分ですが、プロフェッショナルな印刷では300PPIのピクセル密度が必要です。つまり、同じ画像を画面で見る場合と紙に印刷する場合では、精度基準が全く異なるということです。
ヒント: PPI(Pixels Per Inch)は、写真の1インチあたりのピクセル数を表します。デジタル画像の密度や鮮明度を測定するために使用されます。写真のPPI値が高いほど、画像は鮮明になります。
物理的なサイズの制限
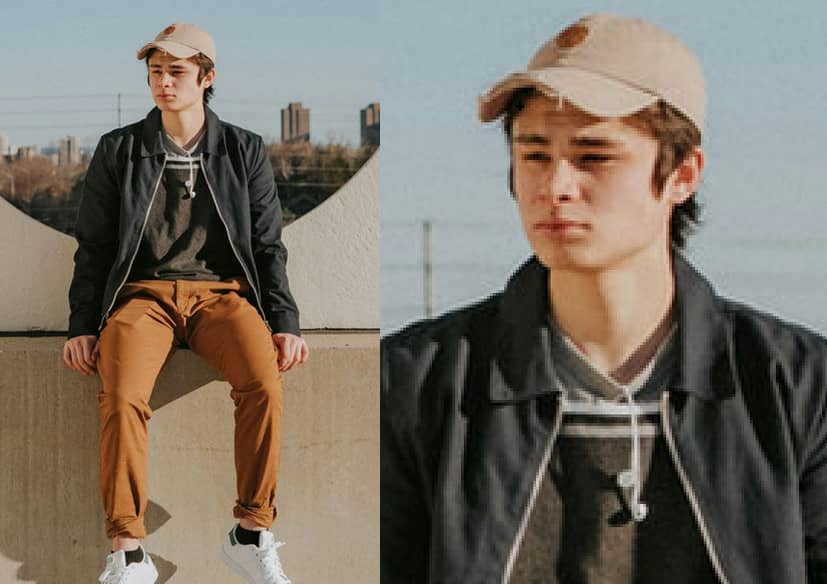
4000×3000ピクセルの写真を例に挙げてみましょう。
画面に表示すればその詳細が十分に伝わります。
しかし、300PPI規格で直接印刷すると、13×10センチメートルの鮮明な画像しか得られません。A4サイズ(29.7×21センチメートル)に印刷したい場合は、拡大してピクセルを補う必要があります。
パート2:印刷時に画像のサイズを変更できないのはなぜですか?
なぜコンピューターで画像のサイズを簡単に変更できないのでしょうか?単純なサイズ変更ではピクセルの拡散が起こり、ぼやけた画像になり、破壊的な拡大になってしまうからです。
1. 単純なサイズ変更では、詳細が追加されるのではなく、ピクセルが引き伸ばされるだけです。 単純なサイズ変更では、画像の元のピクセルポイントがより大きな色のブロックに変換されるだけです。画像はぼやけて、エッジがギザギザになります。これはモザイク壁画を拡大するのと似ており、モザイクの正方形が太くなるだけです。
2. 印刷精度の要件を満たすことができません。 高画質印刷には、少なくとも300DPIの解像度が必要です。低ピクセル画像を手動で強制的にサイズ変更すると、実際のDPIが低下し、鮮明な印刷の基準をはるかに下回り、画像がぼやけたり歪んだりする可能性があります。
したがって、専門的な拡大ツールに頼る必要があります。
パート3:画質を落とさずに画像を拡大して印刷する方法
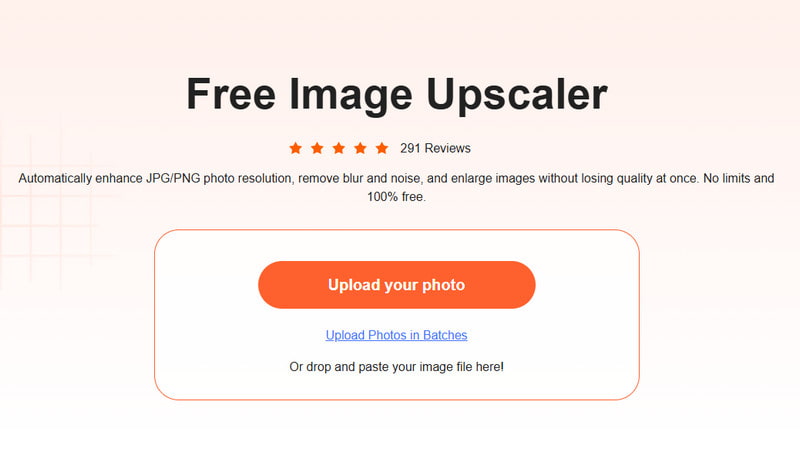
実際、画像をロスレスで拡大できる専門的なオンラインツールは数多く存在します。ここでは、無料オンラインツールをご紹介します。 Apeaksoft無料画像アップスケーラー 理由は以下のとおりです。
• AI技術を使用して、ワンクリックで画像を自動的に拡大します。
• 詳細をインテリジェントに予測し、ぎこちないギザギザやぼやけを回避します。
• 品質を損なうことなく画像を拡大して印刷します。
• 一度に写真を一括拡大して印刷します。
• 広告なし、ウイルスなし、ダウンロード不要。
ここでは、オンラインで印刷するために写真を拡大する方法を示す詳細な手順を示します。
ステップ 1: ロケーション選択 Apeaksoft無料画像アップスケーラーのウェブサイト
ステップ 2: 写真をアップロードする ボタンをクリックして写真を選択してください。
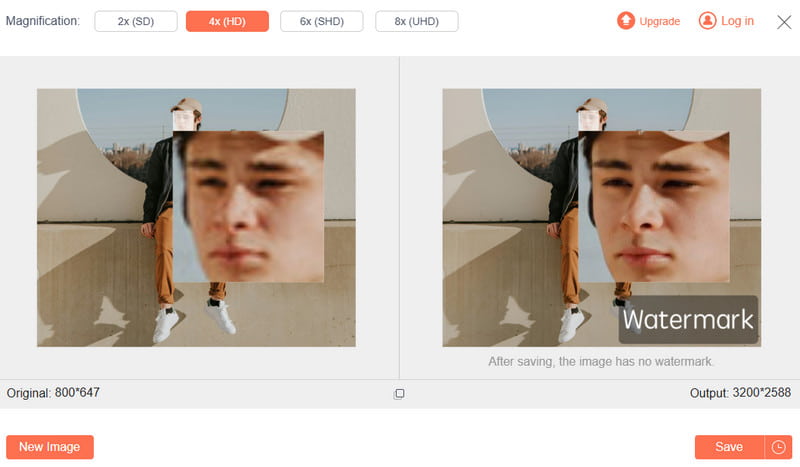
ステップ 3: ニーズに応じて倍率を選択してください。
ステップ 4: Save ボタンを押して終了します。
ヒント: このツールはまたあなたをすることができます 古い写真をオンラインで復元する.
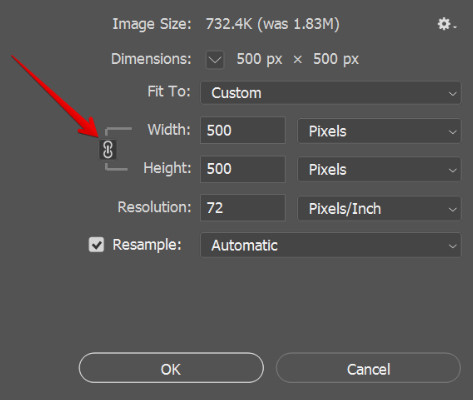
パート4:Photoshopを使って印刷前に写真をプロフェッショナルに拡大する
より専門的な拡大方法をお探しの場合、または Photoshop を使用して画像を処理することに慣れている場合は、Windows 10 または Mac で印刷用に画像を拡大する方法に関する次の手順をお読みください。
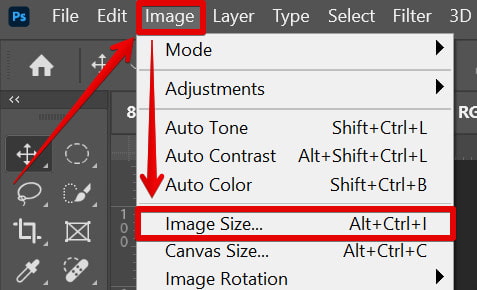
ステップ 1: Photoshop で対象の画像を開きます。
ステップ 2: 詳しくはこちら 画像 - 画像サイズ 上部のメニューバーにあります。
ステップ 3: クリック リサンプル ポップアップウィンドウでオプションを選択し、 詳細を保持 ドロップダウンリストに表示されます。
ステップ 4: ボックスにサイズを入力して 画像ピクセルのサイズを変更する、[OK]をクリックします OK.
結論
上記は、 画質を落とさずに写真を拡大して印刷する方法便利なオンラインツール「Apeaksoft Free Image Upscaler」を選ぶにしても、よりプロフェッショナルなツール「Photoshop」を選ぶにしても、AIを活用して画像のディテールやテクスチャをインテリジェントに予測・補完することで、鮮明な画像を維持しながら拡大表示できるのが核心です。今すぐ試して、大切な写真に命を吹き込んでみませんか。
