How to Remove Object from Photo Online and Offline
Suppose you just captured what could be the perfect photo using a digital camera or smartphone, but there is an unwanted object, like unsightly trash, a random passerby, a guidepost exposing privacy, and more. Rather than deleting the photo, it is better to wipe unwanted objects. The good news is that you can quickly remove objects from a photo on your computer or mobile device with the right tool. This guide shares six effective methods.
PAGE CONTENT:
Part 1: How to Remove an Object from a Photo Online
If it is inconvenient to install a photo editor on your computer or mobile device, a web-based app, such as Apeaksoft Free Watermark Remover, can meet your needs. It allows you to remove any object from a photo online without installing anything on your desktop.
What We Like
1.Remove objects from a photo online.
2.Completely free to use.
3.Preview the result in real time.
4.Undo improper editing.
5.Offer a variety of useful tools.
What We Dislike
1.Require a stable internet connection.
How to Remove an Object from a Photo Online Free
Step 1. Go to https://www.apeaksoft.com/watermark-remover/ in a browser.
Step 2. Click the Remove Now button to move on.
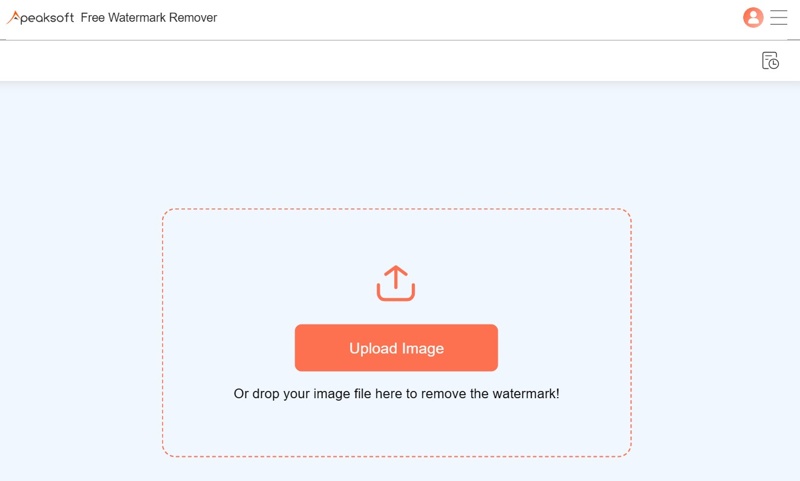
Step 3. Press the Upload Image button and import the desired image. It supports JPG, PNG, BMP, and more.
Step 4. Then, pick a tool to select the unwanted object, such as Lasso or Polygonal. Or choose Brush and draw on the unwanted object.
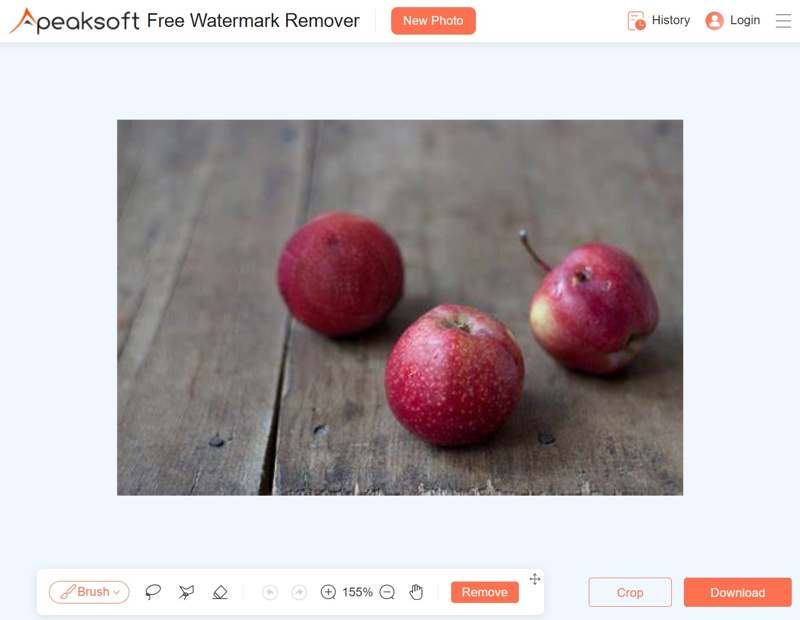
Tips: If you select the wrong object, choose Eraser and undo the selection.
Step 5. Click the Remove button to remove the object from the photo online for free. Then, download the result.
Part 2: How to Remove an Object from a Photo in Photoshop
Photoshop provides multiple options to remove unwanted objects from a photo on Windows or macOS. The AI-powered Generative Fill feature, for example, simplifies the workflow. Plus, you can use the Content-Aware Fill to manually remove a selected object.
How to Remove an Object from a Photo by Generative Fill
What We Like
1.Easy to use.
2.Find new pixels with AI.
3.Blend the new pixels into the background.
4.Non-destructive object removal.
What We Dislike
1.Limited custom options.
2.Less control over the effect.
Step 1. Open the image you want to edit in Photoshop.
Step 2. Use the Lasso Tool to select the unwanted objects.
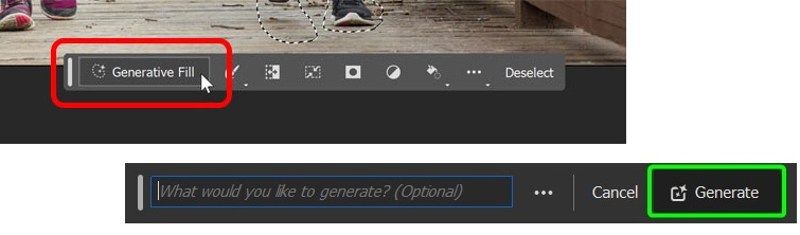
Step 3. Click Generative Fill in the Contextual Task Bar.
Step 4. Next, click the Generate button, and AI will remove objects from the photo in Photoshop.
Step 5. Choose a proper one under the Variations section in the Properties panel.
How to Remove an Object from a Photo Using the Content-Aware Fill
What We Like
1.Control over replacement pixels.
2.Create nature results.
3.Offer custom options.
4.Remove objects quickly.
What We Dislike
1.Cannot work for complex scenes.
2.Unavailable to small objects.

Step 1. Open the desired photo with Photoshop.
Step 2. Copy the image layer for non-destructive editing.
Step 3. Choose the Lasso Tool or Object Selection Tool to select the unwanted object. You can also use this feature to remove watermark in Photoshop.
Step 4. Go to the Edit menu, choose Fill, and pick Content-Aware from the Content option on the Fill dialog.
Step 5. Once Content-Aware Fill is active, you will get a toolbar. You can adjust the sampling area with the Sampling Brush Tool and Lasso Tool.
Step 6. Preview the result on the preview panel. If it looks good, click Apply at the bottom and hit OK to remove the object from the photo in Photoshop.
Part 3: How to Remove an Object from a Photo on an iPhone
How to Remove an Object from a Photo Using the Clean Up Tool
Apple has added a Clean Up Tool to the Photos app in iOS 18 and iPadOS 18 or later. It is a part of Apple Intelligence. Users can simply use it to remove objects from photos or remove a person from picture on an iPhone without an app.
What We Like
1.Preinstalled on iOS 18 and iPadOS 18 or later.
2.Remove objects from the photo quickly.
3.Free of charge.
4.Correct minor flaws in photos.
What We Dislike
1.Lack custom options.
2.Cannot process Live Photos.
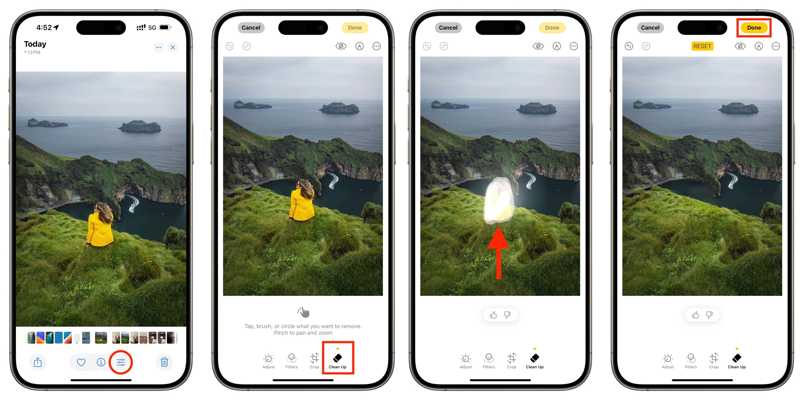
Step 1. Run the Photos app on your iPhone.
Step 2. Select the photo you want to edit and tap the Edit button at the bottom.
Step 3. Choose the Clean Up tool on the toolbar.
Step 4. Next, use your finger to draw the unwanted object.
Step 5. Once you release your finger, Apple Intelligence will remove the object from the photo on your iPhone.
Step 6. Finally, tap the Done button to confirm the change.
How to Remove Objects from Photos Using TouchRetouch
If you are using the old versions of iOS and iPadOS, you have to remove objects from a photo using a third-party app. TouchRetouch, for instance, is an excellent iOS app that enables you to remove objects and fix blemishes.
What We Like
1.Remove object from photo with one tap.
2.Compatible with iOS 14 and iPadOS 14 or later.
3.Available in various languages.
4.Create high-quality results.
What We Dislike
1.Require at least 932MB.
2.There are in-app purchases.
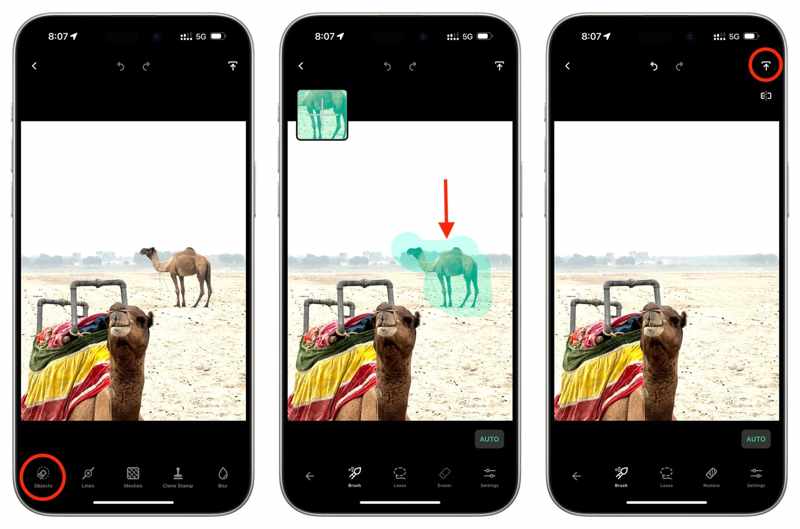
Step 1. Install the photo editor app and open it.
Step 2. Access your Camera Roll and select the desired picture.
Step 3. Choose the Objects tool, and pick Brush or Lasso to select the unwanted object.
Step 4. Then, the app will remove the object.
Step 5. At last, tap the Share button, and pick Save as Copy or Modify Original to save it.
Part 4: How to Remove an Object from a Photo on Android
How to Remove an Object from a Photo on a Samsung
While Samsung phones and tablets run Android, it adds useful tools to its products. For instance, the Object Eraser tool is built into the Samsung Gallery app. It can remove objects from a photo on a Samsung easily.
What We Like
1.Simple to use.
2.Erase the object from the photo quickly.
3.Available to most Samsung devices.
4.Share results directly.
What We Dislike
1.Don’t have custom options.
2.Cannot process complex pictures.
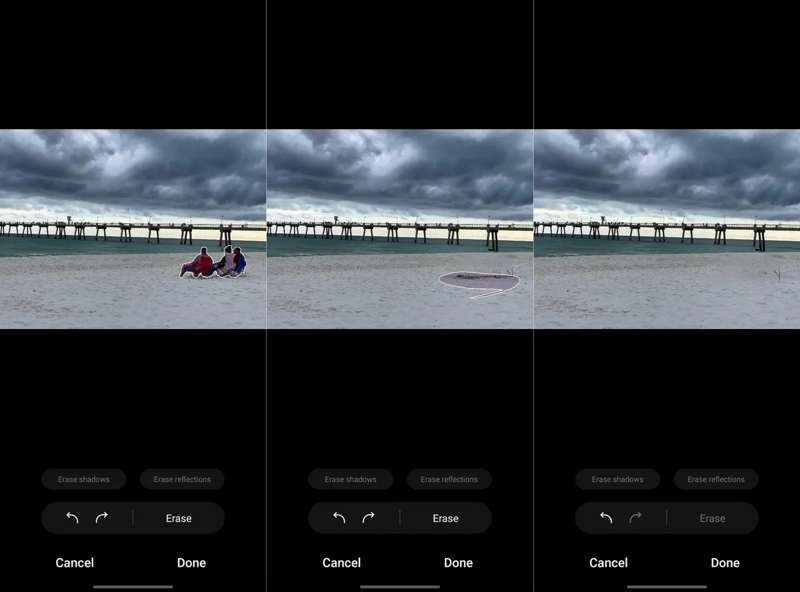
Step 1. Run the Gallery app and select the desired photo.
Step 2. Tap the Edit button and hit the More button with a four-circle icon.
Step 3. Choose the Object eraser.
Step 4. Draw around the unwanted object to remove it.
Step 5. Tap Done if you are satisfied. Then, save the result.
How to Remove an Object from a Photo Using Google Photos
If you are using Google Photos to back up your photos on an Android device, you can remove unwanted objects from photos with the Magic Eraser. This tool is powered by Google’s AI technology.
What We Like
1.Remove any object quickly.
2.Erase objects with AI.
3.Work offline.
4.Support various Android devices.
What We Dislike
1.You need to upload your photos.
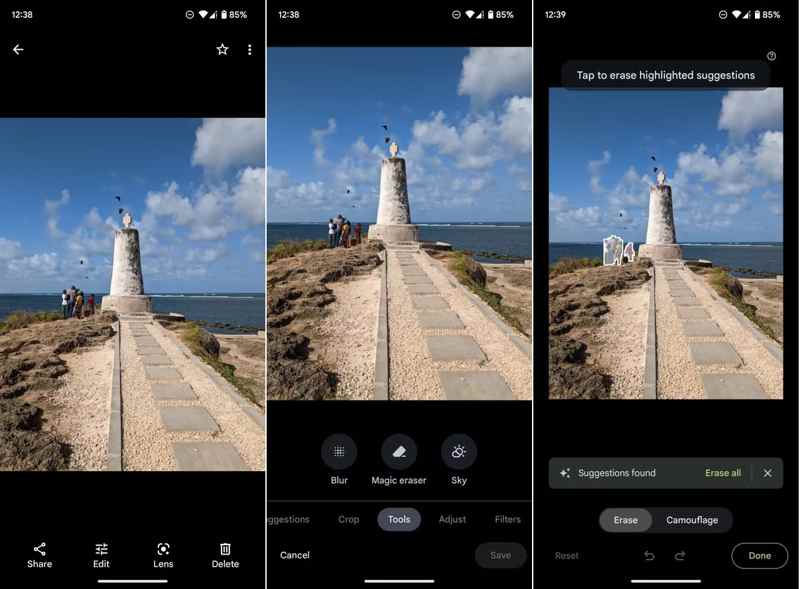
Step 1. Sign in to your account in your Google Photos app.
Step 2. Find and open the desired photo.
Tips: If you cannot find the photo, upload it manually.
Step 3. Tap Edit at the bottom, pick Tools, and choose Magic Eraser.
Step 4. Google Photos automatically finds and removes unwanted objects.
Step 5. Finally, tap Done and save a copy.
Conclusion
This guide shares six object removers from a photo on Windows, macOS, iPhone, or Android devices. You can read our review, pick the right method according to your situation, and follow our steps to get rid of the unwanted objects from your photos. Apeaksoft Free Watermark Remover is the easiest option for beginners.
