If you have both a Windows PC and a Mac, it must be common for you to share files from one computer to another. As Windows PC and Mac have different operation systems, it is difficult to transfer files from PC to Mac with AirDrop or iTunes directly.

Of course, there are a couple of solutions can help you transfer all kinds of files between Windows and Mac, and this passage lists the best 5 ways of them. If you are interested in this topic, please continue reading.
Part 1: How to Transfer Files from PC to Mac
Solution 1: Transfer Files from PC to Mac via Google Drive
If you are unversed in transferring files from PC to Mac, using a cloud storage service should be a good idea. It requires little technology, and you do not need to prepare additional hardware, either.
And Google Drive is one of the best and most popular cloud storage services. If you are the first time to use this cloud app, you are able to gain 10 GB size to transfer and sync files from Windows to Mac. Later you can also upgrade to the paid version to get more storage space.
Step 1: Download Google Drive
Download and install Google Drive on both your Windows and Mac, then launch this app and sign in it with your Google account.
Step 2: Import files into Google Drive
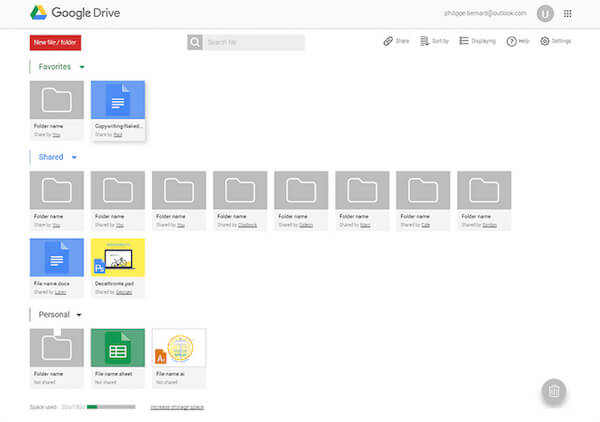
Select a file that you are going to transfer to Mac on your PC, and then upload it to the Google Drive.
Step 3: Save the converted files to Mac
Next turn to the Google Drive on your Mac, find the imported file, and tap on the Download button to save it to your Mac.
Solution 2: Transfer Files from PC to Mac via Network
Your Windows system has many powerful features, such as recovering deleted files on Windows PC. If you have a home network connection, it will also be a nice choice for you to use network to transfer files from PC to Mac. As long as your computers are connected to the same network, the built-in Windows File and Printer Sharing enables you to transfer file between devices fast and conveniently.
But the only disadvantage of the network solution is that you are not able to move files remotely between PC and Mac. That is to say, you have to make sure both these 2 computer are closely to each other physically.
Step 1: Enable File Sharing on Windows
On your Windows computer, launch the Control Panel, choose Network and Internet, then select File and Printer Sharing to launch File and Printer Sharing.
Depending on the Windows operating system you are using, it will be a little bit different to enable File Sharing feature on your Windows.
Step 2: Connect Mac to Windows
After starting File Sharing feature, launch Finder app on the Mac and tap Shared option on the left pane. Select the name of your PC to connect them.
Step 3: Share files to Mac
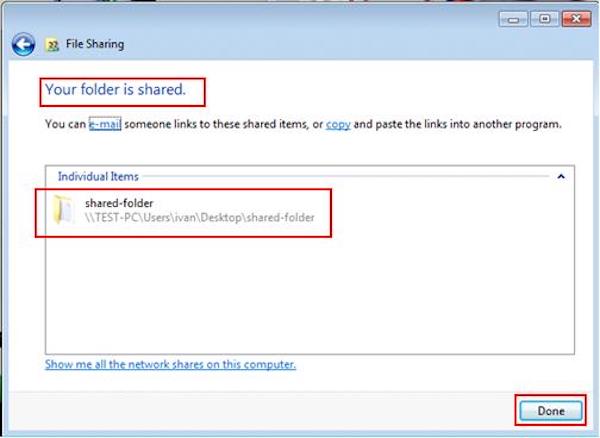
Please do not disconnect them during the transferring. Next drag and drop a selected file into the Share folder to transfer it from your PC to Mac.
Solution 3: Transfer Files from PC to Mac via Facebook Message
You must get familiar with Facebook, a popular social website among the world. But do you know the Facebook Message can help you transfer files from Windows to Mac? Recently, Facebook has been adding capabilities to Facebook Messenger chat, which enables you to share photos, videos, and files between different devices.
Step 1: Tap on the camera button
After launching Facebook, select any contact to start chatting, and click on the camera button in the bottom line.
Step 2: Import files from Windows
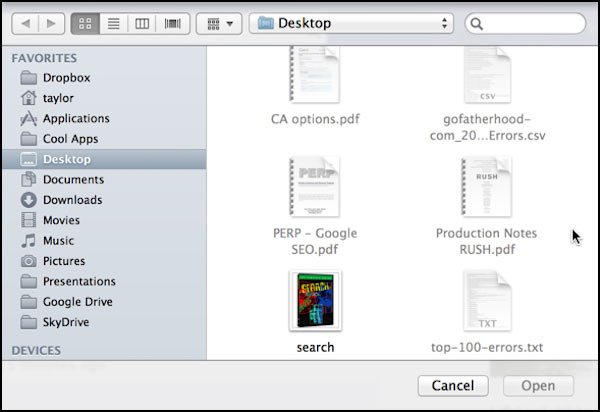
When you see a files selection windows pop up, select a file that you wish to transfer from Windows to Mac, and click OK button.
Step 3: Choose Add File option
Or you can tap on the gear button on the top of the chat windows to drop down an option menu, and select “Add File” option to import your desired files.

Step 4: Share file from PC to Mac
Finally, get into Facebook on your Mac, and you are able to get back on the file you sent just now. Hit the file to access and download it to your Mac.
No matter which method you choose, you must make sure that the data on your Windows computer are safe and complete. If there’s something wrong with your computer and you cannot access the data on your PC, you should first recover deleted files on your PC (/recover-data/recover-deleted-files-windows-pc/) with data recovery tool.
Part 2: How to Transfer Files from Mac to PC
Solution 1: Transfer Files from Mac to PC via File Sharing feature
When it comes to transfer files from Mac to PC, Apple has developed a built-in file sharing feature to help you solve this problem in an easier way. With this wonderful feature, you are able to share the majority of your data and files to other computers.
Step 1: Launch System Preferences
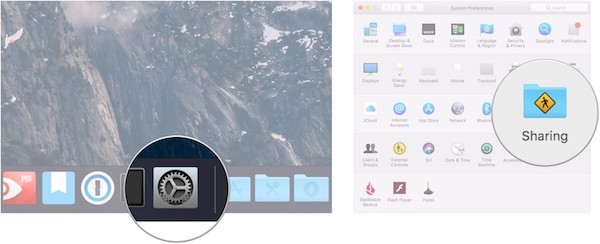
Start System Preferences on your Mac. You can find it by tapping the Apple button on the top bar, or enter the Finder app to search it.
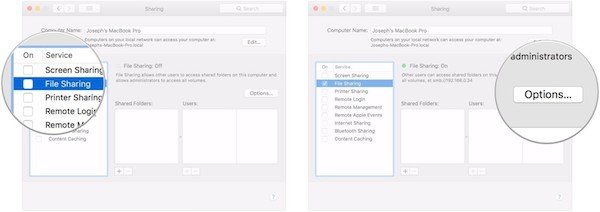
Step 2: Enable File Sharing
Next click on Sharing to get into sharing page. And tick the File Sharing option in the left box, and then tap Options in the right.
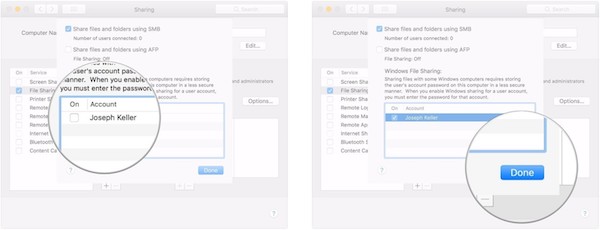
Step 3: Import selected files
In the pop-up sharing screen, tick the check box for the account that you want to transfer files on the Windows, and enter your password.
Step 4: Transfer files to Windows
Once you have done all of these, tap one button to start the sharing process. Wait for a while, and you can find your converted files on your Windows PC.
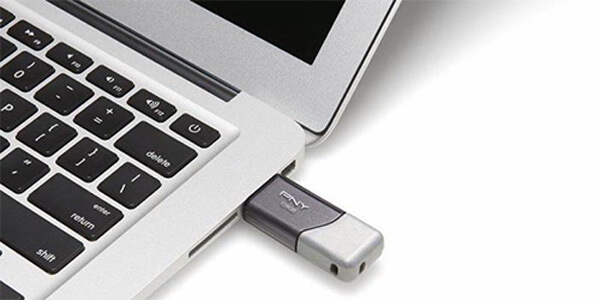
Solution 2: Transfer Files from Mac to PC via USB transfer
USB transfer should be the most convenient and easiest way to transfer files from Mac to PC. Due to the portability of USB Flash Drives, you are able to access the transferred files anytime and anywhere. What’s more, it does not require a network connection.
Step 1: Import file to USB device
Insert your physical storage device into your Mac, then find and locate a file that you are going to transfer from Mac to PC drag it into the USB driver directly.
Step 2: Export file to Windows
Then poll out the USB driver and inset it into the Windows PC, open its folder, and move the converted file to the local folder of Windows.
Step 3: Open and view the file
To view the transferred file, you can easily tap on it. And you can also do some edits to the files later.
Conclusion
When you need to transfer files from PC to Mac, or vice reverse, you can find the excellent solutions from the article. Just choose the best solutions according to your requirements. If you have any other query about the solutions, you can share more detailed information in the comments.