Does your iPad run out of storage space now?
Do not worry about that. You can transfer music from your iPad to the computer. Of course, you can upload to iCloud and other cloud storages as backups. Later, you can delete those songs to free up more storage space on you iPad.
For Apple users, iTunes is the loyal friend. You can transfer iPad music and playlists to your computer with iTunes for free. However, you know that iTunes has its limits. Thus, this article also shows an alternative way to transfer iPad music to your computer without iTunes. You can read and choose the proper solution based on your need.

- Part 1: Transfer Music Library from iPad to Mac or PC with iTunes
- Part 2: Transfer All Music from iPad to Computer (Recommended)
- Part 3: iTunes VS Apeaksoft MobieTrans, Which Is Better?
Part 1: Transfer Music Library from iPad to Mac or PC with iTunes
What Kind of Files You Can Sync with iTunes
- 1. Songs, playlists, podcasts, audiobooks, albums, TV shows, movies and books.
- 2. Photos, videos, contacts and calendars.
- 3. Your previous backups made through iTunes.
How to Transfer Music from iPad to Computer Using iTunes
Step 1. Connect iPad to iTunes
Update iTunes to the latest version. Plug your iPad to the computer through a lightning USB cable.
Open iTunes. Choose “Account”, “Authorization” and “Authorize this computer” options if necessary.
The maximum number of iTunes authorization is up, just try to de-authorzie one device from iTunes, and then authorize this computer.
Step 2. Enable “Sync Music”
Choose the device button at the top left corner of iTunes. Select “Music” in the “Settings” panel in the left. You can decide whether to transfer entire iTunes music library or selected playlists.
Step 3. Transfer music from iPad to computer with iTunes for free
Click “Apply” to save changes. If the iTunes syncing process does not start, you can choose “Sync” to trigger it manually.

Note: If you want to transfer purchased iTunes music from iPod only, you can select “Transfer Purchases from ‘iPad’” from the “Devices” submenu of the “File” list. It is also a good way to re-download iTunes purchases. (Purchases are deleted accidentally from iTunes? Restore iTunes purchases.)
Part 2: Transfer All Music from iPad to Computer (Recommended)
Then how about songs downloaded or ripped from other places (not from iTunes)?
To transfer all stored music from iPad, you need an iPad transfer. Fortunately, Apeaksoft MobieTrans is exactly your best choice. You can transfer photos, videos, contacts, SMS and music files from an iPhone, iPad or iPod to your computer selectively.
No potential data loss damages or Wi-Fi connection include. What’s more, you can transfer files from a computer or iPad to your iPhone, iPad or iPod, too.
- Transfer music files from your iPad to the computer quickly.
- Transfer MP3, WMA, M4R, OGG, AAC, AIFF, etc. to iPad.
- Compatible with iPad Air, iPad Pro, iPad mini, etc. running iOS 26/18/17/16.
- Customize your iTunes library, like add, delete, edit or convert.
How to Transfer Music from iPad to Computer without iTunes
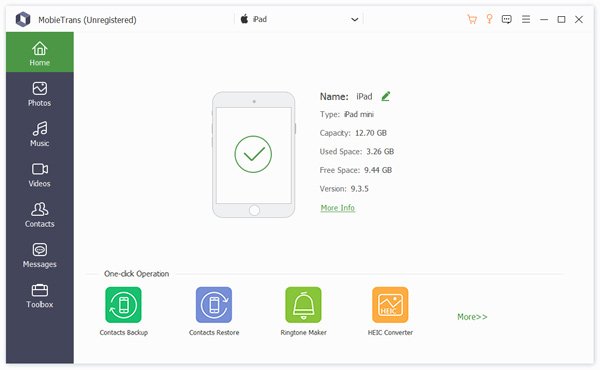
Step 1. Launch the iPad transfer software
Free download, install and launch the iPad music transfer. Then connect your iPad to the computer. The program will detect your iPad automatically after the connection.
Step 2. Find and preview iPad music
Head to the left panel of the program. Choose “Music” to access all video and audio files. If you want to find the certain song or audio track, you can use the search bar on the top right corner. Preview any song you are not sure.

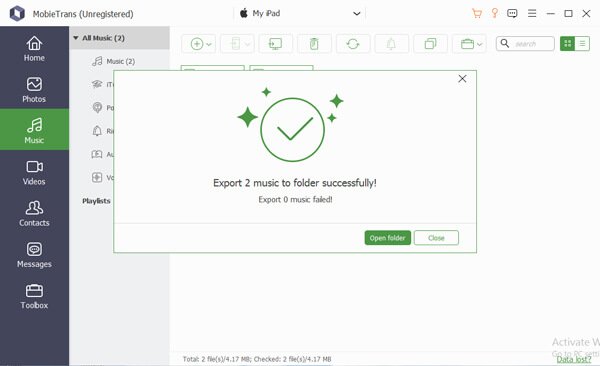
Step 3. Transfer music from iPad to computer without iTunes
Mark the small check box before the music you want to transfer from iPad to computer. Later, choose the third computer button from the left to right side. Set the destination folder to save the transferred music from iPad to computer.
Note: If you delete music from iPhone iPad while using Apeaksoft MobieTrans, the deleted music files will be gone from your connected iPad as well. Thus, you can delete unwanted files quickly here.
Part 3: iTunes VS Apeaksoft MobieTrans, Which Is Better?
Let’s talk about things that iTunes cannot do for you. In another word, you need to figure out iTunes drawbacks for iPad music transferring. Here are typical iTunes restrictions.
- 1. Data overwritten.
- 2. One-way transfer.
- 3. Not supported non-iTunes downloaded songs.
- 4. Transfer music library instead of selected songs.
- 5. Fail to transfer music and other files between iOS devices.
- 6. Require the authorization.
- 7. Cannot select or preview files before transferring.
- 8. iTunes errors.
Conclusion
You can bypass all above iTunes restrictions by using Apeaksoft MobieTrans. The lightweight music transfer is friendly to all beginners. Thus, if you want to transfer music between iPad and computer selectively, you should not miss this tool. Just free download and have a try right now! Feel free to contact us if you have any difficulty while transferring iPad music to computer.
For more topics about iPad transfer, visit here.