Best Ways to Transfer Videos from iPhone to Computer [2025]
Nowadays, people are increasingly demanding data transfer, especially photos and videos. Some people want to upload videos to their computers because their iPhones have low memory, but they don't want to delete any videos with important memories. Some people want to edit the original video further, and the PC version of video editors is complete and convenient. Anyway, since you've clicked on this article, for whatever reason, you're looking for a way to transfer videos from your iPhone to your computer. Many of you may know the method through iTunes, but this article will cover a few more convenient and effective methods, so let's get started!
PAGE CONTENT:
Part 1. Best Tool to Transfer Videos from iPhone to Computer Without Quality Loss
If you want to transfer videos from your iPhone to your computer without losing quality, you should use Apeaksoft iPhone Transfer, the best transfer tool. Its stability and versatility make it stand out among many transport tools. With a simple and clear interface, even new users can easily get started, so file management and selection become fast and convenient.
The Most Efficient iOS Data Transfer Tool
- Support selecting and transmitting photos, music, contacts and other data types to meet different usage requirements.
- Efficiently handle large files and HD format videos, making video transmission smoother.
- With high security and ensures stable and lossless data transmission.
- Allows preview videos before transmission to organize and back up data more efficiently.
Secure Download
Secure Download

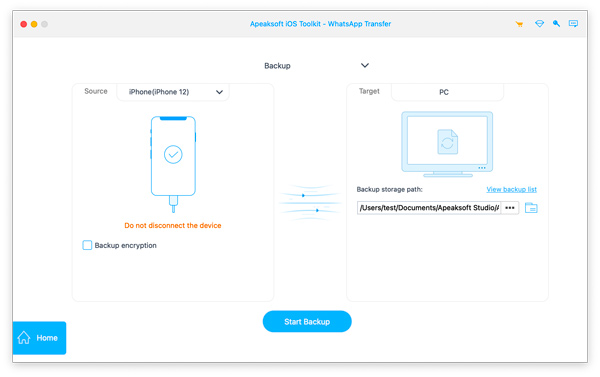
Step 1. After downloading Apeaksoft iPhone Transfer to your computer, open and connect it to your iPhone. If you are connecting for the first time, you must enter a password on your phone to confirm. Once the connection is successful, the basic information about your phone will be displayed on the home page.
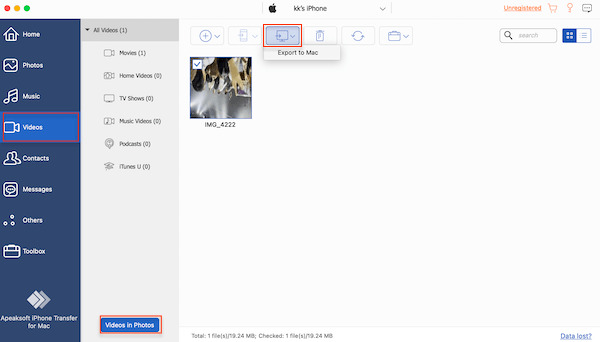
Step 2. The system will classify it according to different formats in the left toolbar. Click Videos and select which you want to transfer. If the video you want isn't displayed, click Videos in Photos in the bottom left corner to find it. After confirming, click the Export to PC button at the top and select the destination folder where the video is saved. After that, the system will automatically export the target video file to the specified location.
Part 2. How to Import Videos from iPhone to PC Wirelessly
Airdrop
If you're a full iOS user, meaning you use both an iPhone and a Mac, the most convenient way is to use Airdrop, especially if the number of videos you need to transfer is small and it's just a click away.
Step 1. To make Airdrop work, turn Bluetooth on your iPhone and Mac. Make sure they're connected to the same Wi-Fi.
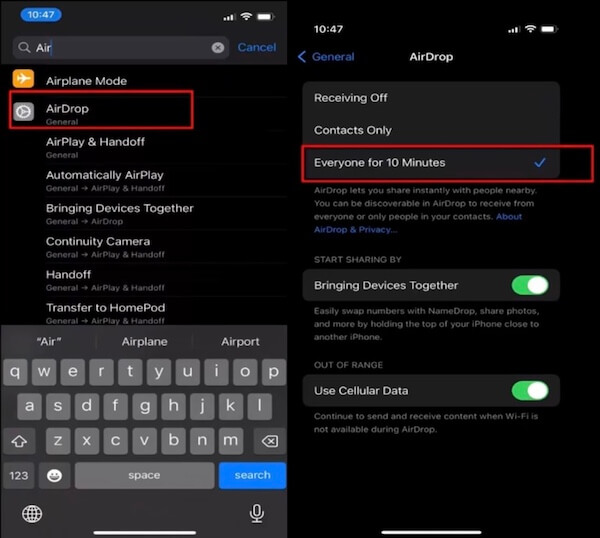
Step 2. After that, you must enable Airdrop on both devices and set visibility. Open Settings > General > Airdrop on your iPhone or search it directly from the Search Bar. Then, select the option of Everyone for 10 Minutes.
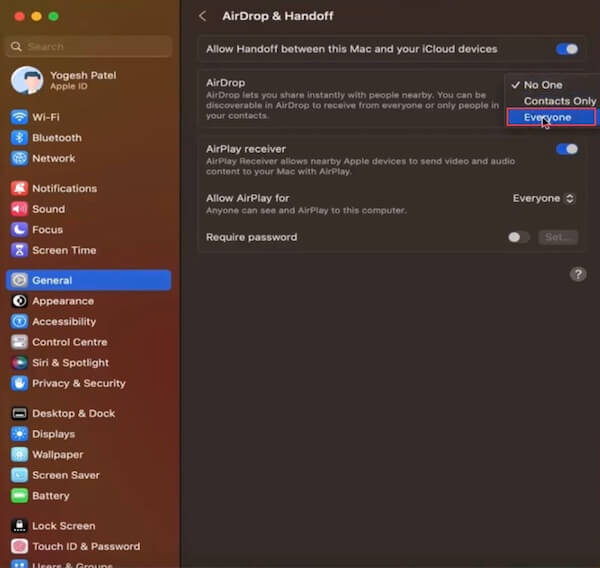
Move your mouse to the System Settings on your Mac and choose AirDrop &Handoff. By default, the system will choose No One under the AirDrop option, and you need to change it to Everyone.
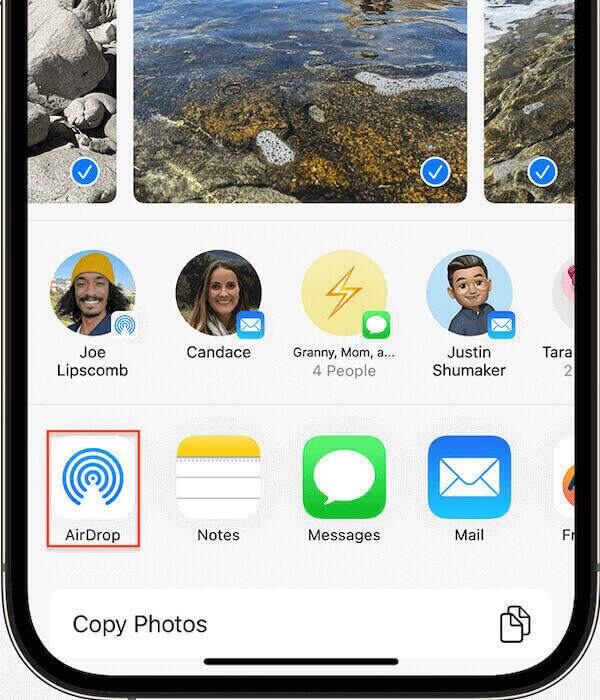
Step 3. Next, select the video you want to transfer on your iPhone, click the Share button and select AirDrop in the pop-up window, wait a moment, and your Mac device name should appear in the list. Click it.
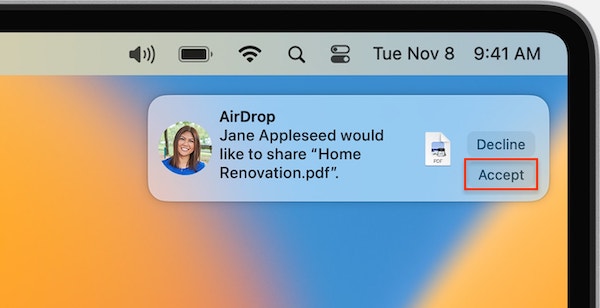
At this point, a prompt box will pop up on the Mac, asking whether to accept the transmission request. Click Accept, and the video transmission will start automatically. By default, the transferred videos are saved to the downloads folder on your Mac.
iCloud
Like many iOS users like to back up via iCloud, you can automatically import videos from your iPhone to the cloud and easily access them on your computer. It doesn't matter if you're a Windows user; you can log in using a browser.
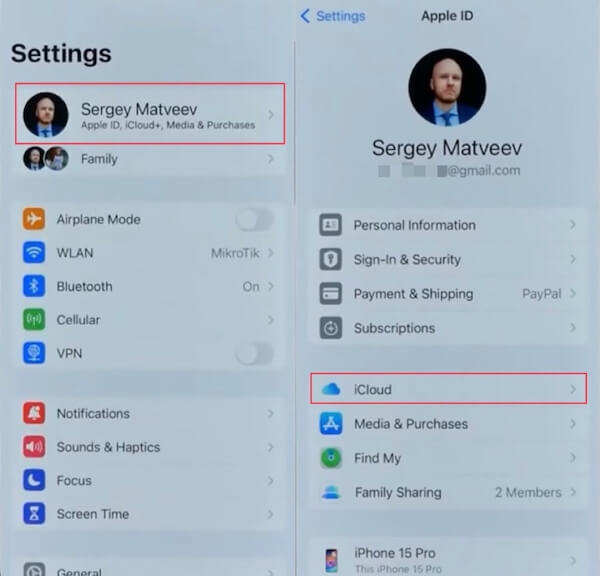
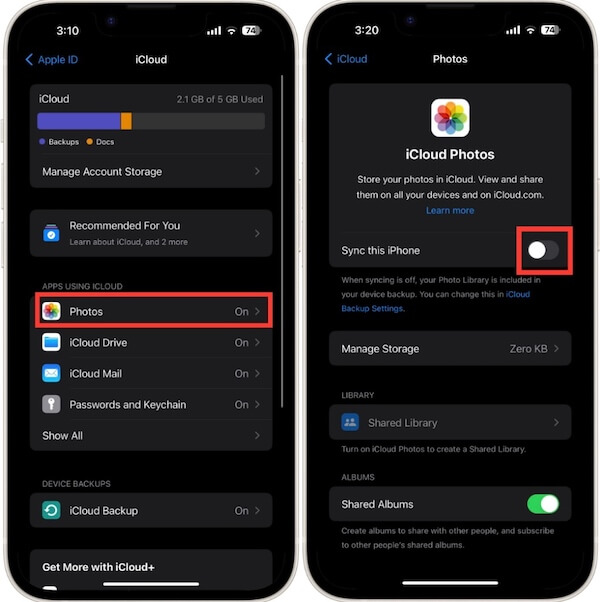
Step 1. Open Settings on your iPhone, tap on your Apple ID, select iCloud > Photos, and turn on the toggle of Sync this iPhone to enable iCloud on your iPhone. This setting automatically uploads all your photos and videos to iCloud, while you should keep the device connected to Wi-Fi and powered on.
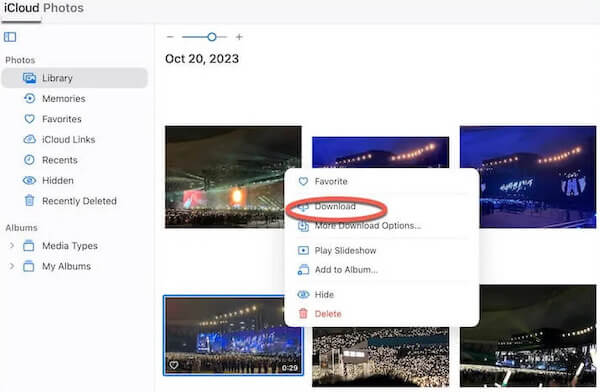
Step 2. Then, on your computer, open any browser and go to the iCloud website. Log in with the same Apple ID if you forget your iCloud password, and retrieve it as soon as possible if you forget it. Select iCloud Photos and go to the Library folder to access and download your synced photos and videos.
Google Drive
Google Drive is a convenient cloud storage tool for transferring files between devices and the preferred backup tool for Android users who don't have access to iCloud.
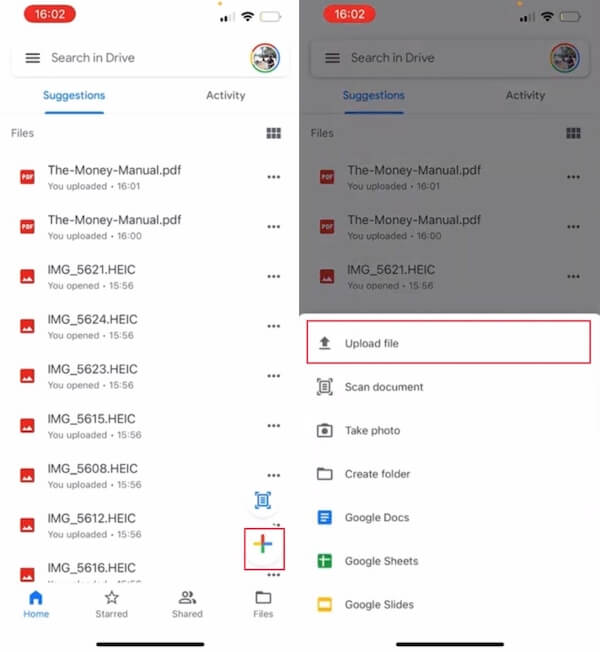
Step 1. Start by downloading and installing Google Drive on your iPhone. Once open, click the Add button at the bottom right corner of the home page and select the Upload file option. Then, tap from your iPhone's Photo and select the videos you want to transfer.
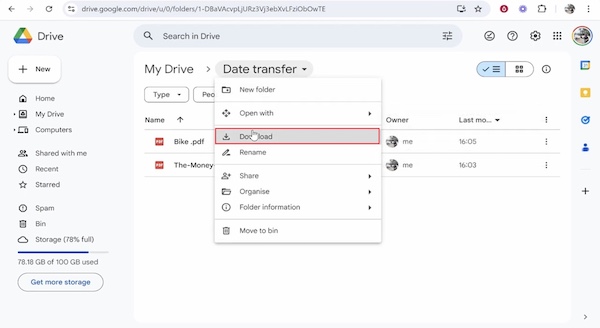
Step 2. Once the upload is complete, log in the same account to Google Drive on your computer. Click on My Drive, find the videos you just uploaded from your iPhone, and click Download. All the files will be automatically downloaded to the default folder on your computer.
Part 3. How to Transfer iPhone Videos Directly to Windows PC
Photos App
Many people think transferring data between the same system is easy, so they don't know how to move videos from iPhone to PC. There's an iTunes for Windows, but the Windows Photos app is more convenient.
Step 1. Start with a USB cable and connect your iPhone to your Windows computer. During the connection, keep your phone on screen and tap Trust to allow transfer to this computer.
Step 2. Locate and open the Photos app in the Start menu, click the Import button in the upper right corner and select From a USB device. Windows then scans the connected iPhone device and displays a list of photos and videos. Select the video you want to transfer and check it. Finally, click Import Selected.

File Explorer
In addition to the Photos app, there is another built-in tool which is even more straightforward: File Explorer. You can use it to transfer videos and any other files.
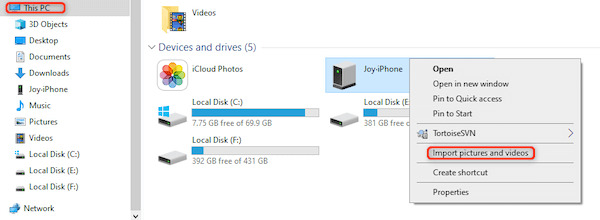
Step 1. First, connect your iPhone to your computer, then tap This PC on your desktop and find your device. Right-click your iPhone and choose Import pictures and videos.
Step 2. Then, the DCIM folder will pop up, and you see multiple subfolders named after numbers, which are the photos and videos on your iPhone. Preview and select the video file you want to transfer, and finally, click Import to start the transfer process.
Bonus Tips: How to Sync Videos on iPhone
Step 1. Go to Settings on your iPhone, and tap your user name at the top of the screen. Locate and select iCloud in the list.
Step 2. Select Photos in the iCloud service; all videos will be stored there by default. Finally, turn on the toggle of Sync this iPhone.
Conclusion
Well, that’s all you need to know about how to transfer video from your iPhone to your computer. These are the most effective and convenient ones we’ve come up with. Of course, the best choice is Apeaksoft iPhone Transfer you will know its powerful place after using it.
Related Articles
How to Send videos from Android to iPhone? 6 solutions are offered here to help you easily transfer large videos without losing quality from Android to iPhone.
How to share large videos with your friends on WhatsApp? This post will help you solve your problem when you fail to send a video file longer than 3 minutes.
Want to find an easy way to send large video files with email, such as Gmail, Outlook, and iCloud Mail Drop? We share the how-to in this post, just take a look.
This article will show you how to sync Apple Music with or without subscriptions. We provide perfect solutions for all potential tricky problems in the process.
