When you want to add a personal touch to your posts or stories, creating a custom location on Instagram can be useful. You can create your own locations on Instagram, ensuring that your content reflects the exact place or event you want to share with your followers. In this passage, we will show 2 effective methods for creating a location on Instagram, providing you with the flexibility to customize your posts and stories in a way that is uniquely yours. Whether you’re looking to promote a special event or simply enhance your storytelling, these methods will help you figure out how to create a new location on Instagram.

- Part 1. How to Create a New Location on Instagram (2 Ways)
- Part 2. How to Add a Location to Your Posts and Story
- Part 3. FAQs of Creating a Location on Instagram
Part 1. How to Create a New Location on Instagram (2 Ways)
Solution 1. Create the Location with iPhone Location Changer [Best Fit]
iPhone Location Changer can tell you how to create Instagram location. It can help you change GPS location to anywhere in the world on your iOS device. This tool can be incredibly useful for various purposes, from safeguarding your privacy to enhancing your social media presence. In this part, we’ll walk you through the steps to effectively create a location using iPhone Location Changer.

4,000,000+ Downloads
Create the location on Instagram easily.
Just install it on the computer.
Provide various useful functions.
Support all iPhones and iPad models.
Step 1 Download and install iPhone Location Changer
Navigate to the official iPhone Location Changer website and download and install the program on your computer.
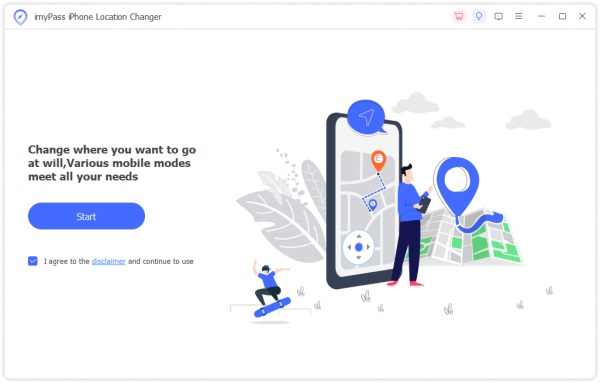
Step 2 Connect your iPhone
Launch iPhone Location Changer. Connect your iPhone to your computer using a USB cable.
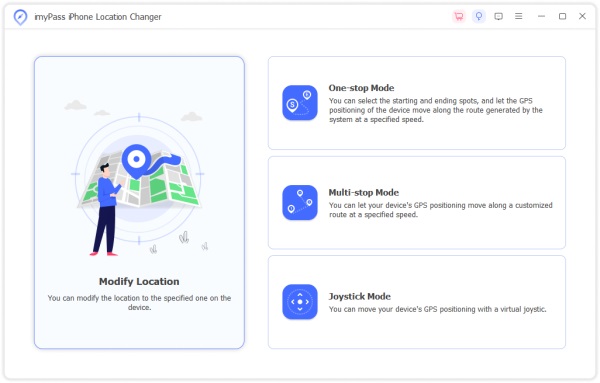
Step 3 Choose the Modify Location Mode and select a Custom Location
Click on the map to choose the location you want to set on your iPhone.
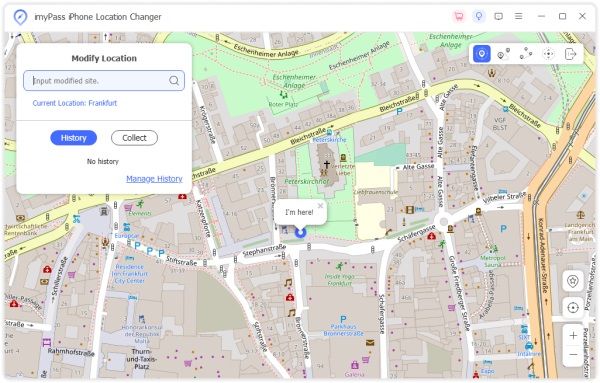
Step 4 Simulate your location and verify the location change on Instagram
Click the Start to Modify button to simulate your chosen location on your iPhone. Check your Instagram location to ensure the changes have taken effect.
Whether you’re testing location-based apps, or exploring creative uses, this program offers a user-friendly solution. You can create the location on Instagram to make your content stand out.
Solution 2. Use Facebook Location System to Create a Location
In this tutorial, we’ll help you go through the steps to effectively create a custom location on Facebook.
Step 1 Open Facebook and start a post
Launch the Facebook app or access the Facebook website and log in to your account.
Step 2 Select Check-In
While creating your post, you’ll see the Check-In option. Click on it.
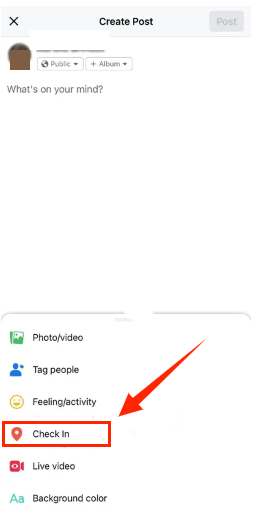
Step 3 Search for a Custom Location
You can allow Facebook to use your location in the settings. Typing the name of the location you want to create. If it doesn’t exist, Facebook will ask you to add it.

Step 4 Add your Custom Location
Fill in the location address. Click on the Save Custom Place option when prompted to add the custom location. Your custom location is now available for use in your post or check-in. You can select the custom location you just created to tag it in your post or check-in. Finish composing your post or check-in, and then share it.
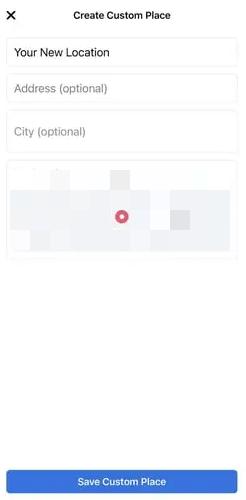
Facebook’s location system helps you to create custom locations for your check-ins, providing an easy way to add a personalized touch to your content. Whether you’re sharing a special event or simply looking to enhance your storytelling, this feature empowers you to tailor your Facebook presence to your preferences and needs. Explore this functionality and make your Facebook posts and check-ins even more engaging and meaningful to your audience.
Part 2. How to Add a Location to Your Posts and Story
Post with the New Location on Instagram
Note: To create a location on Instagram, you need a creator or business account.
Step 1 Run your Instagram
Launch the Instagram app on your mobile device and log in to your account if you aren’t already.
Step 2 Create a new post
Tap the + icon at the bottom center of the screen to start creating a new post.
Step 3 Add a location
After selecting a photo or video and adding a caption (if desired), look for the Add Location option just below your caption. Tap on it.
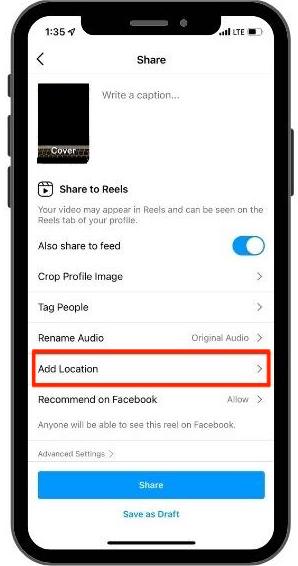
Step 4 Search and tag the location
Adding a location to your Instagram post in these four simple steps will help your followers and other users discover your content in connection with that specific location.
The Way to Add the Location to Your Story on Instagram
Step 1 Create your Instagram Story
Open the Instagram app and swipe right from your feed or tap your profile picture in the top-left corner to open the camera for creating a story. Capture a photo or video or select one from your gallery by swiping up.
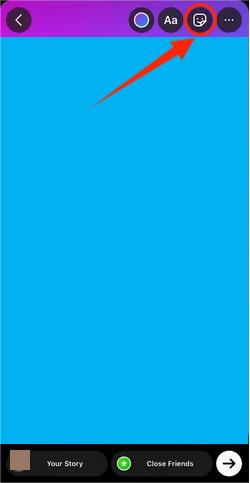
Step 2 Add a location
Look for the Stickers icon and tap it. Among the sticker options, you’ll find the Location sticker. Tap on it to add it to your story.
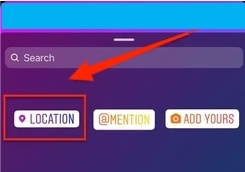
Instagram will then let you select the location you want to add. You can type the location’s name or scroll through nearby locations. You can easily create a location to your story on Instagram.
Further Reading:Part 3. FAQs of Creating a Location on Instagram
Can I make my own location on Instagram stories?
Yes, you can create your location on Instagram with iPhone Location Changer and Facebook. When adding a location to your post or story, you have the option to create a new location if it doesn’t already exist in Instagram’s database.
Can I alter your location on Instagram?
You cannot directly alter existing locations on Instagram. However, you can report incorrect or outdated location information to Instagram, and they may update it if necessary. If you want to change the location associated with a particular post or story, you can do so by editing or recreating the post or story with the desired location.
Can I remove location from Instagram?
Of course, you can remove the location from your post on Instagram. You should simply edit the post or story, and when you get to the location field, delete the location you have added. Then you will remove the location association from your post.
Conclusion
In this article, you will learn how to create location on Instagram in 2 ways. iPhone Location Change is the most suitable way to do it. Now, you can confidently navigate the world of geolocation on your iPhone. Explore this feature to its fullest and make the most of your device’s capabilities.


