If you are running an online store or website, image compression for website is an art that web developers must master. According to a recent survey, there are over a hundred image formats. They were developed for different purposes. Some of them are friendly to websites and others are not suitable to distribute online. This article is going to show you the best ways to compress images for web. So, you can optimize your website and speed up the page loading.

- Part 1: The Benefits to Compress Images for Web
- Part 2: The Easiest Way to Compress Images for Websites
- Part 3: How to Compress Images for Web with Photoshop
- Part 4: FAQs of Compressing Images for Web
Part 1: The Benefits to Compress Images for Web
Large images can slow down your web pages. That creates a less than optimal user experience. Compressing images for websites is the process of decreasing their file size. According to HTTP Archive, images make up on average 21% of a total webpage’s weight. The main benefits of image compression for webs include:
- Improve web pages loading speed.
- Improve your SEO. Smaller image files speed up your site and rank higher in search engine results.
- Make backups fast.
- Friendly to visitors since smaller file size use less bandwidth.
- Require less storage space on your server.
Part 2: The Easiest Way to Compress Images for Websites
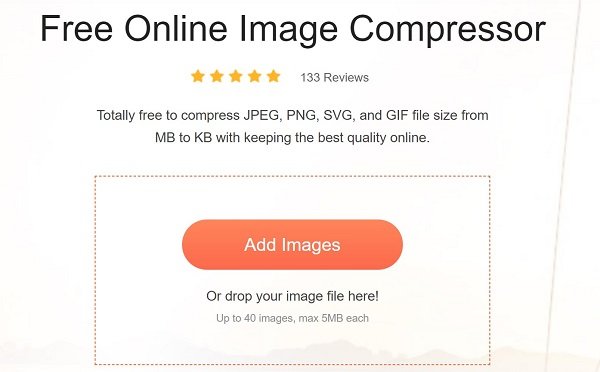
Web-based utilities are the easiest way to compress images for web; however, they usually have some drawbacks, such as file size limit. From this point, we recommend Apeaksoft Free Online Image Compressor. It can meet all you need to compress website images online.
Apeaksoft Free Online Image Compressor
- Compress up to 40 images online in batch.
- Totally free of charge without any restrictions.
- Not add watermark or logo on compressed images.
- Protect the image quality as much as possible while compressing.
- Download each compressed image separately or all images in ZIP archive.
In brief, Free Online Image Compressor is a good starting point for beginners and average people to compress images for web.
How to Compress Web Images Online
Step 1Open a web browser and visit the online image compressor directly.
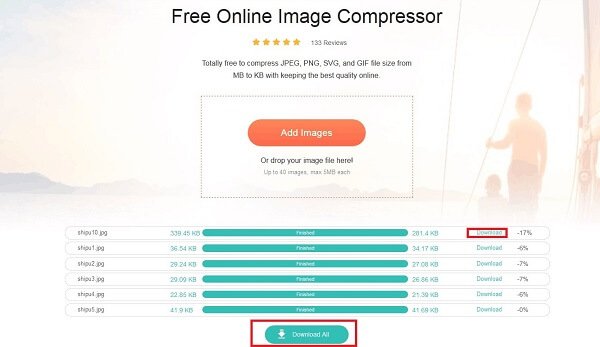
Step 2Click the Add Images button to trigger the open-file dialog. Find and select the images you wish to post on your website, and click the Open button to upload them. Alternatively, drag and drop the images from your hard drive into the page to upload them directly.
Step 3Once uploading is done, the web app starts compressing them immediately. After web images compression, you can download the smaller images by hitting the Download button on each file. Or click the Download All button to get all compressed images as a ZIP archive.
Part 3: How to Compress Images for Web with Photoshop
Photoshop is another way to compress images for websites. Compared to online image compressors, Photoshop offers extensive custom options and image editing tools. Therefore, it is more suitable to advanced users. If you already have Photoshop on your computer, the steps below clarify the workflow.
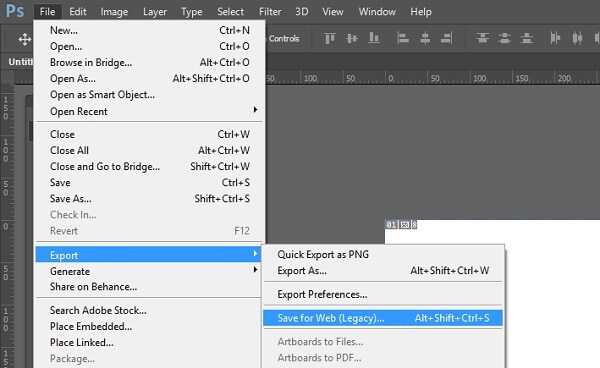
Step 1Run Photoshop and open an image that you want to use for your website. Open the File menu at the top ribbon and select Save for Web. For some versions of Photoshop, the Save for Web option is hidden in Export tab in File menu.
Step 2On the Save for Web dialog, you can preview the original image and compressed result in Original and Optimized tabs. Locate the right panel and you will get some options.
Step 3Firstly, adjust the File format in the top right corner. By default, it is JPEG, but you can change it to other image formats. When it comes to Quality, adjust the value based on your need. The higher, the file size is larger. If you compress image quality too much, it will become blurry.
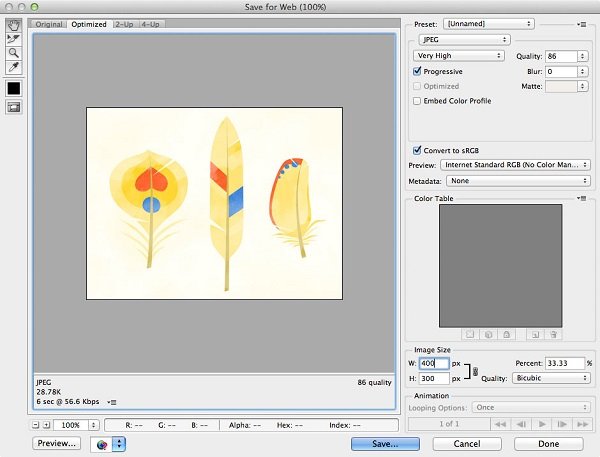
Step 4Next, check the box next to Optimized. Then decide whether convert to sRGB. To downsize the image, you can change the Width and Height options in Image Size area.
Step 5Check the file size at the bottom left corner. If you are satisfied with it, click the Done button. On the profile dialog, select a destination folder, name the image and save it to your hard drive.
Part 4: FAQs of Compressing Images for Web
What is a good image size for web?
Answer: In addition to compress image for websites, the image dimension is an important element. It can have a big impact on how it displays online. We suggest you to use images that are between 1500 and 2500 pixels wide. The images smaller than 1500 pixels may be blurry or pixelated when they are stretched.
How many KB should a web image be?
Answer: There is a 200KB rule. Most web developers agree that 200KB is the maximum file size for an image. This figure has been tested and arrived at the combination of several factors, such as the average dimensions of images, format, the number of images per web page. When you compress images for web, you can follow this rule too.
Which is better for web, JPG or PNG?
Answer: Since both JPG and PNG have their advantages and downsides, you should pick up the right one according to your situation. In practice, you should use JPG for photographs and PNG for graphics and screenshots.
Conclusion
This article has showed you how to compress images for websites. First of all, image compression is an important part of SEO and website construction. Plus, it is also an easy way to optimize your web pages. Photoshop is able to optimize an image for website with various parameters. If you are looking for a simpler tool, we suggest you to try Apeaksoft Free Online Image Compressor.