Want to resize a JPG or PNG picture and reduce photo file size on your Windows 10 computer, Mac, or portable iOS/Android device?
High quality digital photos can take up quite a bit of space on your device. Also, large pictures will cost more time for sharing or uploading. So, in many cases, you need to compress large image files and reduce their file sizes.

This post shows 3 different ways to quickly and easily reduce the size of an image file. Whether you want to reduce photo file size on Windows 10 PC, Mac, iPhone or Android phone, you can find a right photo compressor tool to do that.
- Part 1. Reduce Photo File Size Online Free
- Part 2. Reduce Photo File Size on Windows PC and Mac
- Part 3. Reduce Photo File Size on iPhone and Android Phone
- Part 4. FAQs of How to Reduce File Size of Photo
Part 1. How to Reduce Photo File Size Online Free
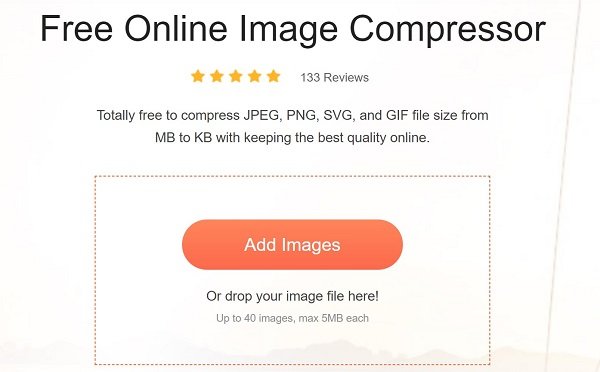
First, we like to introduce you with a popular online picture compressing tool, Free Online Image Compressor to reduce the file size of your photos. It highly supports all frequently-used image formats including JPEG, PNG, SVG, and GIF.
Compared with other online photo compressors, it enables you to reduce photo file size from MB to KB while keeping the original image quality. Moreover, it has the capability to compress up to 40 image files in batch. Now you can take the following guide to directly compress photos online.
Step 1Open your web browser like Chrome, IE, Firefox or Safari, and go to the Free Online Image Compressor site. Click the Add Images to Compress button to select and upload the picture you want to compress through the pop-up window. You are allowed to add one or more image files based on your need.
Step 2This free online photo compressor will automatically start the compression as soon as the uploading process is finished. Then you can simply click the Download button on each compressed file to save it on your computer. Or you can click Download All button to save all all-compressed images as a ZIP file.
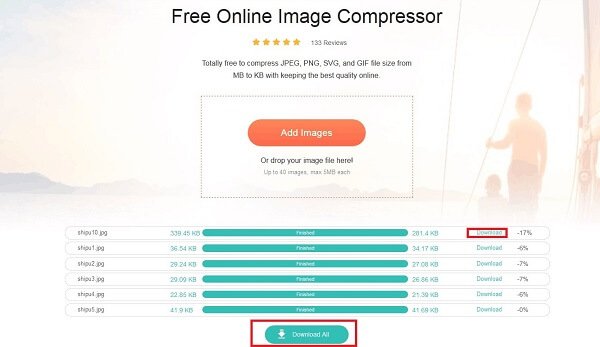
You can see the compression rate and the specific file sizes of the source photo and compressed file clearly. With the adoption of the advanced lossless algorithm, this online image compressor can easily identify textures, patterns and colors, and remove some unnecessary data to reduce photo file size while keeping the relatively best quality.
Part 2. How to Reduce Photo File Size on Windows 10 PC and Mac
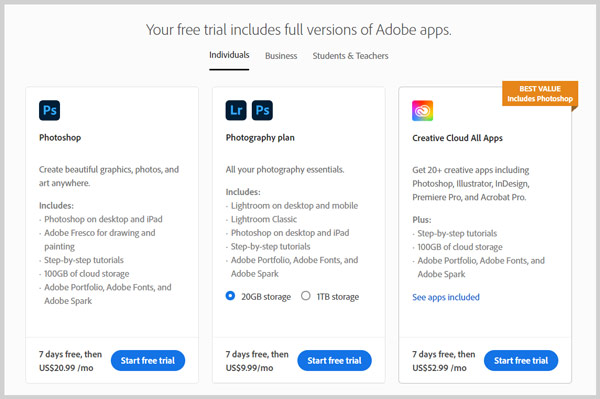
Adobe Photoshop is one of the most popular and powerful picture editors that can help you reduce the file size of your photos. Photoshop is not a free image compressor or editor. Actually, it is quite expensive. Good thing is, Adobe allows you to free use Photoshop for 7 days. When you want to edit an image file, more than just compress its file size, you can free download Photoshop and try various features on it.
Step 1Go to the official site of Adobe Photoshop and click on the Free Trial button. Click Start free trial button and then enter your email address as required. Follow the instructions to download and install Photoshop on your computer.
Step 2Launch Adobe Photoshop and open the photo you want to compress. You are allowed to directly drag and drop your image file for adding. Now you can use the Save for Web feature in Photoshop to reduce photo file size with ease.
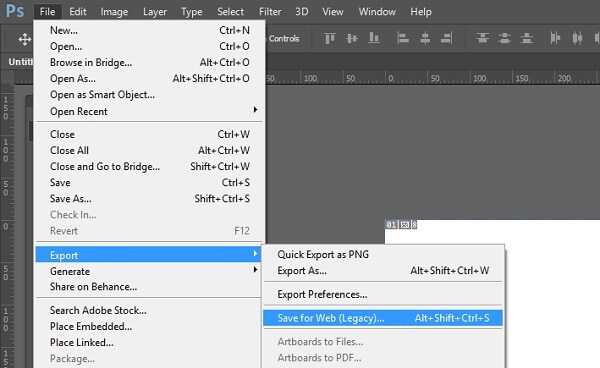
Click on the File menu on the top, select Export from the drop-down list, and then choose the Save for Web option.
Step 3Now you will be taken to Save for Web window. In some versions, you can use the hotkeys, press the Shift + Ctrl/Command + Alt + S keys at the same time to quickly arise the Save for Web window.
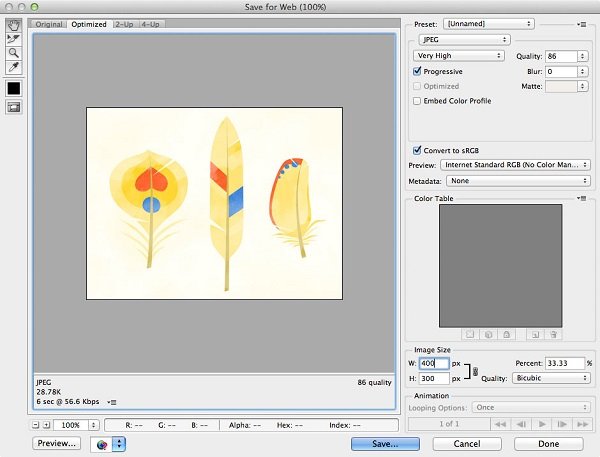
Here you can select the output image format, adjust file size, adjust image quality, custom the photo compressing, and do more operations.
Step 4Click the Save button to select a suitable destination file folder for your compressed photo. Then click Save again to save it on your computer. Read more about Photoshop compress photo.
Part 3. How to Reduce Photo File Size on iPhone and Android Phone
If you are an iOS or Android user and want to directly compress pictures on your mobile device, you can go to App Store or Google Play Store to find a right photo compressor app. In case you don’t know which app, you should use, this part shares 2 photo resizer apps to help you reduce photo file size on iPhone and Android phone.
How to reduce photo size on iPhone
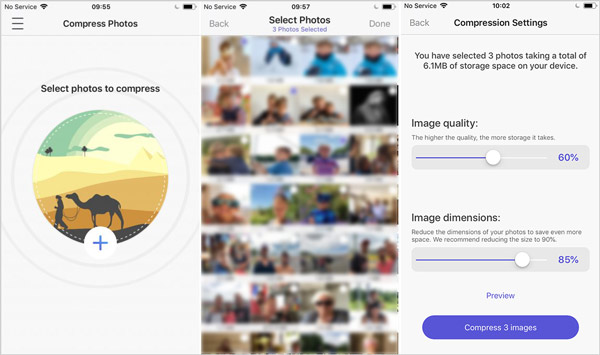
If you are using an iPhone or iPad, you can open the App Store, and then search for the Compress Photos app. When you enter it, you can tap the + button in the middle of the screen to select and add your photo for compressing. After that, you can adjust the Image quality and Image dimensions to reduce the photo file size with ease. It enables you to compress PNG, JPEG and HEIC.
How to reduce photo size on Android phone
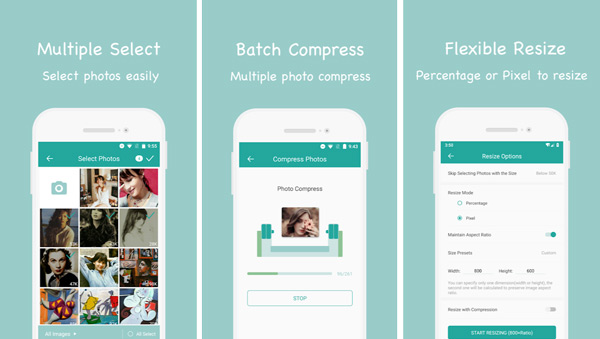
As an Android user, you can go to Google Play Store to find a good picture compressing app. Here you can use the popular Photo Compress & Resize app to compress your image files. Just free install it on your Android phone, select your photo and then reduce the file size.
Part 4. FAQs of How to Reduce File Size of Photo
Question 1. Can I take photos with smaller file size on iPhone?
Yes, iOS has introduced the new HEIC (High-Efficiency Image Container) format for users to take pictures, as an option over the common JPEG format. Compared with JPEG and PNG, HEIC offers high-quality images in a smaller file size. You can open Settings app, scroll down to locate the phone camera option, choose camera and then tap Formats. Select High-Efficiency option to take photos with smaller size in HEIC.
Question 2. How to free reduce photo file size using Microsoft Paint?
Microsoft Paint is equipped with some basic graphic editing tools. It allows you to compress JPEG photos easily. Open your image file in Microsoft Paint, right-click on it, and select Edit option. Now you can see a Resize feature under the Home tab. Click on it and then choose the Maintain aspect ratio checkbox. After that, you are able to reduce the width and height in the Horizontal and Vertical box. Click OK button to save your changes and then click File, Save As to export the compressed picture.
Question 3. Can I to free reduce photo file size on Mac with Preview?
Preview is a built-in and default picture viewing tool for Mac users. After you open a photo in Preview, you can click Tools on the top menu bar, and then select the Adjust Size option. Resize your photo by setting width, height and resolution. Then you can click File, Save As to create a new copy of the resized image file on your Mac.
Conclusion
We have mainly talked about how to reduce photo file size in this post. You can learn 3 effective methods to compress your picture to a smaller file size. Whether you want to shrink the photo size on a Windows 10/8/7 PC, Mac, iPhone, iPad, or Android phone, you can find a right photo compressor tool to help you do it.