


Voice Recorder Mac: Simple Ways to Record Audio on MacBook

Recording a Zoom meeting or a voiceover on your Mac can get tricky when the audio doesn't come through. Apple's built-in options aren't always enough for recording internal sound, so having the right MacBook voice recorder can save you a lot of trial and error. Here are a few straightforward ways to get the recording you need.
PAGE CONTENT:
Part 1: What Makes a Good Voice Recorder for Mac
When looking for a reliable voice recorder for Mac, capturing internal audio without complex plugins is often the biggest challenge. Here is what you should look for:
- Audio Sources: The best voice recording software for Mac must easily capture both your microphone and system sound at the same time, without any extra setups.
- Format Support: Look for tools that output directly to popular formats like MP3 or WAV, saving you time on extra conversions.
- Usability & Editing: A clean interface with basic trimming tools is essential, whether you invest in a premium app or just start with a free voice recording software for Mac.
Part 2: Best Voice Recorder Software for Mac
If you want a tool that perfectly checks all the boxes mentioned above, Apeaksoft Screen Recorder can be the best voice recording software for Mac. It completely bypasses macOS's internal audio recording restrictions, offering a seamless and professional experience.

Downloaded by over 1,000,000 users
- Record system sound and microphone audio together in just a few clicks.
- Save recordings in popular formats, including MP3, M4A, and AAC.
- Remove distracting background noise and make your microphone recordings sound clearer.
- Trim and cut unwanted parts before saving with the built-in editor.
Secure Download
Secure Download
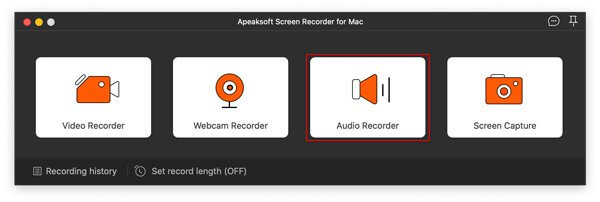
Step 1. Download, install, and launch the latest Mac version of Apeaksoft Screen Recorder, then select the Audio Recorder module from the main interface.
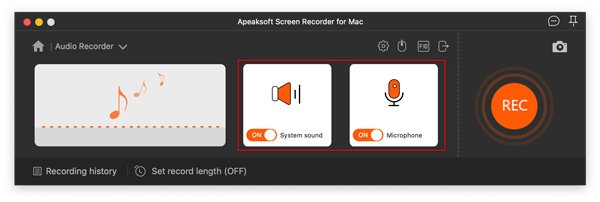
Step 2. To record your voice, toggle the Microphone switch to ON and adjust the volume slider. If you also need to capture audio playing on your computer, turn on System Sound.
Step 3. Click the gear icon in the top-right corner to open the recording settings.
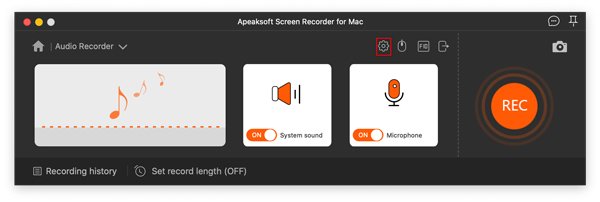
Navigate to the Output section, and select your desired audio format (such as MP3) and audio quality. Click OK to save the settings.
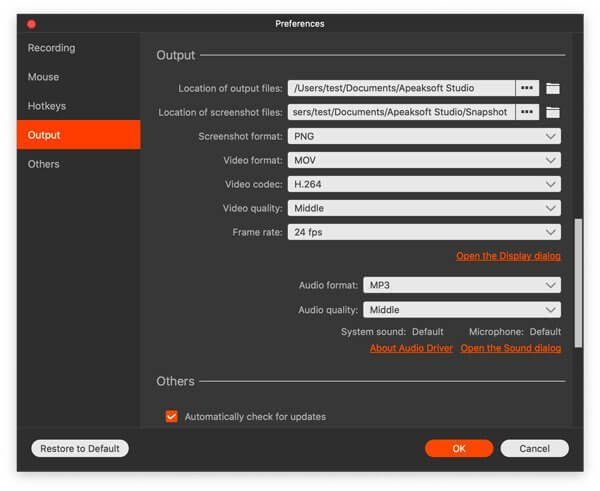
Step 4. Click the large orange REC button to start capturing your audio. You can use the hotkeys or the floating control bar to pause or stop the process at any time.
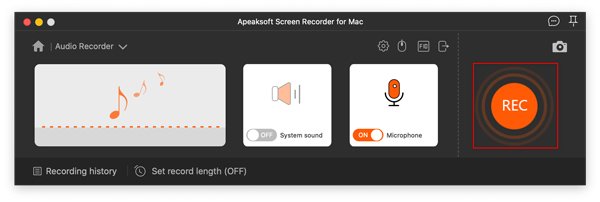
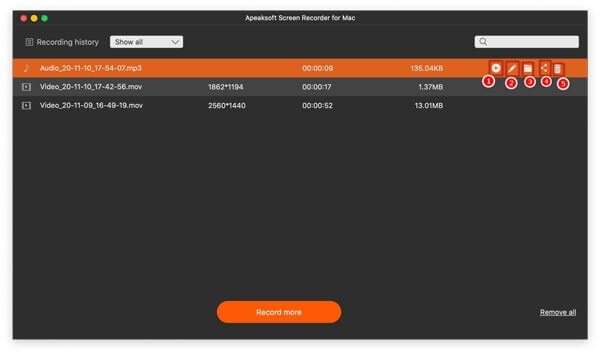
Step 5. Once you click the stop button, a preview window will appear. Here, you can listen to your recording, use the clipping tool to cut out any unwanted parts at the beginning or end, and finally click Export to save it to your Mac.
Part 3: How to Record Voice on Mac with Built-in Tools
If you only need basic voice recording without capturing system audio or editing, your Mac has two excellent built-in tools ready to use.
Method 1. Voice Memos
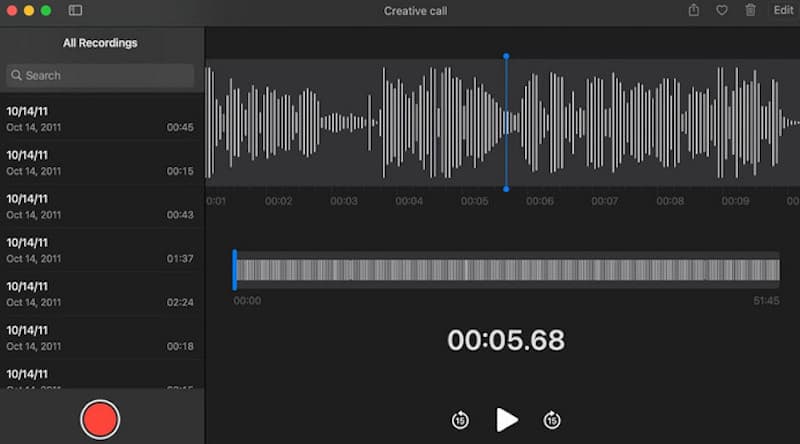
Voice Memos is the easiest free voice recording software for Mac. It syncs across your Apple devices via iCloud, making it perfect for quick thoughts or lectures.
Step 1. Open the Voice Memos app from your Mac's Applications folder or Launchpad.
Step 2. Click the large red Record button to start capturing your voice through the built-in microphone.
Step 3. Click the Pause button to temporarily stop, or click Done to save the audio automatically.
Method 2. QuickTime Player
Although you might prefer another third-party app as the best free video player for watching media, Apple's default QuickTime Player is actually a reliable voice recorder on Mac that users often overlook. It offers slightly more control over microphone selection than Voice Memos.
Step 1. Open QuickTime Player, click File in the top menu bar, and choose New Audio Recording.
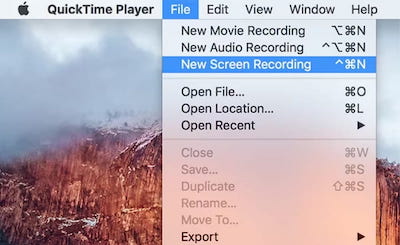
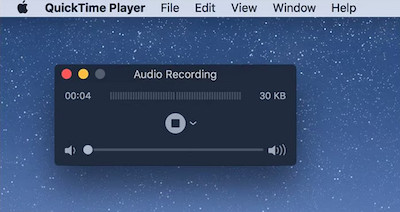
Step 2. Click the small drop-down arrow next to the record button to select your preferred microphone and audio quality.
Step 3. Click the red Record button to begin speaking.
Step 4. Click the Stop button when finished, then go to File > Save to export your audio to your Mac.
Pro Tip: Both Voice Memos and QuickTime Player primarily save your recordings in M4A format. If you frequently work with uncompressed audio files, you can convert WAV to mp3 on a Mac when needed.
Conclusion
By now, you should have a better idea of which voice recording software for Mac suits your needs. Built-in tools work well for quick voice notes, while Apeaksoft Screen Recorder gives you more flexibility when you need to record system sound, microphone audio, or both.
What are you planning to record today? Download one and give it a spin!
 Apeaksoft Screen Recorder
 Record any video and audio on phone and computer screen.
Secure Download
Secure Download
Related Articles