How to Recover Your Word Documents on Windows and Mac
Losing an essential Word document can be stress and frustrating. It cannot be denied that MS Word is convenient to create, edit, and transfer documents. However, there are a few scenarios where your documents will be lost. For example, you forgot to save a document before closing Word, you accidentally delete a Word file, or a document is corrupted. The good news is that you can recover unsaved Word documents on Windows and macOS.
PAGE CONTENT:
Part 1: How to Recover a Document in Word by AutoRecover
AutoRecover is the built-in feature in MS Word. Once you turn it on, Word will automatically save your document regularly. It is an easy way to recover an unsaved Word document, even if you have never saved it.
On Mac
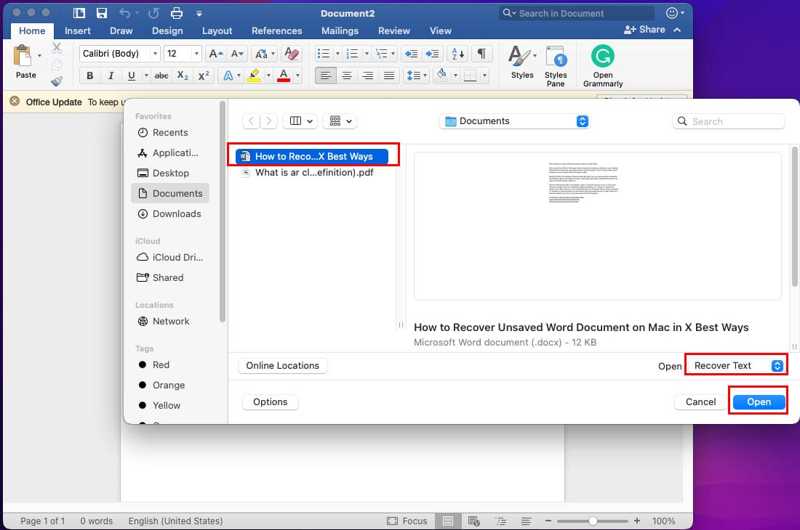
Step 1. Choose the File menu in Word for Mac, and click Open.
Step 2. Select the unsaved document in the dialog.
Step 3. Pick Recover Text or Repair at the bottom, and click the Open button.
On Windows

Step 1. Go to the File menu in Word.
Step 2. Choose Info and click Manage Document.
Step 3. Click Recover Unsaved Documents.
Step 4. Select the file and click Open.
Step 5. Next, click the Save As button on the Recovered Unsaved File notification.
Step 6. Follow the onscreen instructions to save the document.
Note: Besides, you can recover a Word document that was not saved on a Mac in /Users//Library/Containers/com.Microsoft/Data/Library/Preferences/AutoRecovery. For Windows, the path is Users\
Part 2: How to Restore a Deleted Word Document from the Recycle Bin or Trash
To recover deleted Word documents, you can try the Recycle Bin or Trash. Once you delete a document, it will go to the Recycle Bin or Trash folder rather than being completely removed from your drive.
On Mac
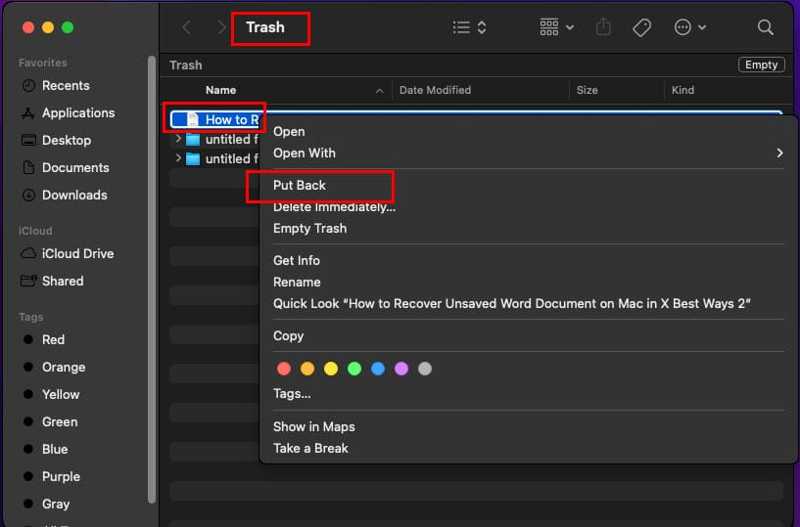
Step 1. Open the Trash from your Dock bar.
Tips: Or go to Trash in Finder.
Step 2. Highlight the desired documents.
Step 3. Right-click on one selected document, and choose Put Back.
On Windows
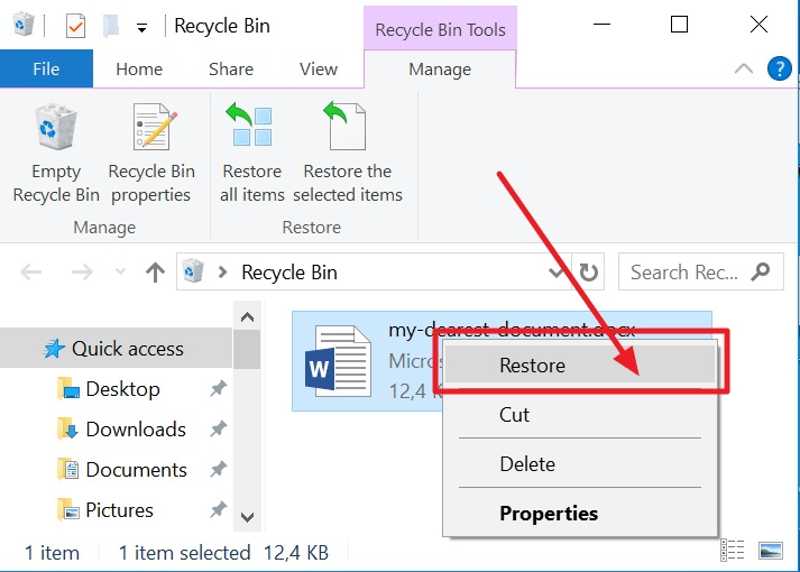
Step 1. Open the Recycle Bin from your desktop.
Tips: If you cannot find it on your desktop, open a File Explorer and choose Recycle Bin on the sidebar.
Step 2. Find and select the documents you want to recover.
Step 3. Right-click on one selected document and pick Restore. Or expand the top menu bar, go to Manage, and click Restore the selected items.
Step 4. Locate the original folder or find recovered documents in Word, and check if your documents have been recovered successfully.
Note: If you cannot find the lost Word documents in Trash or Recycle Bin, it means that your files have been permanently deleted.
Part 3: How to Recover Word Document by Command Lines
The command line is another way to recover a corrupted Word file. In fact, both Windows and macOS have integrated the command lines to recover your files, including Word documents.
On Mac
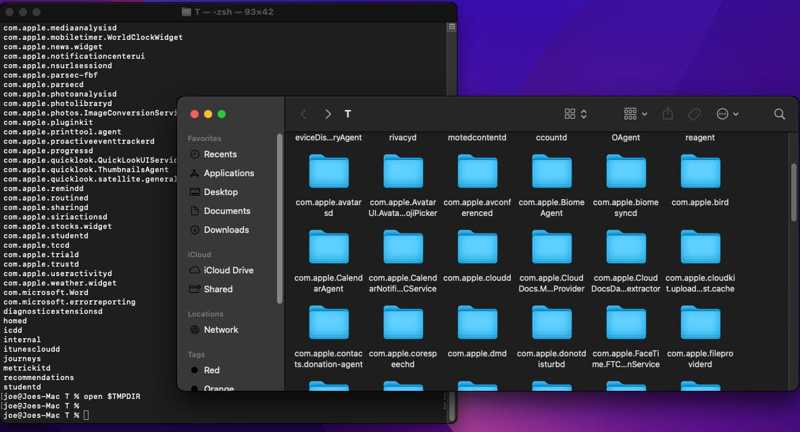
Step 1. Open the Terminal app from the Applications folder.
Step 2. Type the command: cd $TMPDIR and press the Return key to access the temp folder.
Step 3. Next, enter ls and press Return to view the content.
Step 4. Find the desired Word file.
Step 5. Type in open $TMPDIR and press Return.
Step 6. Now, save the recovered document as a new file.
On Windows
Step 1. Right-click the Start menu and choose Command Prompt(Admin) or PowerShell(Admin).
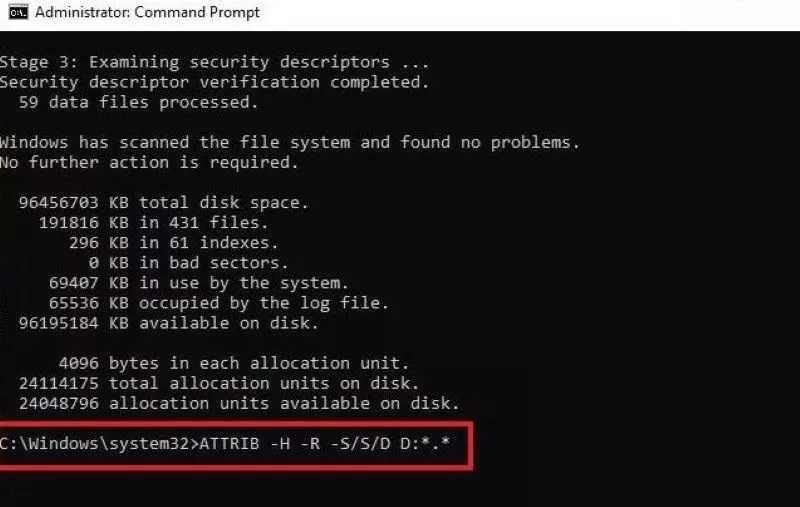
Step 2. Input chkdsk *: /f and press the Enter key on your keyboard.
Tips: Replace * with the hard drive letter where your document saved.
Step 3. Once done, type ATTRIB -H -R -S /S /D D:*.*, and hit Enter. Replace D with your hard drive letter.
Step 4. The corrupted Word file will be recovered to the original location.
Note: While the command lines can recover corrupted Word documents, the success rate is varied, depending on your file.
Part 4: How to Recover the Previous Version of a Word Document
How to Recover the Previous Version of a Word Document on Mac

Time Machine is the built-in backup and restore feature on macOS. If you have created a Time Machine backup, you can recover a previous version of a Word document on your Mac quickly.
Step 1. Insert the external backup device into your Mac.
Step 2. Open Finder and locate where your documents are stored.
Step 3. Click the Time Machine button on the toolbar and choose Enter Time Machine.
Step 4. Use the Arrow buttons to find the right version.
Step 5. Select the documents and click Restore.
How to Recover the Previous Version of a Word Document on Windows
The File History feature is a built-in way to recover lost files. It can recover previous versions of Word documents on Windows quickly if you have set up this feature on your PC. Here are the steps:
Step 1. Search for File History in the Start menu.
Step 2. Then, open it from the result.
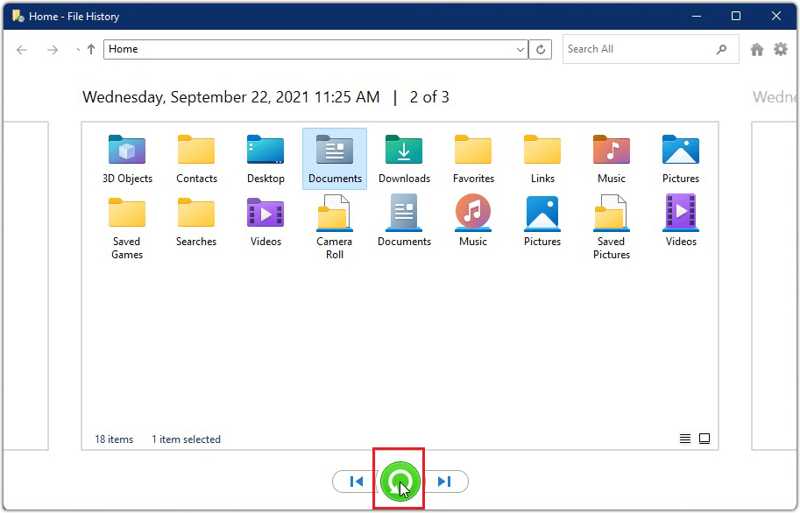
Step 3. Click Restore personal files to open the File History window.
Step 4. Navigate to the folder where your documents are saved in the address box.
Step 5. Use the Forward and Backward buttons to find the right version of the document.
Step 6. Next, click the Restore button to recover the earlier version of Word documents to the original folder.
Note: If you want to save the documents to another location, open the destination in Finder or File Explorer, drag and drop the documents to the folder.
Further Reading
Part 5: How to Recover Any Word Without Backup
If the methods above are unavailable, Apeaksoft Data Recovery is the ultimate solution to recover overwritten or replaced Word documents on Mac and Windows quickly. It works on corrupted and unsaved documents, too.
An Ultimate Way to Recover Word Documents on Windows and Mac
- Find and recover lost Word documents quickly.
- Preview documents for selectively recovering.
- Work for internal and external hard drives.
- Support Windows 11 and earlier, macOS 10.7 and later.
Secure Download
Secure Download

How to Recover Deleted Word Documents
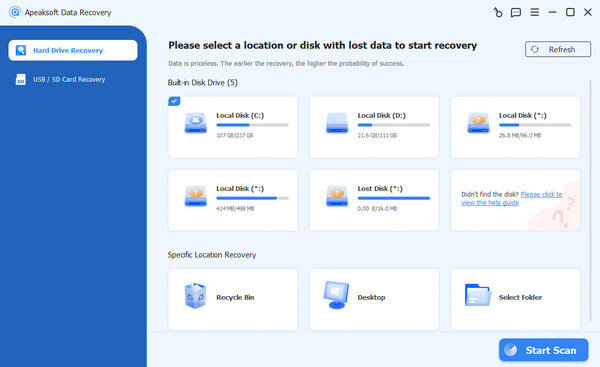
Step 1. Scan your disk
Launch the document recovery tool after installing it on your computer. Go to the Hard Drive Recovery tab, click the right disk, and click Start Scan to start scanning your disk. If your documents were stored in an external hard drive, connect it to your computer, go to the USB / SD Card Recovery tab in the tool, pick the drive, and click Scan Disk.
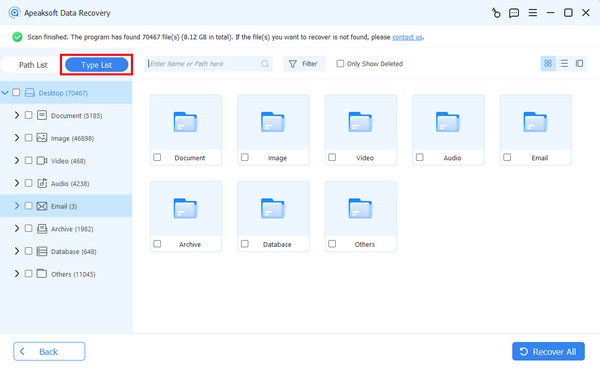
Step 2. Preview documents
When it is done, head to the Type List tab and check Document. Now, preview all documents on your disk. Quickly locate specific documents with the Filter option. Or go to the Path List tab, and locate the lost documents by path.
Step 3. Recover deleted documents
Tick all the documents you want to retrieve, and click Recover. Set an output folder and confirm recovering deleted documents. You’d better select another location rather than the original folder.

Conclusion
Now, you should understand how to recover an unsaved Word document on macOS and Windows. Moreover, you should learn how to find the deleted and corrupted documents on your computer or laptop. Apeaksoft Data Recovery works for any lost documents with no technical skill. It works for a wide range of situations, from unsaved documents to corrupted Word, from deleted documents to lost files. Moreover, the user-friendly interface makes it a good option for beginners.
Related Articles
This guide demonstrates multiple ways to effectively restore deleted PDF files on Windows 11/10/8/7/XP/Vista and Mac OS X.
To recover corrupted zip files successfully, you can use Apeaksoft Data Recovery, alternative decompression tools, repair utilities, or backups.
Many users use Recover My Files to recover data, but how does this old software perform today? This article will take you quickly through its true capabilities.
Wondering how to recover deleted files from Android without root? Explore what works on modern Android versions and how to restore data step by step.
