According to a recent survey, people are more likely to use external hard drive to expand storage space for their digital devices, compared to other storage media. However, hard drives advertised as being compatible with Windows and MacOS may have misled you into thinking you can use a hard drive cross-platform.
Formatting external hard drive is a useful skill if you have one. Be default, external hard drives are sold in NTFS, which is designed for Windows. To use it on a Mac computer, you have to format it to HFS or FAT32. We will tell you how to perform external hard drive format quickly.

- Part 1: Format External Drive on PC
- Part 2: Format External Drive on Mac
- Part 3: How to Recover Data from a Formatted External Drive
Part 1: Format External Drive on PC
Format hard drive will erase all data in it, and you should backup it before formatting it.
Bear in mind that formatting an external hard drive will erase all your data, so you’d better back up them before the procedure. Then follow the easy steps below to format your external hard drive. It is available to Windows 10/8/7/XP/Vista.
Step 1. Connect your external hard drive to your PC via a USB cable.
Step 2. Click the Start menu and open Control Panel from the context menu. Select System and Security > Administrative Tools > Computer Management > Disk Management.
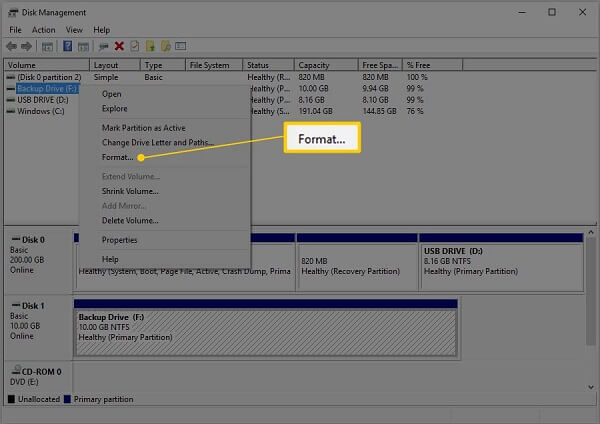
Step 3. Here you can manage all your hard drives including the hard drive. Right-click on the external hard drive and select Format to trigger the Format dialog.
Step 4. Enter a name for the hard drive in the Volume label box. Then select a proper file system from the File system dropdown list. To use the external hard drive on Windows, select NTFS. FAT32 is compatible with both Windows and Mac.
Step 5. Choose Default from the Allocation unite size option. Next, uncheck the box next to Perform a quick format. That will perform a standard format, which will check errors and overwrite them on each sector.
Step 6. Click the OK button. When prompted, hit OK to start formatting the external hard drive immediately.
For your external storage device like SD card, the steps work similarly, and you just need to insert your SD card into reader and plug it into your computer.
Part 2: Format External Drive on Mac
Similar to Windows, Apple has introduced the hard-drive-format feature into MacOS, but the procedure is pretty different.
Note: Again, do not forget to backup your Mac before formatting it.
Step 1. Also plug the external hard drive to your computer with a USB cable.
Step 2. Open your Disk Utility. You can find it in Applications > Utilities.
Step 3. Find the external hard drive on the left sidebar and click on it.
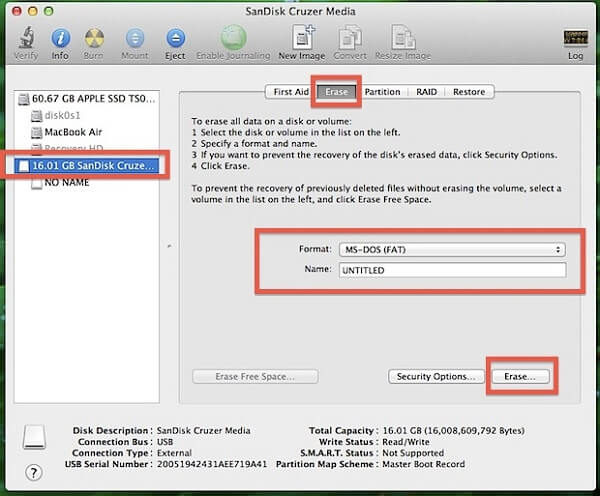
Step 4. Go to the Erase tab from the top of the window.
Step 5. Next, select Mac OS Extended (Journaled) from the Format dropdown list. Drop a name into the Name field.
Step 6. Click the Erase button at the bottom right side. Then read the popup message carefully and hit Erase again to initiate formatting external hard drive.
After formatting the NTFS drive, then you can write to data into it. (Otherwise, you will have to learn here to write to NTFS files on Mac.)
Part 3: How to Recover Data from a Formatted External Drive
As mentioned previously, formatting external hard drive will overwrite all your data. In fact, chances are that you can recover data from the formatted drive before it is overwritten. Apeaksoft Data Recovery could meet your need of data recovery.
- Retrieve lost data from formatted external hard drive simply.
- Support a lot of data types including photos, videos, documents, etc.
- Integrate both quick scan and deep scan to meet various demand.
- Restore lost data to your computer with the original conditions.
In short, it is the best way to recover lost files from your external hard drive after formatting. We use photos as the example to tell you the procedure.
How to Recover Data from A Formatted External Hard Drive
Step 1. Get the best data recovery software
Download and install Data Recovery on your computer.
Launch it when you need to recover data from a formatted external hard drive. Use a USB cable to connect the external hard drive and your PC.
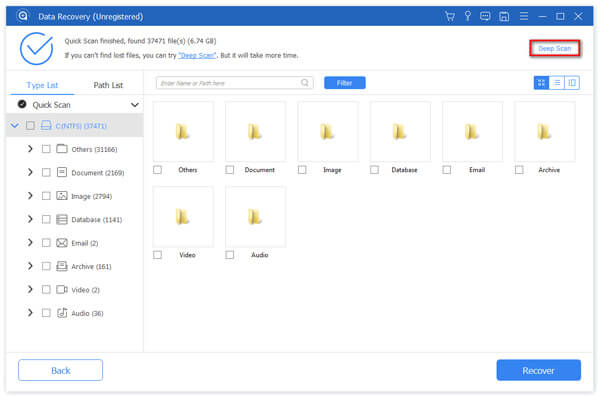
Step 2. Preview all lost photos
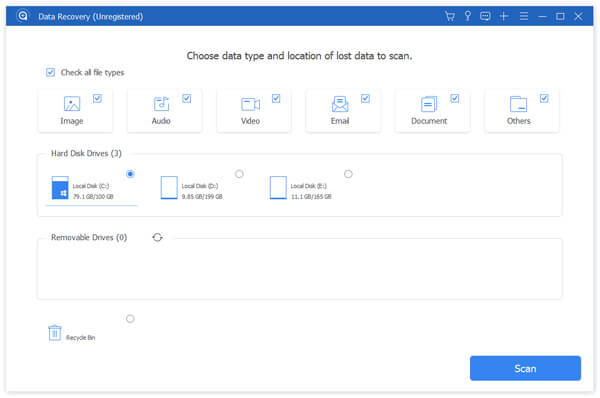
Check the box next to the data type you want to recover, such as Image. Then select your external drive under the Removable Drives area. Click the Scan button to look for lost data. When it is done, preview the photos and select the desired ones. The search bar on the top of the window is used to quickly locate certain images. If you cannot find your photos, click the Deep Scan button to scan your disk deeply.
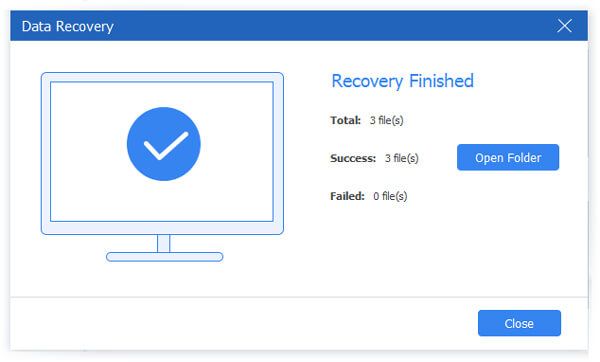
Step 3. Recover photos from formatted external hard drive
After selection, click the Recover button to trigger the data recovery process. It only takes a few minutes to recover entire external drive.
Conclusion
This post has told you how to format external hard drive on Windows and MacOS. Microsoft and Apple have designed the format feature into their operating systems. What you need to do is to follow our guide. On the other hand, Apeaksoft Data Recovery is able to restore lost files from your formatted external hard drive. Now, you can feel free to erase your drive.