5 Efficient Ways to Transfer MP4 to iPad with/Without iTunes
Have you ever met such a situation, when you have downloaded many videos from YouTube, Facebook or other sites, and want to enjoy them on your iPad, but you have no idea about how to transfer these MP4 files to your iPad?
There are some users who ask such a question of how to transfer MP4 to an iPad. The solution is not difficult if you have some assistants. Fortunately, in this article, we are discussing how to transfer MP4 to iPad in different ways. Just begin reading and take these ways easily.
PAGE CONTENT:
An Overview of the 5 Tools to Transfer MP4 to iPad
| Tool | Transfer Ways | Ease of Use | Speed | Saving Path |
| iPhone Transfer | USB cable | Easy | Fast | Photos app |
| Cloud Service | Wi-Fi | Easy | Medium (depends on network) | Files app / iCloud Drive |
| WALTR 2 | USB cable/Wi-Fi | Easy | Medium | Videos / TV app |
| VLC | USB cable/Wi-Fi | Easy | Medium | VLC app |
| iTunes | USB cable | Moderate | Slow | TV app |
Part 1: Quickest Ways to Transfer MP4 to iPad
Apeaksoft iPhone Transfer is a convenient and fast tool that can quickly import MP4 videos to an iPad via USB. The operation is simple, and the videos will be directly saved to the Photos app (photo library) without complex sync. It is very suitable for users who need efficient transfer.
It is an alternative software to iTunes, but superior to iTunes for transferring data to iPhone/iPod/iPad. You can not only transfer between different iOS devices, iOS devices and computers, as well as between iOS devices and iTunes. It enables you to transfer nearly all kinds of files flexibly. More importantly, it is totally safe and reliable software, so you can rely on it with no risk.
Secure Download
Secure Download
Step 1. Download iPad MP4 transfer
With the download button above, you can handily download this powerful iPad MP4 video transferring software on your computer. It provides both Windows PC and Mac versions for you. Choose the suitable version and begin to download it to your computer. When finished, just finish the installation.
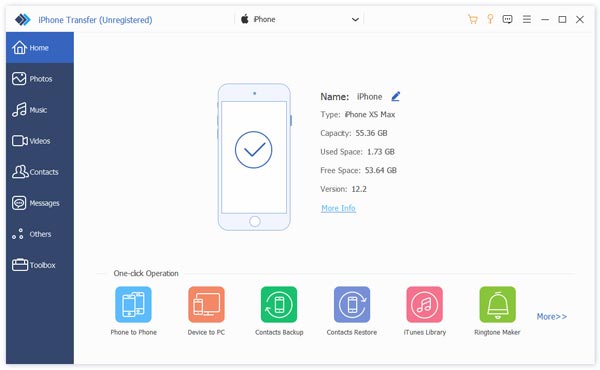
Step 2. Connect the iPad to the Computer
Now you are able to launch it on your computer. And you need to connect your iPad to a computer via a USB cable. When your iPad is detected, you can see its information in the interface of iPhone Transfer.
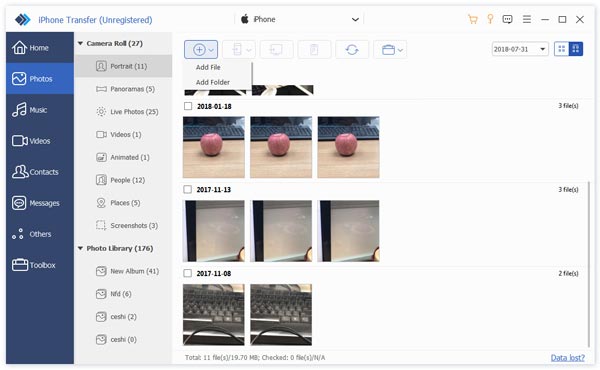
Step 3. Transfer MP4 to iPad
Now you are able to transfer MP4 to iPad. Click on Media on the left list. And then click on the Add button. At this point, you can add an MP4 to iPad easily. When the process is finished, you can see that these MP4 files are uploaded to your iPad.
Part 2: Move MP4 from Computer to iPad Using Cloud Service
Cloud service is also a common way to add MP4 videos from a computer to an iPad. You can upload your MP4 videos to the cloud using iCloud Drive, Dropbox, or Google Drive. Then, you can download them on an iPad under the same account. The whole process is flexible and convenient, which is friendly to small MP4 files.
Step 1. Upload your MP4 files to the cloud using Dropbox or Google Drive.
Step 2. Open the corresponding app on your iPad.
Step 3. Visit the target MP4 files and choose to Download or View Offline.

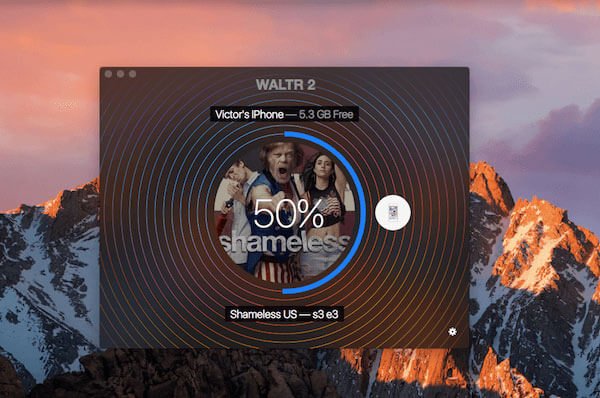
Part 3: Send MP4 to iPad with WALTR 2
Another transfer software, which is strongly recommended to you, is called WALTER 2. It is not free software that you can get. But the powerful functions are really worth paying for. It supports you in transferring all kinds files to your iOS device, even some unsupported files, because this wonderful software will convert these files into MOV format firstly.
WALTR 2 has a very clear UI, and there are no buttons or tabs for you to click. Many users get lost and confused with this software. Luckily, you can follow the next steps to transfer MP4 to iPad with WALTR 2.
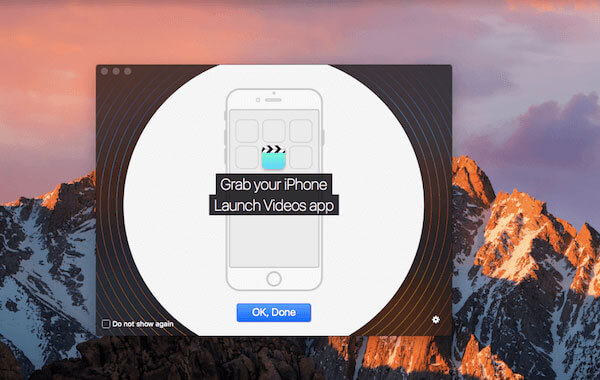
Step 1. Launch Waltr2 after you buy and download this software.
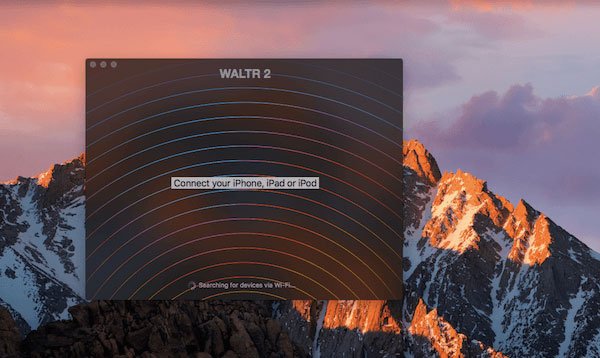
Step 2. Before you download MP4 to iPad, you need to plug your iPad into a computer via a USB cable. When it is detected, you will see your device in WALTER 2’s interface.
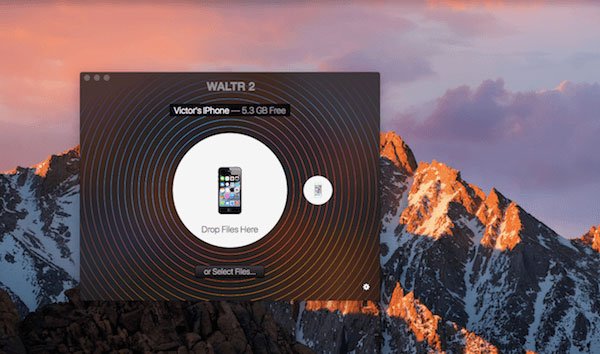
Step 3. You can simply drag and drop files into this software. Or you can click on Select Files to add the MP4 files that you want to transfer to the iPad.
The blue progress bar will keep you updated on the whole transferring duration. If you upload files in other formats your iOS device can’t support, WALTER 2 will convert them to MOV.
Step 4. When it is finished, you can watch the MP4 file on your iOS device without other video players.
Part 4: Transfer MP4 Videos to iPad via VLC
When you want to move MP4 videos to an iPad, VLC is also an ideal app that you can take into consideration. It is a practical and simple app that supports multiple formats like MP4 and enables you to transfer MP4 to iPad without iTunes. Follow the steps below to learn how to transfer MP4 videos to an iPad via VLC to enjoy your favorite video content anytime and anywhere.
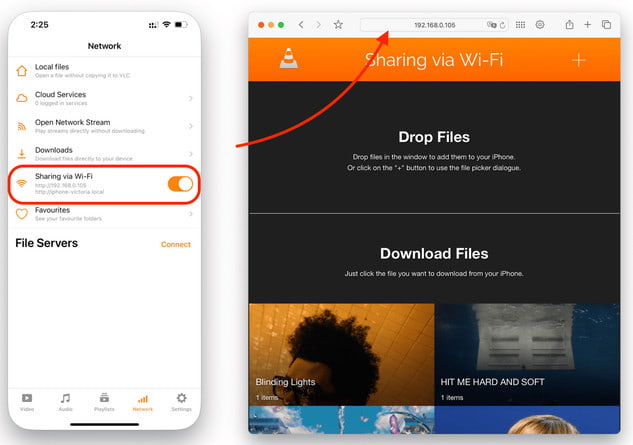
Step 1. Download and open VLC on iPad.
Step 2. Press the Menu button in the top-left corner to enable the Wi-Fi Sharing feature. Then, you will see a local website. (eg: http://34.66.6.100)
Step 3. Open a browser on your computer and enter the website on your iPad.
Step 4. Drag and drop your MP4 files into the window.
Step 5. Open VLC on your iPad, and you will see the MP4 files.
Tips: You can also use VLC to repair videos on the computer.
Part 5: Transfer MP4 to iPad with iTunes
Besides the ways of transferring MP4 to iPad without iTunes, you can also add MP4 to iPad with the help of iTunes. In fact, it is the traditional way all iPad users use.
If you worry about the safety of uploading MP4 to iPad with other software, or just don’t want to download any third-party transfer software to finish this process, putting MP4 to iPad with iTunes is the best choice for you. Those who have never tried this way before may find it difficult to know how to upload MP4 to iPad. Luckily, you can follow the steps below to easily make it.
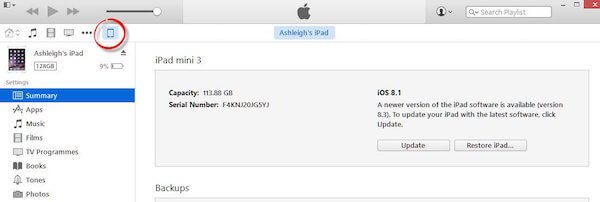
Step 1. Launch iTunes
Connect your iPad to your computer via a USB cable. Then launch iTunes. Sometimes, iTunes will open automatically.
Tips: If you haven’t downloaded iTunes on your computer, you need to download the latest version of iTunes on your computer. You also need to log in with your Apple ID and password if it is the first time you use it.
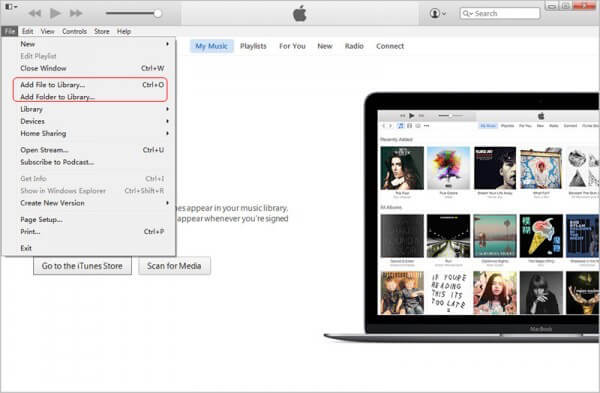
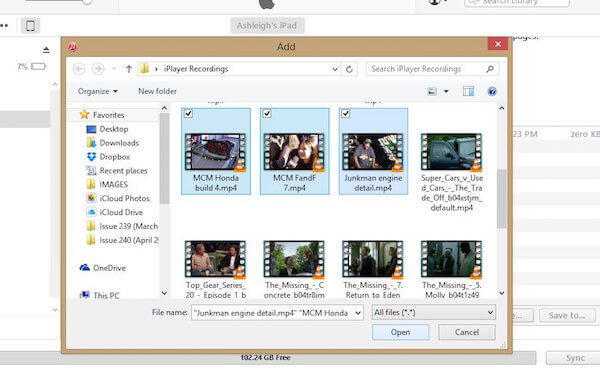
Step 2. Add file to iTunes
Now you need to find the tab of File, which is in the upper left corner, and then click on it. When you see the list menu of File, you need to find and select the Add File to Library option.
Step 3. Upload MP4 files
At this point, you need to select the folder where you locate MP4 files on your computer in the new window. Then choose the MP4 files you want to put into your iPad. Next, click on the Open button.
Step 4. Select the MP4 files
Click on the device button on your iTunes interface. When you see the navigation list menu, choose Movies. Then check Sync Movies and select the MP4 files you imported just now.
Step 5. Begin to transfer
When you’ve done all things, and make sure these MP4 files are what you want to add to your iPad, just click on the Apply button to sync this process of how to upload MP4 to iPad. After the transfer process finishes, you can see these MP4 files on your iPad.
Tips: Similar steps can also be applied to transfer iTunes music.
Conclusion
Now you can get these different ways of how to transfer MP4 to iPad without iTunes, as well as download MP4 files from iTunes. It is not so difficult if you follow the steps we show you.
Related Articles
Before deleting your files, you’d better transfer files from your iPad to a PC following our proven methods and concrete guide.
To enjoy your favorite music across devices, you can learn multiple ways to transfer music between an iPad and an iPhone.
You can learn five effective methods to transfer photos between your iPad and computer with iTunes, iCloud, a USB, and more.
If you're making the move between iPhone and Android, you can transfer messages/SMS between iPhone and Android following our step-by-step guides simply.
