How to Transfer Photos from iPhone to Another iPhone
For many iPhone users, their handsets are more of a camera than a smartphone. As Apple releases new models, the iPhone equips advanced lens components and visual technology. It makes sense that iPhone users save lots of amazing pictures on their devices. A new problem is how to export photos from an iPhone to another iOS device. This guide identifies effective methods and explains how to get the job done easily.
PAGE CONTENT:
Part 1: How to Transfer iPhone Photos to iPhone with a Computer
The best option to transfer photos from iPhone to iPhone is Apeaksoft iPhone Transfer. It does not require your Apple ID account or iPhone passcode. Plus, the concise design makes it a good choice for beginners and average people.
- Sync photos between iOS devices fast.
- Add photos from PC or Mac to iPhone.
- Transcode photo files according to target devices.
- Support a wide range of data types.
- Compatible with the latest iPhones and iOS.
Secure Download
Secure Download

How to Transfer Pictures from iPhone to iPhone
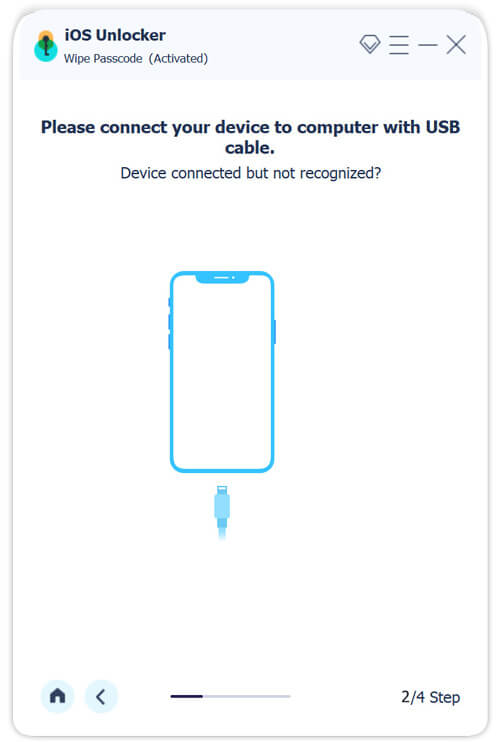
Step 1. Connect iOS devices
Launch the best photo management software for iPhones once you install it on your PC. There is another version for Mac. Connect the two iOS devices to the computer with Lightning cables. Pull down the device option on the top and choose the source device.
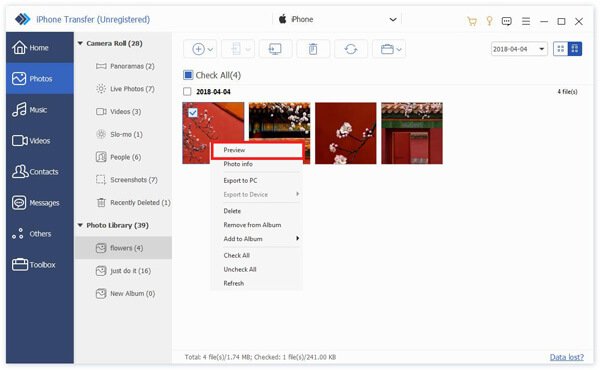
Step 2. Preview iPhone photos
Go to the Photos tab on the left sidebar, and view iPhone photos in thumbnails. If you wish to preview a photo, right-click on it, and choose Preview.
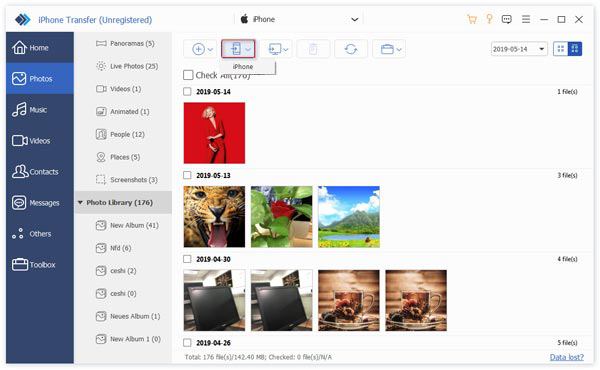
Step 3. Transfer iPhone images to iPhone
Select the photos that you wish to move, click the Phone button on the top ribbon, and choose the target device. You can also transfer contacts from an iPhone to another iPhone. When it is done, disconnect the two iOS devices.
Part 2: How to Transfer Photos from PC/Mac to iPhone
If you need to transfer photos from a computer to an iPhone, Apeaksoft iPhone Transfer is a great option. It moves images from PC or Mac to iPhone or vice versa without quality loss. Moreover, it won’t overwrite existing photos on your device.
Step 1. Once your iPhone is connected and detected to the software on your computer. Go to the Photos tab, and select the desired album. Click the Add button, and choose Add File.

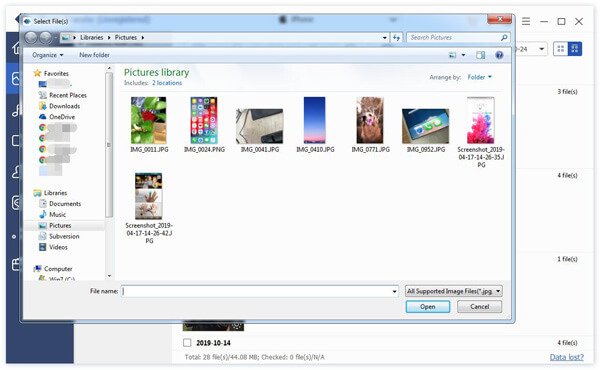
Step 2. Then find and select the photos that you wish to move, and click the Open button to export photos from the computer to the iPhone immediately.
Part 3: How to Transfer iPhone Photos to iPhone Wirelessly
If you do not have a computer, you can transfer photos from one iPhone to another wirelessly using Bluetooth, iCloud, iMessage, Shared Album, or AirDrop. We demonstrate the workflows respectively below.
How to Sync Photos from iPhone to iPhone via Email
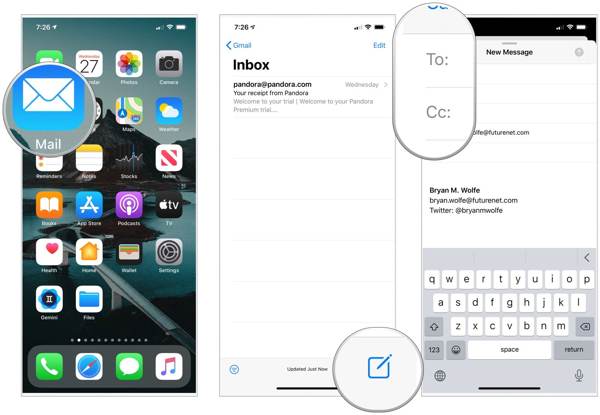
Step 1. Open the Apple Mail app, and tap the New Mail button.
Step 2. Enter your email address in the To field, and leave a subject.
Step 3. Tap the Attachment button, select a photo or a few photos in your Camera Roll, and press the Send button.
Step 4. Turn to the other iOS device, run the Mail app, and open the received mail. Then move the photos.
Note:
All email providers have mail size limitations. Maybe you can’t send large photos with email.
How to Move Photos between iPhones with iCloud
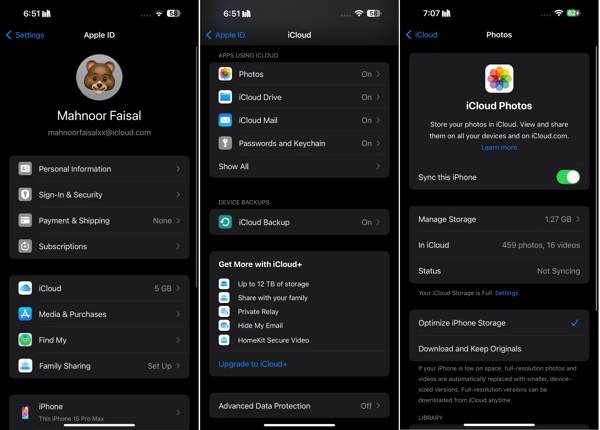
Step 1. Run the Settings app on the source device.
Step 2. Tap on your profile, choose iCloud, and press Photos. Toggle on the Sync this iPhone option.
Step 3. To transfer photos from the old iPhone to the new iPhone, sign in to the same Apple ID on the new device. Then turn on Sync this iPhone of iCloud Photos.
Note:
This way will sync the entire photo library, so you cannot select specific photos for moving.
How to Transfer Photos between iPhones with iCloud Link

Step 1. If you need to transfer photos from your iPhone to your friend’s iPhone with iCloud, select the photos in your Photos app.
Step 2. Press the Share button, and choose Copy iCloud Link.
Step 3. Then send the link to the recipient with an instant messaging service, like iMessage. Your friend can download the photos on his or her device by tapping the link.
How to Transfer Photos from iPhone to iPhone Using iMessage
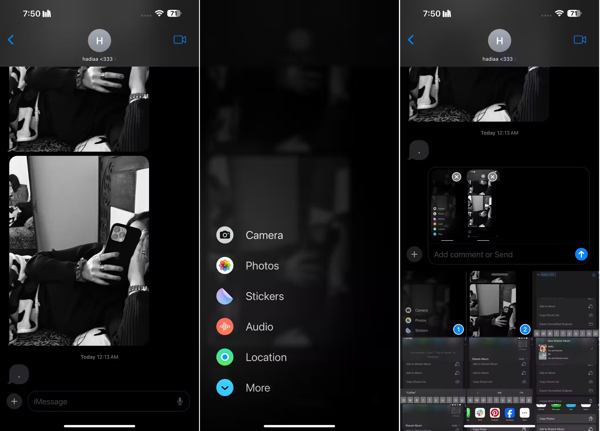
Step 1. To transfer a few pics from iPhone to iPhone, open the Messages app on one device.
Step 2. Find the recipient’s contact, and create a chat. Then tap the + icon next to the text box, and choose Photos.
Step 3. Touch the desired photos, and tap the Send button. The recipient can import the photos on his or her iPhone quickly.
How to Export iPhone Photos to iPhone by Shared Album
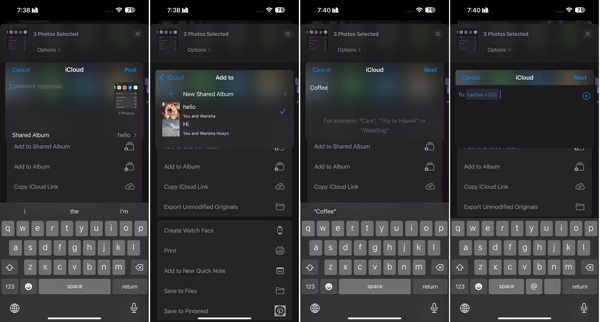
Step 1. Open the Photos app on one iPhone, and select the desired photos.
Step 2. Tap the Share button, and choose Add to Shared Album. Press New Shared Album, and create a name.
Step 3. Select the recipient from your contacts, and tap Post to move photos to albums on the other iPhone.
How to Transfer Photos from One iPhone to Another through AirDrop
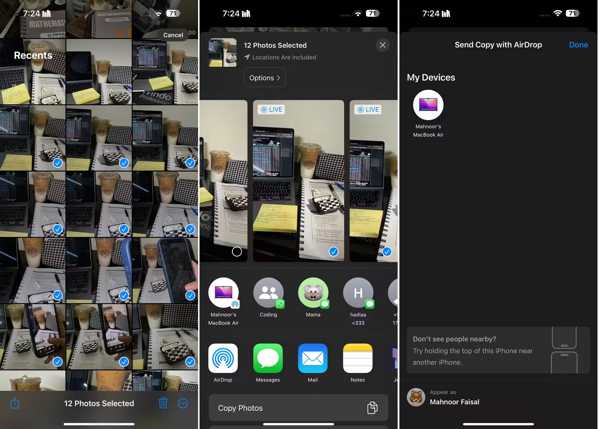
Step 1. Connect the two iOS devices to the same Wi-Fi network, and turn on Bluetooth on both of them.
Step 2. Go to the Photos app on one device, select the photos, tap the Share button, and choose AirDrop.
Step 3. Next, select the other device to export iPhone photos to another iPhone.
Note:
This way is only available to transfer a few photos between iOS devices.
Conclusion
Now, you should learn at least seven ways to transfer photos from iPhone to iPhone. With a computer, Apeaksoft iPhone Transfer is the best option to do photo migration between iOS devices through compatible cables. Without a computer, you can try to do the job wirelessly using iCloud, AirDrop, and more. It is not difficult to pick an appropriate method based on your situation and follow our guide to complete the job. If you have other questions, please feel free to write them down below.
Related Articles
You can keep the Notes app in sync between iPhone and iPad using iCloud, as well as other services. Here's how to transfer notes from iPhone to iPhone.
Here are some tips for transferring your music from Android to iPhone. If have troubles on this task, you will find our guides and suggestions helpful.
If your iPhone is running out of storage, read this article and find out how to remove duplicate photos from your iPhone and how to prevent them.
How to Send videos from Android to iPhone? 6 solutions are offered here to help you easily transfer large videos without losing quality from Android to iPhone.
