Unlike iPhone, Android allows you to access files stored on your memory, and every Android device has a file manager that permits you to explore photos, videos, music, and app files.
However, sometimes you will need a more powerful data manager for your Android phone, such as Root Explorer. For example, Android rooting offers with the incredible ability to customize your handset and administrator privileges with unique ability to access internal system files. After being rooted, a file manager is necessary to get root access on your phone.

- Part 1. What is Root Explorer
- Part 2. How to use Root Explorer to Root Android Phone
- Part 3. How to Retrieve Data After Android Root
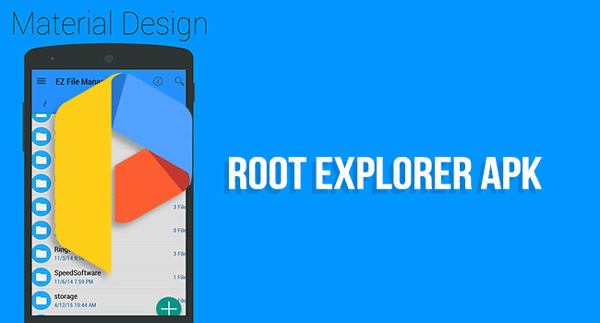
Part 1. What is Root Explorer
As a file system manager, Root Explorer has got over a million downloads and 4.7 star rating on Google Play Store.
Pros
1. Extract content from RAR archives or compressed files to ZIP, GZIP and TAR like what can you do on PC.
2. Make backups of important files and folders.
3. Open and change Android system files as your wish.
4. Decide which app can be used to open certain type of data.
5. Upload personal files to cloud servers.
6. Create new folders, search for files, and transfer various files to multiple destinations on Android phone easily.
7. The well-designed interface makes it easy to use.
Cons
Root Explorer is a paid app, though the price is rather affordable.
Part 2. How to use Root Explorer to Root Android Phone
In this part, you can learn about how to use Root Explorer on a rooted Android phone.
Step 1: Open your Play Store, search Root Explorer app and hit "Install" button to get this file manager on your device. You need to pay for $4 to download and install this app.
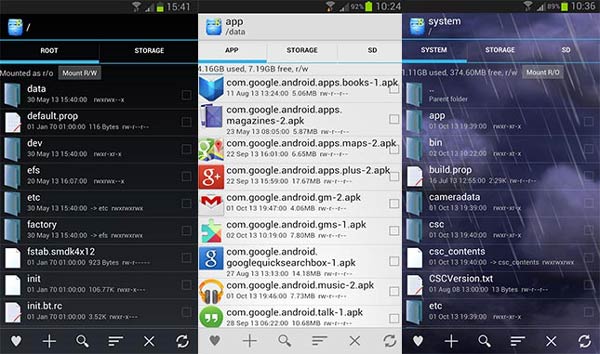
Step 2: When prompted by the Superuser app, grant root privileges. This will permit Root Explorer to access root of your Android phone. Next, start the app; you will be presented the folders on your phone memory with details, like date, size and more.
Step 3: Bear in mind that you can access the Android app by tapping the "Back" button to go back to the main directory and hitting the three-dot folder to access the next directory.
Step 4: In order to rename, edit, delete, copy, move, share, adjust the file permissions, or view properties of a specific file or folder, touch and hold it, you will get the contact menu.
Part 3. How to Retrieve Data After Android Root
Rooting Android with Root Explorer means you can totally control files and folders on your Android phone, but it increases the chances to delete important data by accident as well.
At this time, a professional data recovery application, such as Apeaksoft Android Data Recovery, is the last straw to clutch up. Its key features include:
1. It has the capacity to recover deleted or lost data from an unrooted Android phone or rooted Android device.
2. The data types supported cover contacts, SMS, MMS, call log, photos, videos, music, notes, reminders, and other documents on Android memory or SD card.
3. You can get back lost Android data to your computer or Android phone without interrupting existing data on your phone.
4. It relies on USB cable to recover data from Android, so it is faster and quicker.
5. You can use Android Data Recovery in various situations, like file deletion accidentally, system crashing, root failure, etc.
6. This Android data recovery application works on all Android devices from Samsung, HTC, LG, Moto, Google, Sony and other major manufacturers.
7. Another benefit is to retrieve your data from Android in original conditions and quality.
In short, Android Data Recovery is the best partner of your Android devices apart from Root Explorer.
How to Retrieve Data After Android Root with Android Data Recovery
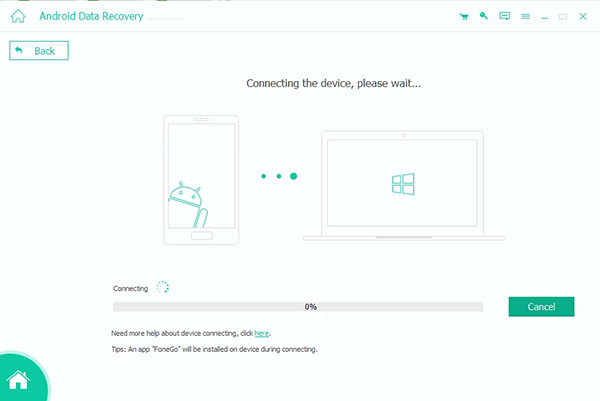
Step 1: Connect your Android phone to Android Data Recovery
Android Data Recovery offers two versions, one for Windows 10/8/8.1/7/XP and the other for Mac OS. Get the right one on your computer based on your operating system. Make sure to turn on the "USB Debugging" mode on your phone and connect it to your computer using a USB cable. Once you run the data recovery application, it will discover your phone automatically.
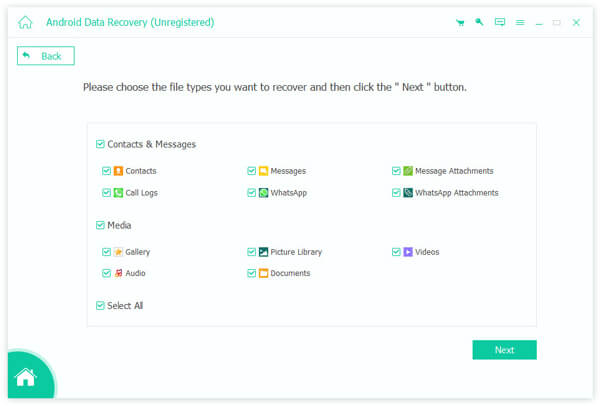
Step 2: Select the data types
Then you will be taken to the data type window. There are three methods to select desired data types.
First of all, if you want to recover entire Android phone or not sure to select which type, tick the checkbox next to "Select All" at bottom.
Or you can select specific data types, like "Contacts", "Messages", "Videos", and more. Another way is to check a kind of data types.
Once check the box of Media, all media data types will be selected.
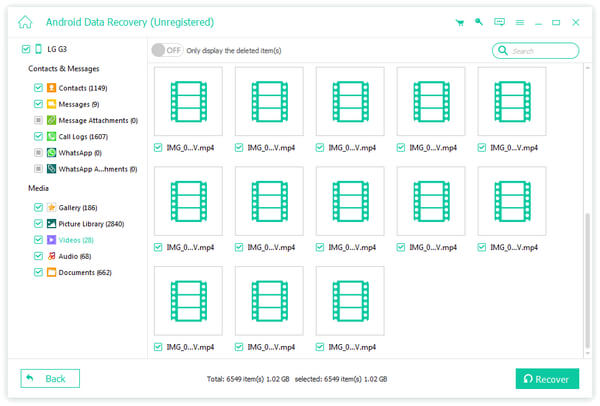
Step 3: Preview and recover Android data
Click on the "Next" button to go to the detail window. Here you can view all data on your Android phone, including the lost files. Just to view the files deleted in Root Explorer, toggle the "Switch" of only display the deleted items option at top of the window.
If you want to get back deleted videos from your Android, select Videos on left hand column. Then you can view all lost video files on right panel. Choose the desired video files and click on the "Recover" button at bottom right corner. When prompted, drop a folder to save the data and hit "Recover" again to trigger the process.
Android Data Recovery does not have limit on how much data to recover at one time. According to our testing, it is able to retrieve over 10GB data within a few seconds.
Conclusion
We have discussed one of the best Android file managers for rooted devices, Root Explorer. As you can see, it is a versatile way to view, access, manage, edit, delete and share files on rooted Android phone.
Plus, we also shared a professional rooted Android recovery application, Apeaksoft Android Data Recovery. Now, with these rooted Android device partners, you can root and unroot your phone as you wish without worrying about data loss.
If you have more troubles on managing rooted Android phone, please leave your questions below.