It cannot be denied that you can get a lot of benefits after rooting an Android tablet or smartphone. But in some cases, people also need to unroot their Android devices.

When you want to sell an old phone, for example, buyers may not expect to get a rooted device. Moreover, you cannot get the regular updates automatically once root your device. If you are preparing to root your smartphone, we suggest you to grasp the approaches of unroot Android. Any time regret, you can get root off from your Android device. Therefore, in this tutorial, we are going to share 5 methods to unroot Android devices quickly.
- Part 1: Unroot Android phone manually
- Part 2: Unroot Android phone with SuperSU
- Part 3: Unroot Android phone using Universal Androot
- Part 4: Unroot Android device via OTA update
- Part 5: Unroot Android mobile device through Stock Firmware
Part 1: Unroot Android phone manually
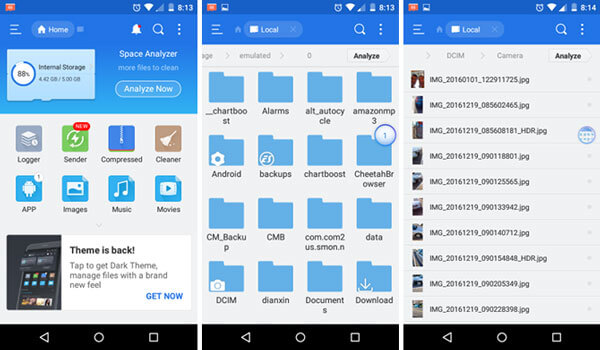
This is the easy way to unroot Android phone, if you have a file manager app, such as ES File Explorer. This way even does not require internet connection.
Step 1: Turn on your rooted Android phone, open the root file manager app from your home screen, navigate to system > bin folder and find the file titled su.
Step 2: Touch and hold on the su file and select Delete on the floating menu. This will remove the su file from your rooted Android system.
Step 3: Next, locate to system > xbin folder, find and delete the su file. As well as go to the system > app folder and erase the Superuser.apk file.
Step 4: Press the Power button to evoke the power off screen, touch Restart or Reboot and wait for your device to turn back on. Now, the device goes back to the status before rooted.
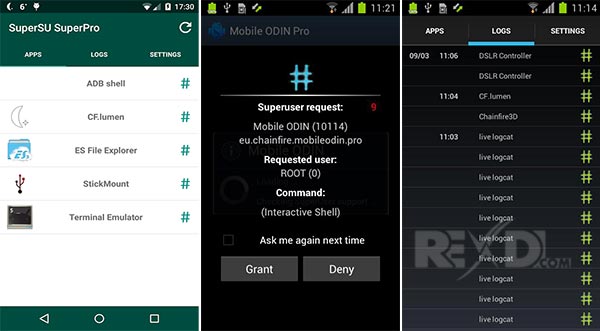
Part 2: Unroot Android phone with SuperSU
SuperSU is an advanced management of superuser access permissions for all apps on your rooted device. In addition to grant or stop root access permissions, it also has a Full Unroot option, which allows you to get off root simply.
Step 1: Download and install SuperSU app from Google Play Store, if you do not have it on your rooted phone. Then start the app from your home screen.
Step 2: Go to the Settings tab from top of the screen, scroll down and locate to the Cleanup section and tap on Full unroot option.
Step 3: When prompted, read the message carefully and then touch Continue to start unrooting Android. Wait for your device to reboot; you have successfully unrooted your device. You can also hide the root with this app if you still want to enjoy the highest access to your Android.
Part 3: Unroot Android phone using Universal Androot
Some Android rooting toolkits also integrates the unroot option, like Universal Androot, Kingo Root, Framaroot and more. We use Universal Androot as the example to show you the workflow.
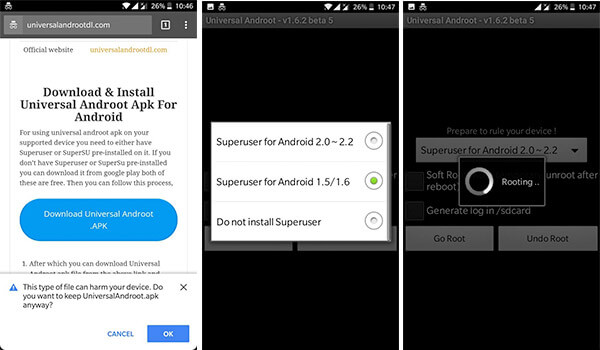
Step 1: Download Universal Androot APK in your mobile browser. This needs a good Wi-Fi network. And then install it on your rooted device.
Step 2: Run the Android rooting toolkit, touch the dropdown menu and select Supersuer or other methods. Tap on UnRoot button to initiate the unrooting Android process.
Step 3: When it is done, you phone will restart and go back to original status.
Part 4: Unroot Android device via OTA update
As said before, after rooted, you cannot get the regular updates from your manufacturer. That is only if you want to get the traditional way to update your software. In other word, you can still get OTA update manually. Plus, installing an OTA update is able to unroot Android sometimes. Most manufacturers launched toolkits to help users update their devices, such as Samsung Smart Switch.
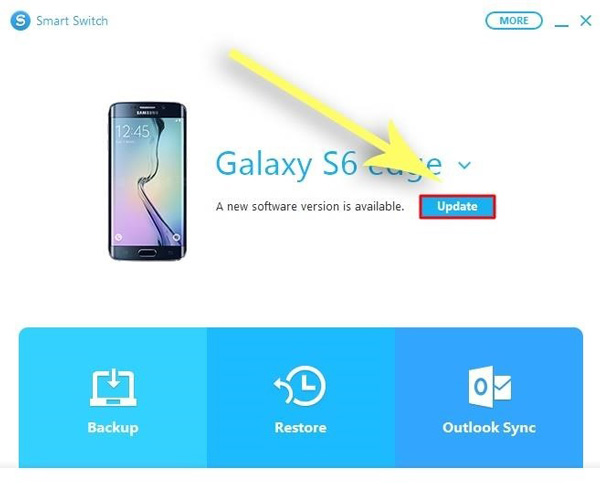
Step 1: When Samsung releases a new OTA update or over the air update, install the Smart Switch client on your computer.
Smart Switch does not support all Samsung devices, so you have to check whether your phone is supportive.
Step 2: Hook up your phone to the computer and launch Smart Switch. After your device is recognized, click on the Update button on the home interface.
Step 3: Next, a popup dialog will show up and tell you current software and the version that Smart Switch will install. Hit the OK button to confirm it and trigger the process.
Before unroot Android by installing OTA update; you should delete all rooted apps on your device.
Part 5: Unroot Android mobile device through Stock Firmware
Another method to unroot Android device is to stock firmware. There are somethings you need to prepare before unroot your device:
1. Install USB drivers on your computer. You can find the USB drivers from the website of your manufacturer. If you have the drivers, make sure to update it to the latest version.
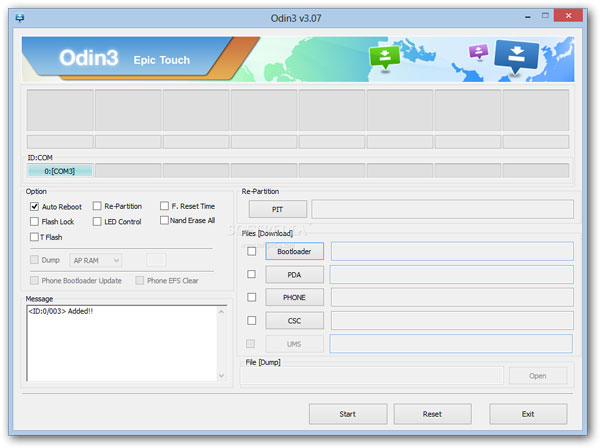
2. Download the latest version of Odin from XDA developer forum. Create a folder called unroot or similar on your desktop, extract the content from the download zip file into the unroot folder.
3. Get the stock firmware file from a trustable source. Search and download the right firmware based on your device model. Then decompress the contents to the unroot folder.
How to unroot Android by stocking firmware
Step 1: Run Odin3.exe file from the unroot folder. Put your device to download mode and connect it to your PC using a USB cable.
For Samsung Galaxy device, shut down the phone, hold down Power + Home/ Bixby + Volume Down button combination.
On LG device, power it off, keep pressing Volume Up button and connect to PC until boot into download mode.
For HTC phone, shut down, hold Power and Volume Down buttons at the same time until the download mode screen pops up.
Step 2: After Odin find your device, click on the AP button, locate to the firmware file in your unroot folder, and open it.
Step 3: Wait for the Log area tells you Leave CS, click on the Start button at bottom area. At this point, Odin will flash the stock firmware on your device and unroot it within a few minutes.
Conclusion
After reading this page, you may understand why some people need to unroot their Android devices. If you have the same demand, we shared multiple ways to get what you want. They all have unique benefits, for example, SuperSU is able to unroot Android in one tap, Odin3 has higher success rate on unrooting Android. You can pick up your favorite way and follow our guides to bring your mobile device to normal status.