

How to Screenshot on Dell Laptop Easily in the Top 5 Intuitive Ways

Key Takeaways
If you want to take screenshots on Dell, you can:
- If you want to take screenshots on Dell, you can:
- Use Print Screen to capture the entire Dell screen and copy the screenshot to the clipboard.
- Use Alt + Print Screen to capture only the active window on your Dell laptop.
- Use Windows + Print Screen to take a full-screen screenshot and automatically save it to the Pictures > Screenshots folder.
- Use Windows + Shift + S to quickly open Snipping Tool and capture a selected area, window, or full screen.
- Use Snipping Tool to take and edit screenshots on Dell computers with built-in Windows features.
Don't know how to screenshot on Dell laptop? A screenshot is a quick way to capture and share important information. Dell computers support multiple screenshot methods. Follow this post to learn how to screenshot on Dell using keyboard shortcuts like Print Screen shortcuts, Windows + Shift + S, Windows built-in tools, and professional screenshot software.
PAGE CONTENT:
- Method 1. How to Screenshot on Dell with Print Screen Shortcuts
- Method 2. How to Screenshot on Dell with Windows + Print Screen
- Method 3. How to Screenshot on Dell with Windows + Shift + S Shortcut
- Method 4. How to Screenshot on Dell with the Built-in Snipping Tool
- Method 5. Best Screenshot Tool for Dell Laptop
Method 1. How to Screenshot on Dell with Print Screen Shortcuts
If you want to take a screenshot on a Dell desktop or laptop, you can use its easy keyboard shortcut - the Print Screen key. It enables you to capture an image of the contents of a single window or the entire display. For example, you can screenshot Google Maps on Dell with the print screen key with ease.
Step 1. The Print Screen key is located next to F12 on most Dell laptops. When you want to take a screenshot on Dell, you can simply press the PrtScr (Print Screen) key on your keyboard. This will capture the entire current screen.
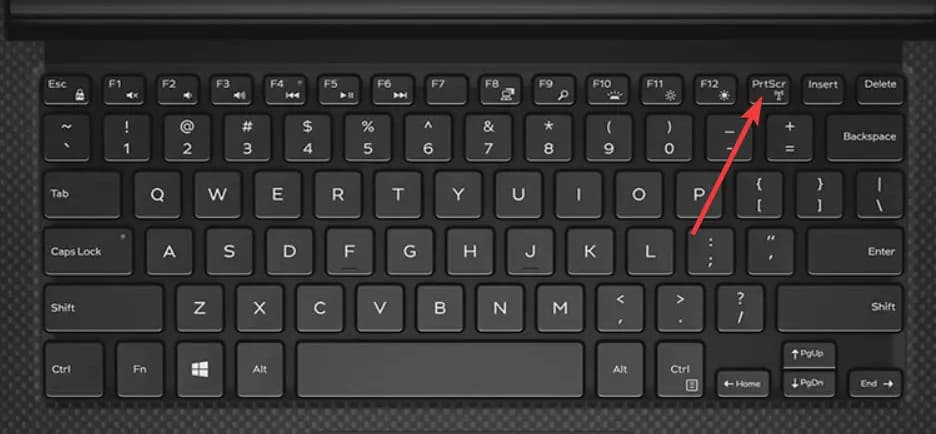
If you need to capture an active window only, you can press the Alt + PrtScn key together.
Step 2. The screenshot will be copied to the system clipboard. You need to bring the image out of the clipboard before placing another item there. You can paste it into an application like Paint or Adobe Photoshop and then save it as an image file from there.
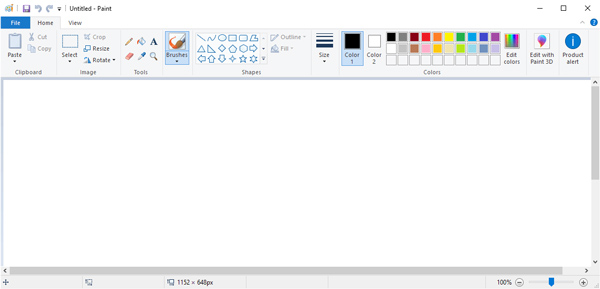
You can open Microsoft Paint and then press Ctrl + V to copy your screenshot to it. After that, you can click the Save button to save the screenshot in any popular image format like JPG, PNG, or GIF. Follow the same way, you can also take screenshots on a Toshiba.
Method 2. How to Screenshot on Dell with Windows + Print Screen
The Print Screen key only copies the captured image to the clipboard, meaning you can't save it directly, and need to paste it into tools like Paint before saving it. To save screenshots more efficiently, you can use the Windows + Print Screen method, which automatically captures and stores the screenshot on your Dell computer.
Step 1. Press Windows + PrtScn together. You will see the screen briefly dim for a moment. It means the screenshot has been captured successfully.
Step 2. Press Windows + E to open the File Explorer.
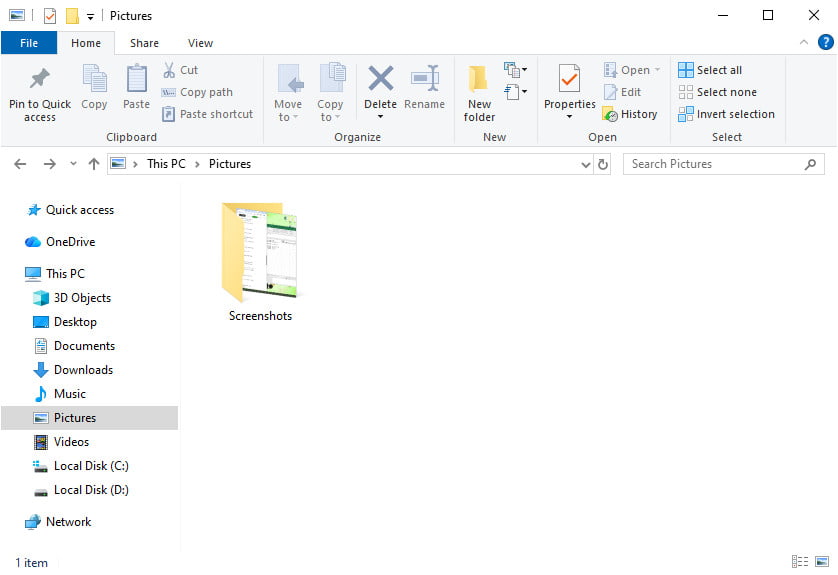
Step 3. You can find the saved screenshots under the Pictures > Screenshots path on your Dell computer.
Method 3. How to Screenshot on Dell with Windows + Shift + S Shortcut
Another common method to take a screenshot on Dell is using the Windows + Shift + S shortcut. Unlike the traditional Print Screen key, this shortcut lets you select the exact area you want.
Step 1. Press Windows + Shift + S together. Your screen will become slightly dim, and a capture toolbar will appear at the top of your screen.
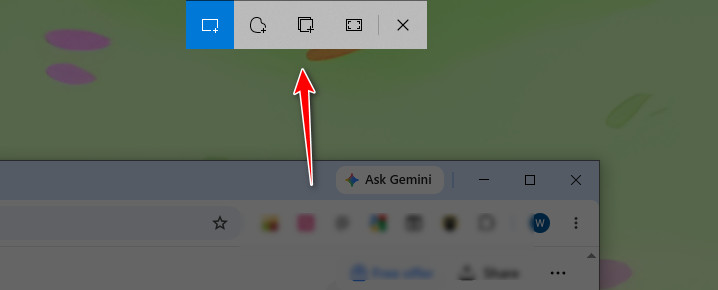
Step 2. Select your preferred snipping mode from the toolbar. From left to right, the options are Rectangular Snip, Freeform Snip, Window Snip, or Fullscreen Snip.
Step 3. Select the area you want to capture. Then, the screenshot will be copied to your clipboard automatically. A screenshot preview notification will pop up in the bottom-right corner.
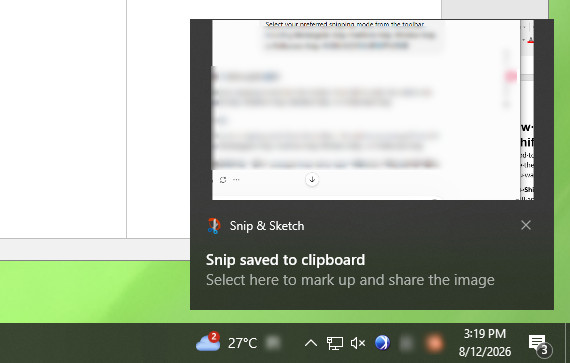
Step 4. Click the notification, and you will open Snipping Tool (or Snip & Sketch on older Windows versions), where you can edit the screenshot.
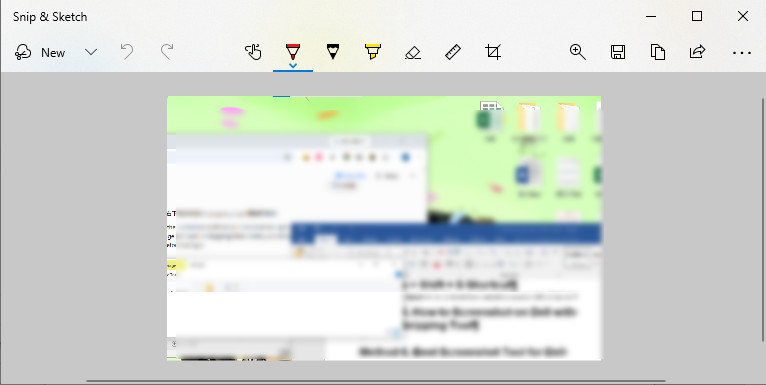
Step 5. Click the Save button to store the screenshot on your Dell computer.
Method 4. How to Screenshot on Dell with the Built-in Snipping Tool
Besides using the Windows + Shift + S shortcut, you can open the built-in Snipping Tool directly to take screenshots on your Dell computer. It has been part of Windows since Vista. This default screenshot tool allows you to take a screenshot on Dell laptop/desktop with full screen or a custom region.
Step 1. You can find the Sniping Tool app through the Windows Search function. When you have the need to take a screenshot on Dell, you can click the Start button and then type Snipping Tool in the Windows Search.
Step 2. Open Snipping Tool and press the New button to take a screenshot on Dell. This operation will activate the capture cursor. Then you can freely capture your Dell computer screen.
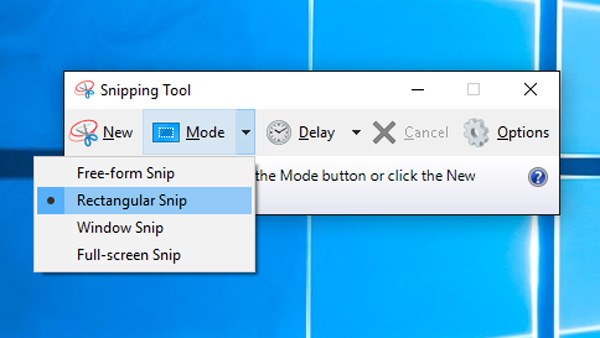
Step 3. After you screenshot on Dell, you can click the Save button to save the screenshot on your computer in JPG, PNG, GIF, or HTML format. During this step, you are also allowed to use the Copy button to copy your screenshot to the clipboard.
Method 5. Best Screenshot Tool for Dell Laptop
Although Dell laptops provide several built-in ways to take screenshots, they may not meet all your needs when you want more advanced features. In case you want more choices, here in this part, we'd like to introduce another popular screenshot app, Apeaksoft Screen Recorder.
This screenshot tool allows you to freely capture any part of your Dell computer screen with ease. It enables you to take a screenshot on Dell with full screen, active window, and selected region. Moreover, it carries some editing features for you to directly edit your Dell screenshot.
Secure Download
Secure Download
Step 1. First, you can double-click on the download button to free install and run this screenshot software on your Dell computer.
Step 2. Choose the Screen Capture option when you enter this screenshot tool to take a screenshot on Dell. This screenshot feature is totally free.
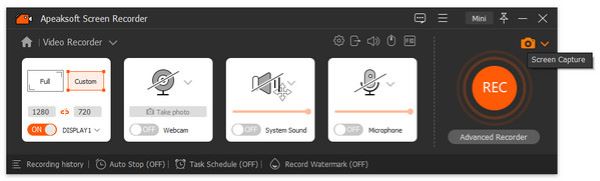
Step 3. After you pick the Screen Capture function, your mouse will become the shape of a cross. Now you can freely screenshot any area of your Dell screen by dragging your mouse.
Step 4. You can edit your screenshot and adjust its output effect. Here you can draw the line, arrows, border, and any shape you need on the screenshot. Also, you can do other editing operations on it.
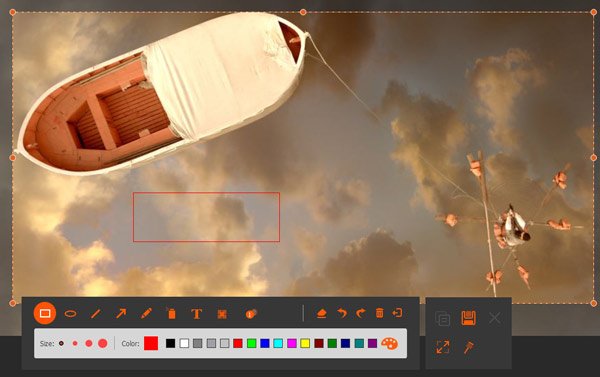
Step 5. You can click the Save button to save a screenshot on your computer. It can be saved in any popular image format like JPG, PNG, BMP, GIF, or TIFF. Besides the screen capture feature, you can use this Screen Recorder to record online meetings, video/audio calls, music, and more with high image and sound quality. Just free download it and give it a try.
Conclusion
That's all for how to screenshot on Dell. Choose the right method based on your needs:
Quick full-screen capture: Use Print Screen or Windows + Print Screen.
Capture a selected area or window: Use Windows + Shift + S or Snipping Tool.
Edit screenshots and get more options: Use Apeaksoft Screen Recorder.
Related Articles