How to Clean up Temp Files from Computer and Laptop
“I have roughly 100MB of files stored in the temp directory. Unlike their names suggest, they don’t seem to be self-cleared after a long time. How to clear temp files?” By default, temporary files should be removed automatically when you shut down your computer. However, some temp files can accumulate and take up valuable disk space. That potentially slows down your machine. This guide explains the how-to to free up space.
PAGE CONTENT:
Part 1: What Are Temp Files
Temp files are created by operating systems, programs, and software to store information temporarily. They are used to speed up tasks. For instance, when working on a document, a temp file is created to save your activities and changes.
Most temporary files are deleted automatically when you quit the software or power off your computer. However, some temp files won’t become junk and are stored on your hard drive for a long time.
These temp files are usually saved on your boot drive. As time goes by, it may take up lots of storage and slow down the performance. Therefore, you’d better clean up them. Plus, temp files save your activities and private information. To avoid being tracked, you should delete them too.
Part 2: How to Delete Temp Files on Windows
You have multiple methods to clean up temp files on Windows 11/10/8/7. You can find and delete temp files in the Temp folder, by going to the Temporary Files menu, using Disk Cleanup, or commands.
How to Delete Temp Files in the Temp Folder
Step 1. Go to the Start menu at the bottom left corner, and open the Run dialog. Or press the Win + R keys on your keyboard to open Run.
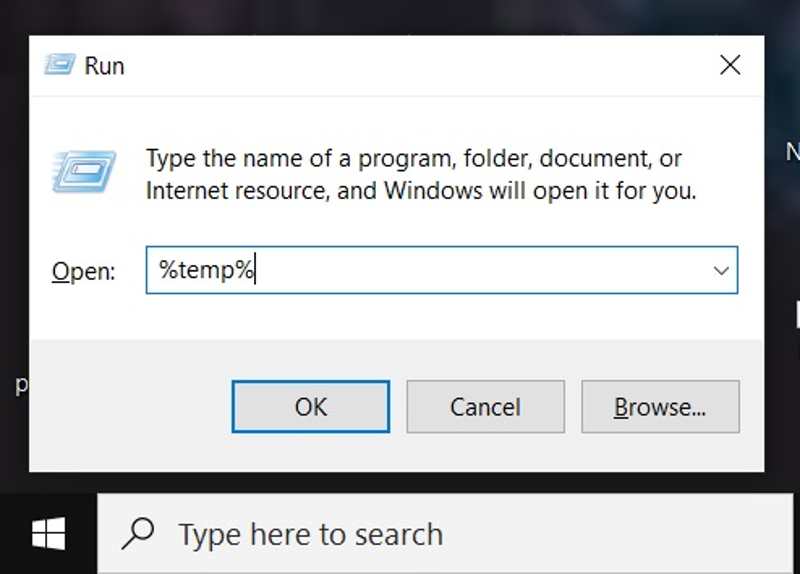
Step 2. Type %temp% into the field and click OK to open the Temp folder on your machine.
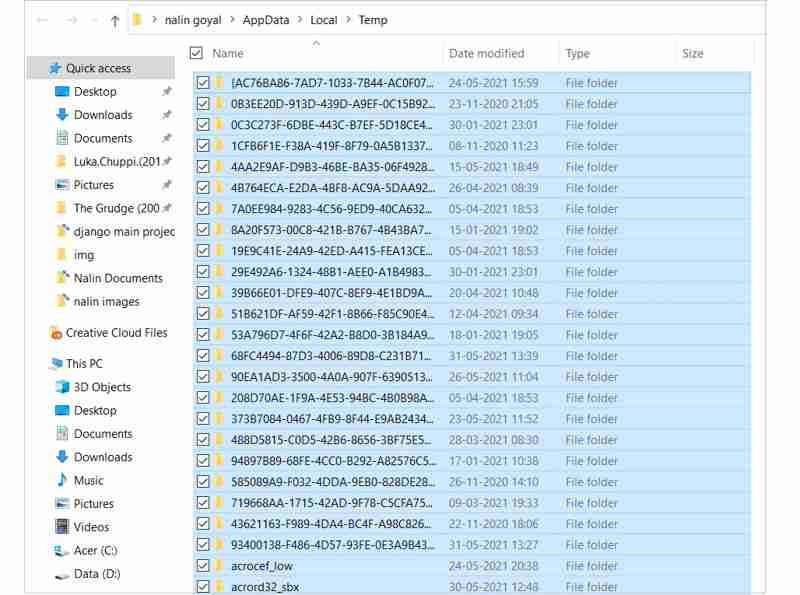
Step 3. Next, press the Ctrl + A keys to select all temp files in the folder, and press the Delete key on your keyboard. Or right-click on one of the selected files, and choose Delete on the context menu.

Step 4. Then right-click on the Recycle Bin and choose Empty Recycle Bin. This feature can also delete Excel temp files.
How to Clean Temp Files by Temporary Files Menu
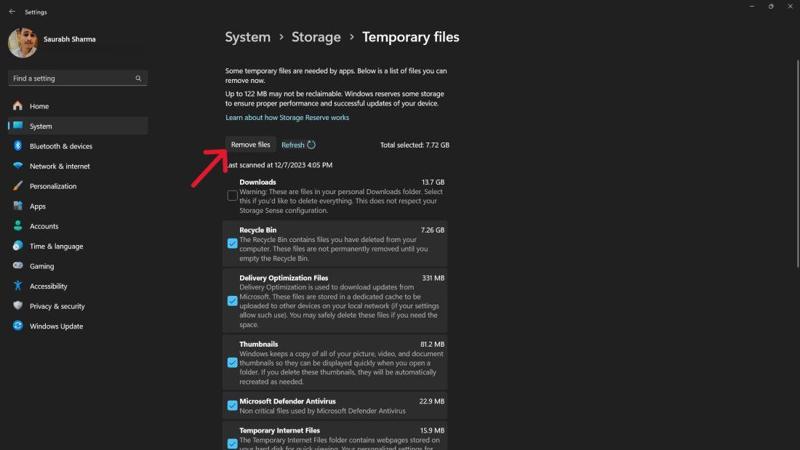
Step 1. Search for Settings in the Start menu on Windows 11/10, and open the app from the result. Or press the Win + I keys to open the app.
Step 2. Go to the System tab, choose Storage, and click Temporary files under the Local Disk section.
Step 3. Then check the boxes next to the temp files that you want to delete. Next, click the Remove files button, and hit Continue to confirm it.
How to Clear Temp Files using Disk Cleanup
Since Windows 10, Microsoft has added a disk cleanup feature called Disk Cleanup. It enables you to get rid of temporary files on Windows quickly. Here are the steps to get the job done quickly:
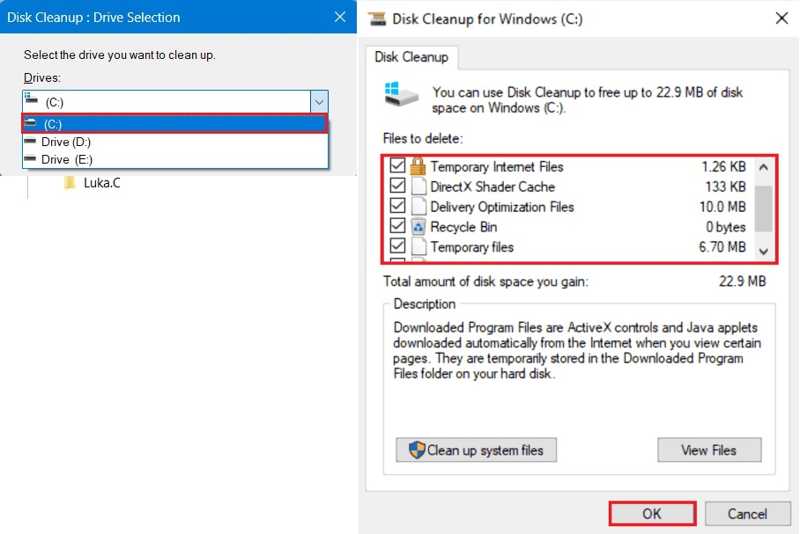
Step 1. Press the Win + S keys to activate the search bar. Input Disk Cleanup into the search bar and open the tool from the result.
Step 2. Pull down the Drives list, and pick the drive that keeps your temp files. It is usually the boot drive or C: drive.
Step 3. Next, check the boxes next to Temporary Internet Files and Temporary files. If you want to clean temp files and recycle bin, tick the checkbox next to Recycle Bin too.
Step 4. Once you are ready, click the OK button. At last, click Delete Files on the confirmation dialog.
How to Remove Temp Files via Command
The command line is another way to remove temp files on PCs and laptops. This way is available to a wide range of operating systems from Windows 11 to Windows XP/Vista. Here are the steps:
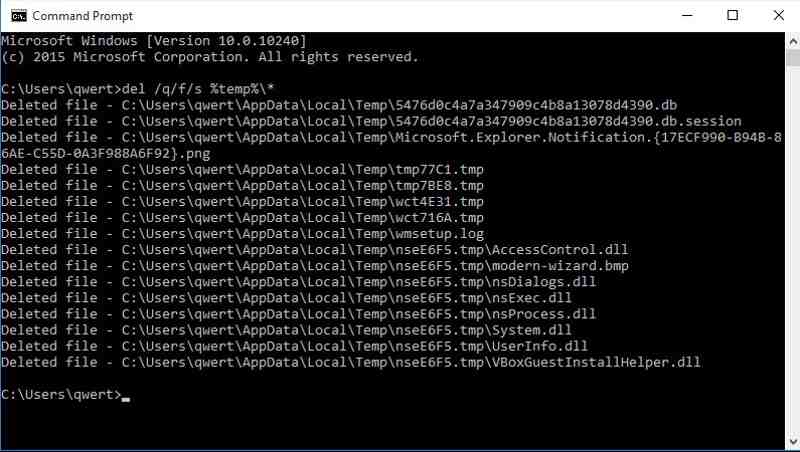
Step 1. Go to the Start menu, and search for Command Prompt.
Step 2. Right-click on the Command Prompt app on the result, and choose Run as administrator.
Step 3. Type in del /q/f/s %TEMP%*, and press the Enter key on your keyboard to execute the command.
Part 3: How to Delete Temp Files on Mac
For Mac users, it is difficult to find temp files, not to mention deletion. Fortunately, Apeaksoft Mac Cleaner help you resolve this problem. The application can scan your internal storage and lets you remove the temp files that store system cache, app caches, and more quickly.
Best Way to Delete Temp Files on Mac Without Technical Skills
- Remove Mac temp files with a single click.
- Support a wide range of system junk files.
- Preview temp files before deleting them.
- Delete unwanted files without a factory reset.
Secure Download

How to Delete Temp Files on Mac Quickly
Step 1. Install Mac Cleaner
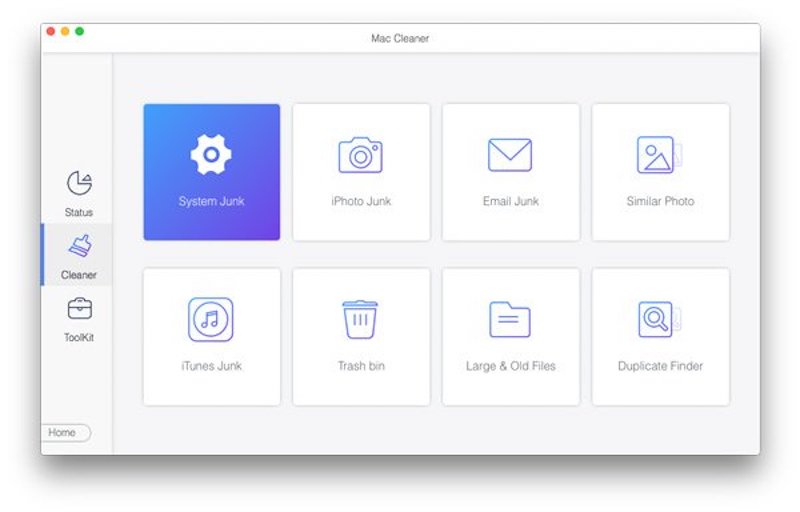
Launch the best Mac disk cleaner application after you install it on your computer. Choose Cleaner in the home interface, and select System Junk to move on.
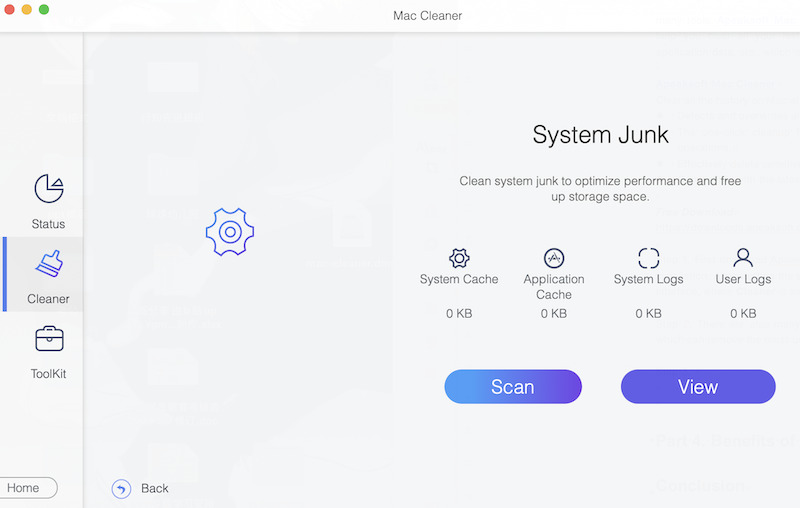
Step 2. Scan temp files
Click on the Scan button to begin looking for temp files on your Mac. It may take a while depending on the amount of your files. When it is done, click the View button to check the temp files on your hard disk.
Step 3. Delete temp files on the Mac
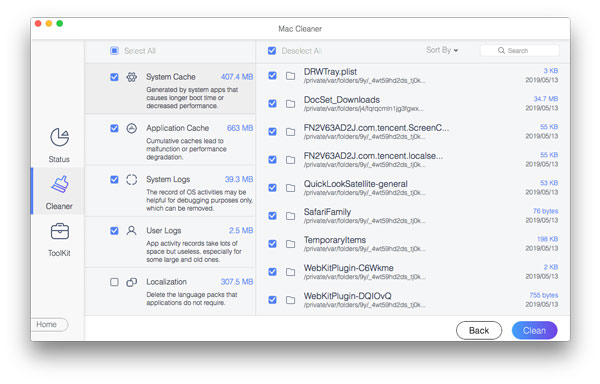
On the preview window, tick the checkboxes next to the types of temp files that you want to delete, such as System Cache, Application Cache, System Logs, User Logs, System Trash, and more. Next, select the temp files on the right panel. If you want to delete all of them, check Select All at the top of the screen. At last, click on the Clean button, and then confirm it.
Conclusion
This guide has demonstrated how to clean temp files and Recycle Bin on Windows 11/10/8/7/XP/Vista and Mac OS X. You can pick your favorite method and follow our steps to free up space on your PC. Apeaksoft Mac Cleaner is the best option for Mac users. If you have other questions about this topic, please feel free to write them down below.
Related Articles
Want to remove Avast on your Mac entirely? You can learn more about the four methods to uninstall Avast from your Mac from the article.
How to remove McAfee security suit for your Mac completely? Learn more about the 3 efficient methods to uninstall McAfee from Mac with ease from the article.
How to uninstall Safari on Mac completely? When you try to remove the pre-installed Safari on Mac, you can learn more about the 3 easy methods from the article.
Come and find out how to clear unnecessary caches and cookies on Mac to promote system performance and user experience.
