
User Guide
- Introduction
- Install and Register
- Recover Data on PC
- Recover Data on Flash Drive
- Recover Various Kinds of Data
- Recover from Various Situations
Try It Now!
Introduction
To recover your lost or deleted files, hard drive, flash drive, memory card, digital camera, mobile phone, etc., Apeaksoft Data Recovery would be your best choice. With its inside functions – deep scan and quick scan, you can find any missing file and recover it. To meet users’ various needs, Apeaksoft Data Recovery can find and recover many kinds of files easily and quickly.
By the way, users can also save the scanned result by the SPF file. Thus, you can recover the lost files anytime by adding the .spf file into this software.

Install and Register
Install
Step 1. Press the button above to download Apeaksoft Data Recovery, then it will be downloaded automatically.
Step 2. Click on the pattern of the down arrow in the right navigation bar, then click Yes.

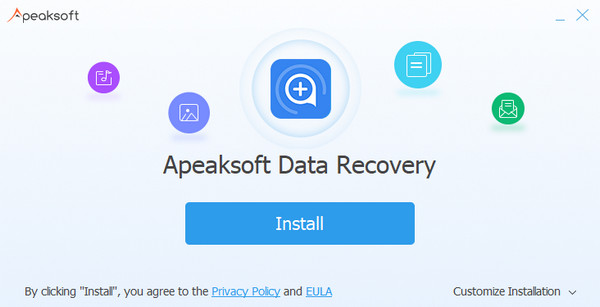
Step 3. Press Install in the middle of the pop-up page to install it on your computer. You can run the app when the Installed Successfully page appears.
Register
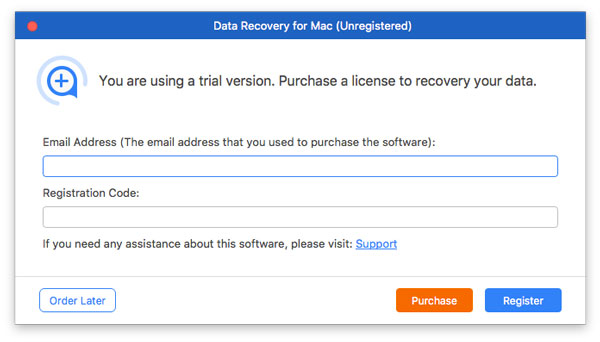
Step 1. When you open this software, you will see a pop-up window to remind you to register.
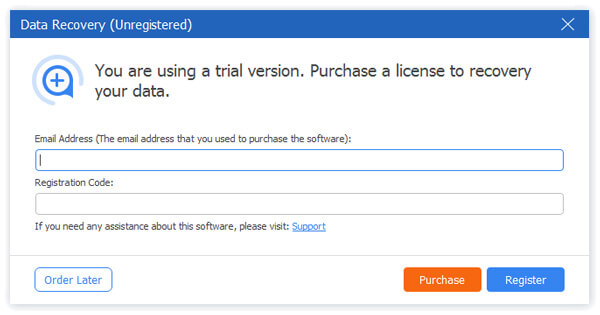
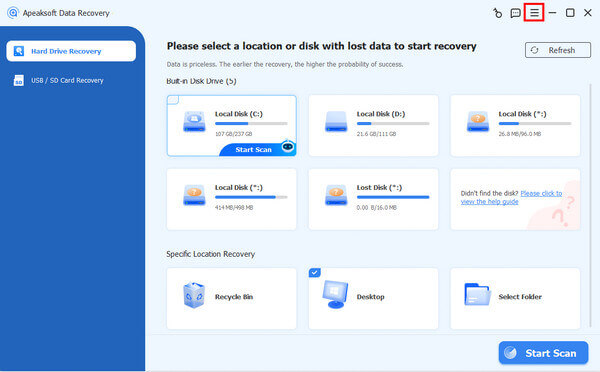
You can also click the menu button. Find the register option.
Step 2. Enter the email address and registration code to complete the registration of Apeaksoft Data Recovery.
Note: The registration code will be sent to you via email. If you have not received an email from us, please contact our support team.
Email Address: The email address that you fill in the order form.
Registration Code: A string of characters marked as Activation key, license code or KEYCODE(S) in the order confirmation letter you received after the successful purchase.
Recover Data on PC
As a professor of data recovery, it is easy to recover various files, like documents, images, videos, audio, archives, databases, and other files. Actually, the steps of recovering different types of files are the same. Here we just list the detailed steps of recovering images from the desktop.
Step 1. Select the data location
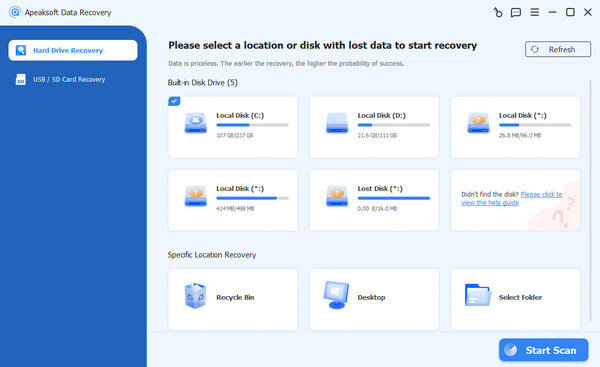
In the beginning interface of Data Recovery, you can clearly see all the hard drive of your PC. Tap the hard drive you want to recover from.
Then click Start Scan.
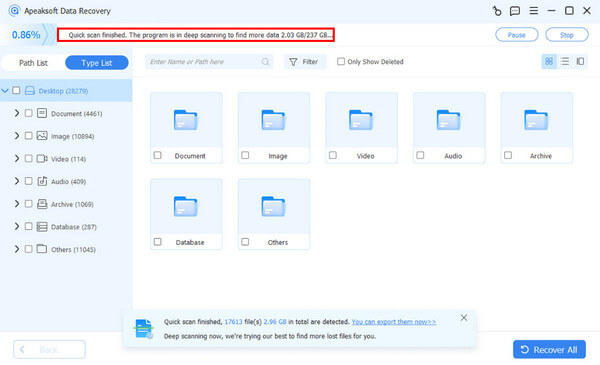
Step 2. Deep scan
After you click Start Scan, this software will quickly scan your computer first. After the first scan, the deep scan is automatically performed. All you need to do is wait.
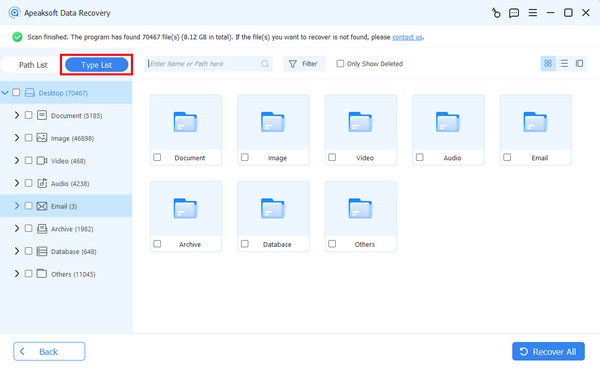
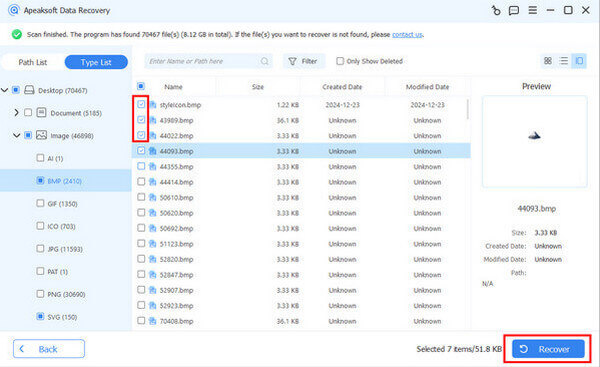
Step 3. Select the files
In a few seconds, you can see the data sorted by path on the left bar. You can also see them by clicking the Type List and choosing your desired file types here.
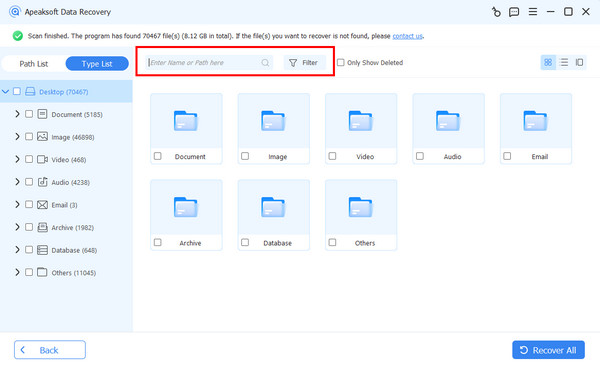
It is also OK to select the folder by clicking Filter in the middle of the top to find the file.
Find the data. To see the information, you can right-click the file and select the Preview option.
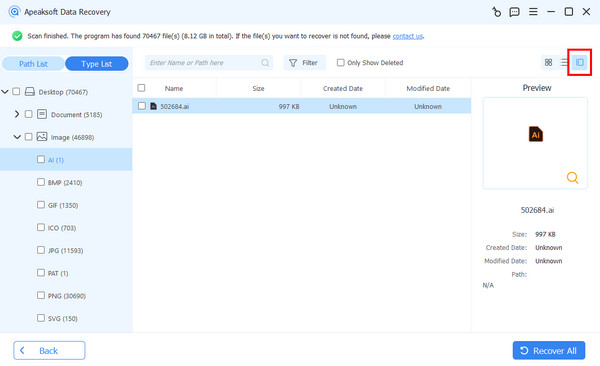
Or, you can click the third button on the top right corner of the interface to preview the thumbnail.

Step 4. Recover the data
After you make sure the files you want to recover are correct, click Recover to retrieve the files to your computer.
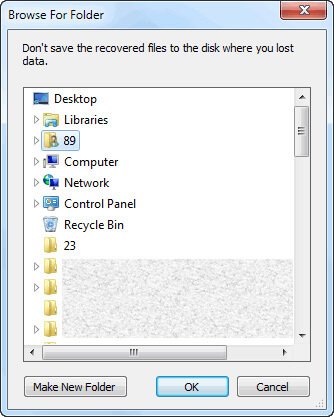
Then you will see a pop-up window. Select the save path in it.
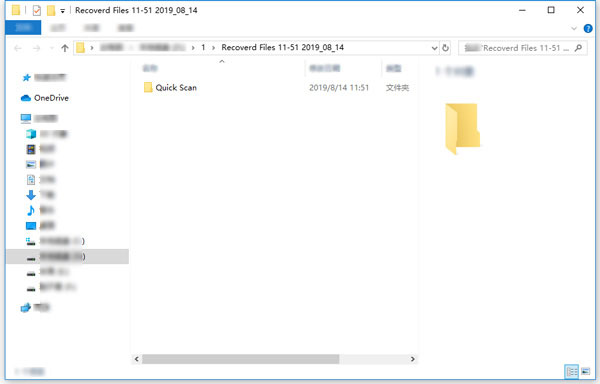
After finished recovering, the software will show you the recovered data automatically.
Recover Data on Flash Drive
How to recover data on flash drive? The answer is in Data Recovery.
When we delete the data on our flash drive or other removable drives, it would tell us that the data to be deleted can no longer be found back. But by Data Recovery’s quick and deep scan function, it makes recovering data on flash drive possible.
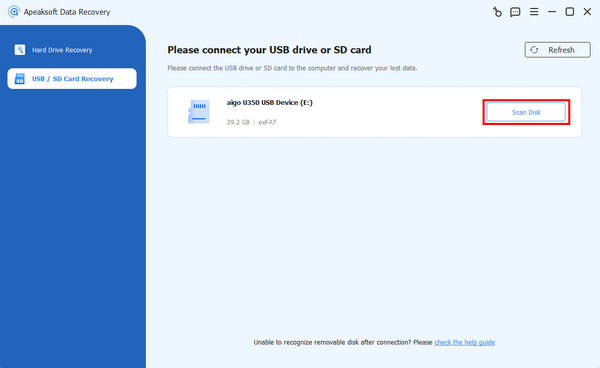
Step 1. Select the data location
Choose the second option in the left navigation bar. Insert your flash drive into your computer. Here, we take a USB as an example.
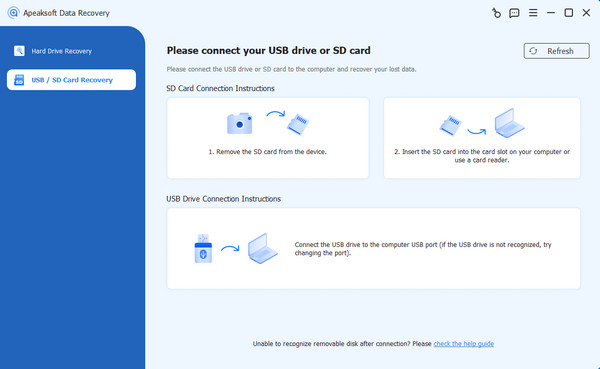
Find your USB and click the Scan Disk button.
Step 2. Deep scan
After you click Scan Disk, this software will quickly scan your computer first. After the first scan, the deep scan is automatically performed. All you need to do is wait.
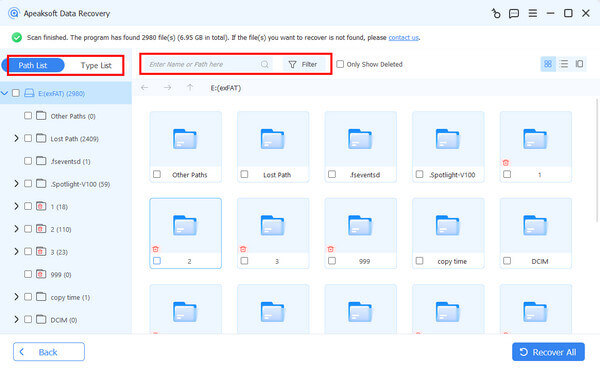
Step 3. Select the files
After scanning, you can see the data sorted by path on the left bar. You can also see them by clicking the Type List and choosing your desired file types here.
You can also select the folder by clicking Filter in the middle of the top to find the file.
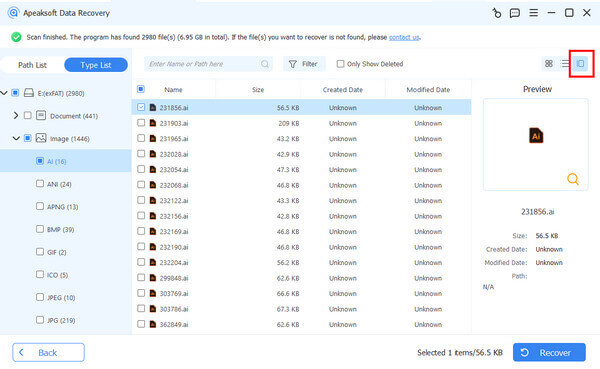
Tap the target data. To see the information on the data, you can click the third icon on the top right corner of the interface.
Step 4. Recover the data
After you make sure the files you want to recover are correct, click Recover to retrieve the files to your computer.
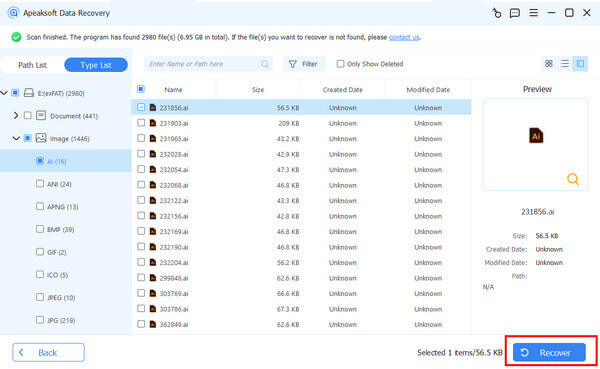
Then you will see a pop-up window. Select the save path in it.
After finished recovering, the software will show you the recovered data automatically.
Recover Various Kinds of Data
This all-featured Data Recovery highly supports any popular data types like pictures, songs, videos, documents (Word, Excel, PowerPoint, PDF, TXT, RTF), emails and other files.
Recover from Various Situations
Various reasons will cause the data loss. Data Recovery still offer you a big chance to get them back. Data loss due to wrong formatted drives, overwritten data, unexpectedly operations, damaged memory card, partition deleted, software unexpected crashes, inaccessible drive, virus attack, etc. can be easily restored.
User Guide
- Introduction
- Install and Register
- Recover Data on Mac
- Recover Data on External Drives
- Recover Various Kinds of Data
- Recover from Various Location
Try It Now!
Introduction
To recover your lost or deleted files from Mac, hard drive, flash drive, memory card, digital camera, mobile phones, etc., Apeaksoft Data Recovery for Mac would be your best choice. With its inside functions – deep scan and quick scan, you can find any missing file back and recover it. To meet users’ various needs, Apeaksoft Data Recovery for Mac can find and recover many kinds of files, like pictures, songs, videos, documents (Word, Excel, PowerPoint, PDF, TXT, RTF), emails and other files easily and quickly.
By the way, users can also save the scanned result by the SPF file. Thus, you can recover the lost files anytime by adding the SPF file into this software.

Install and Register
Install
Step 1: Before you begin installing this software, you need to free download the installation package by the link:
Step 2: Double-click the .dmg File. Then A window will pop up.
You can double click the button of this software or drag it into the right folder to install it.
It is so easy and quick.
Register
Step 1: When you open this software, you will see a pop-up window to remind you to register.
You can also click the key button on the top right corner.
Step 2: Enter the email address and registration code to complete the registration of Apeaksoft Data Recovery for Mac.
Note: The registration code will be sent to you via email. If you have not received an email from us, please contact our support team.
Email Address: The email address that you fill in the order form.
Registration Code: A string of characters marked as Activation key, license code or KEYCODE(S) in the order confirmation letter you received after the successful purchase.
Recover Data on Mac
As the professor of data recovering, it is easy to recover various files, like images, audio, videos, Email, document and others. Actually, the steps of recovering different types of files are the same. Here we just list the detailed steps of recovering images.
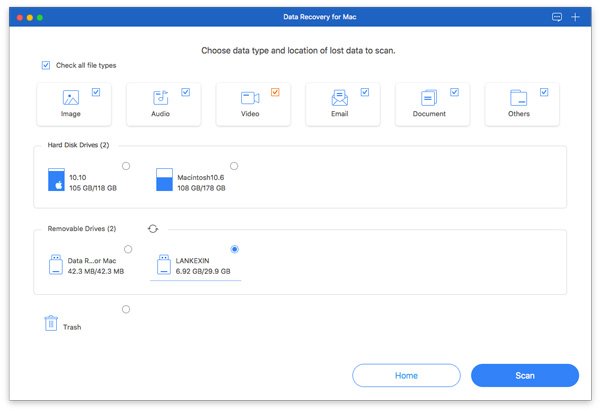
Step 1: Select data type and location
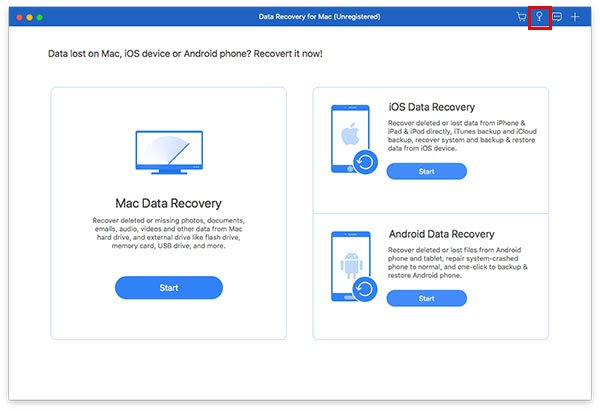
On the interface, you can see there are three parts. Mac Data Recovery, iOS Data Recovery and Android Data Recovery.
Click Mac Data Recovery. And if you need to recover data on the smart phone, you can install the right software.
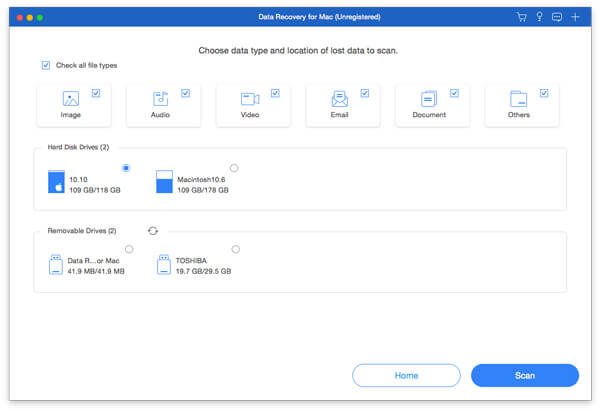
In the next interface of Data Recovery, you can clearly see the all file types and the hard drive of you PC. Tap the files you want to recover and the hard drive you want to recover from.
Then click Scan.
Step 2: Deep scan
Actually, the first time of scanning is quick scan. If you can not find the files you need, just click Deep Scan. And our product will find the files second time more detailedly.
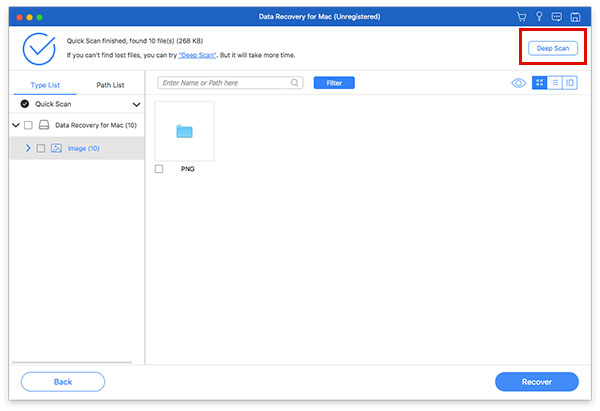
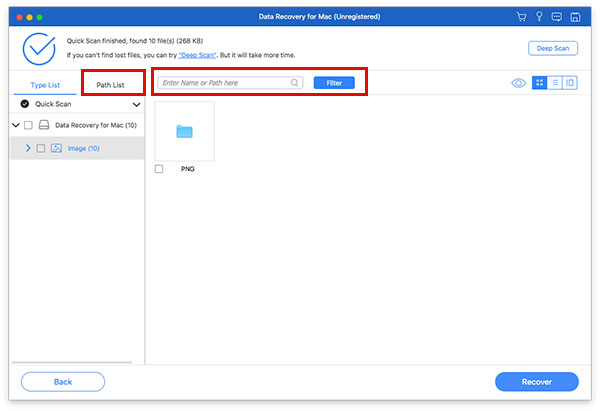
Step 3: Select the files
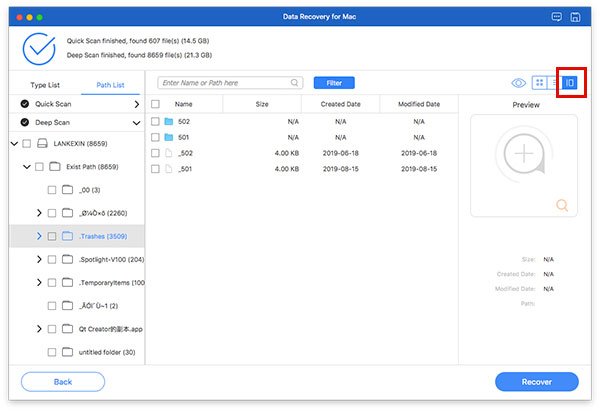
In few seconds, you can see the data sorted by type on the left bar. You can also see them by clicking Path list in the order of the path.
It is also OK to select folder by clicking Fliter in the middle of the top to find out the file.
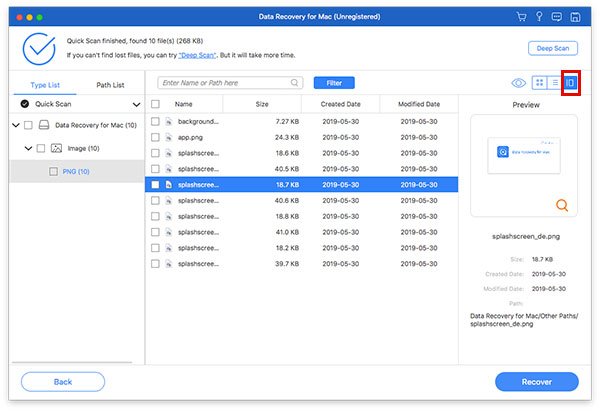
Find the data. To see the information of the data, you can click the third button on the top right corner of the interface.
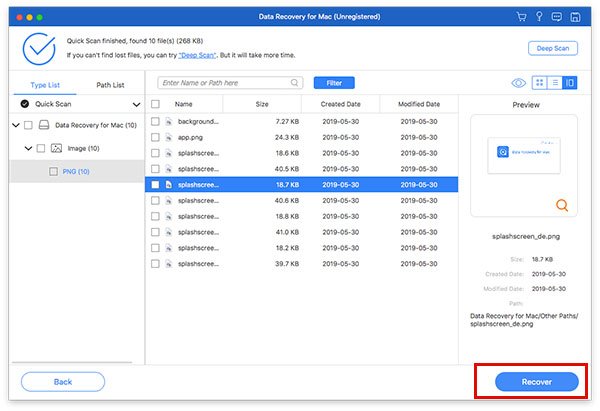
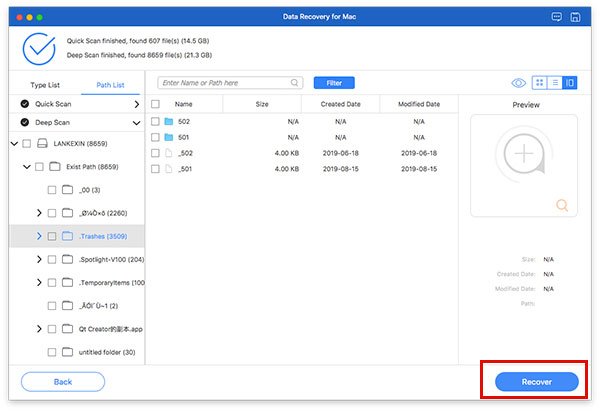
Step 4: Recover the data
After you make sure the files you want to recover, click Recover to retrieve the files to your computer.
Then you will see a pop-up window. Select the save path in it.
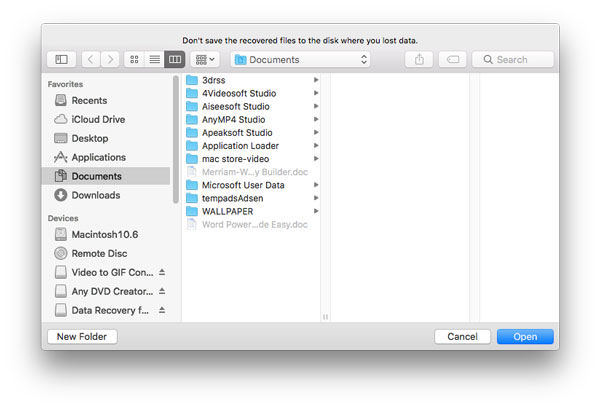
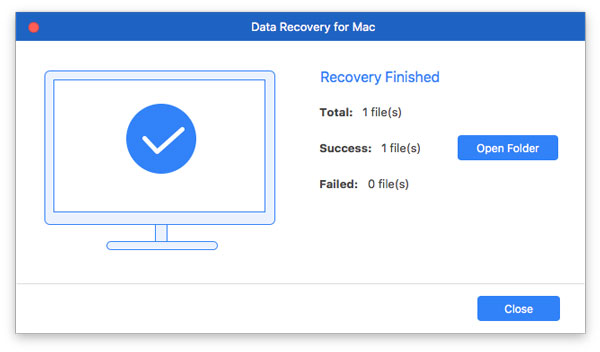
After finished recovering, you can click Open Folder to see the recovered data.
Recover Data on External Drives
Step 1: Select data type and location
On the interface, you can see there are three parts. Mac Data Recovery, iOS Data Recovery and Android Data Recovery.
Click Mac Data Recovery. And if you need to recover data on the smart phone, you can install the right software.
In the following interface of Data Recovery, you can clearly see the all file types and hard and external drives of your Mac. Tap the files you want to recover and the target external drive you want to recover from.
Then click Scan.
Step 2: Deep scan
As it shows in the left bar, the first time of scanning is quick scan. If you can not find the files you need, just click Deep Scan. And our product will scan your device more thoroughly the second time.

Step 3: Select the files.
In few seconds, you can see the data sorted by type on the left bar. You can also see them by clicking Path list in the order of the path.
It is also OK to select folder by clicking Filter in the middle of the top to find out the file.

Find the data. To see the information of the data, you can click the third button on the top right corner of the interface.
Step 4: Recover the data
After you make sure the files you want to recover, click Recover to retrieve the files to your computer.
Then you will see a pop-up window. Select the save path in it.
After finished recovering, you can click Open Folder to see the recovered data.
Recover Various Kinds of Data
This all-featured Data Recovery highly supports any popular data types like pictures, songs, videos, documents (Word, Excel, PowerPoint, PDF, TXT, RTF), emails and other files.
Recover from Various Location
Various reasons will cause the data loss. Data Recovery still offers you a big chance to get them back. Data loss due to wrong formatted drives, overwritten data, unexpectedly operations, damaged memory card, partition deleted, software unexpected crashes, inaccessible drive, virus attack, etc. can be easily restored.
