How to Delete Photos from MacBook, iMac, and Mac mini
Deleting photos on a Mac is an essential step to free up storage space and keep your photo library tidy. In fact, you can delete both the photos on your local disk and the photos synced from your iOS device. Moreover, you have multiple ways to remove a single photo or all photos on your MacBook. This guide lists the effective ways and demonstrates the workflow for each way with steps. Come and learn how to delete photos on Mac!
PAGE CONTENT:
Part 1: How to Delete Photos on a Mac with Trash
If the pictures you want to delete, such as screenshots, are saved on the desktop, you can directly delete them by dragging the files to the Trash.
Step 1. Locate the target photos you want to delete on your Mac screen.
Step 2. Click the photo to select it. To delete multiple photos on Mac at a time, you can press and hold the Command key, and then click your desired photos one by one.
Step 3. Drag the selected picture to the Trash in the Dock bar at the lower right corner of the screen with the mouse.
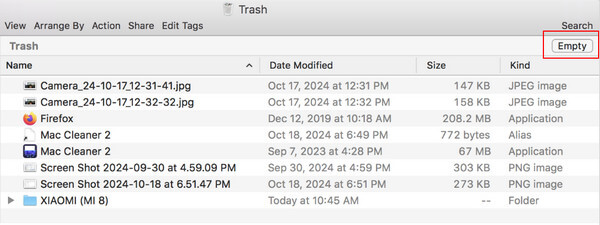
Step 4. Open the Trash app, and click the Empty button in the top-right corner to permanently delete photos on Mac.
Part 2: How to Delete Mac Photos in Photos App
The built-in Photos app is used to save the local photos and pictures synced from the iOS device that is associated with the same Apple ID credentials. Of course, you can delete photos from the Photos app on Mac.
Tips: If you don’t want to sync the changes to iCloud or you wonder how to delete photos on Mac but not iCloud, you’d better turn off Sync this Mac for iCloud Photos before deleting pics on Mac by following System Preferences > Apple ID > iCloud > Photos > Manage. Then, select the Photos option and press the Turn Off and Delete button.
Follow the steps below to learn how to delete photos from Photos on Mac:
Step 1. Open the Photos app from the Applications folder..
Step 2. Here you can find the unwanted photos:
To access all photos in the app, go to the Library tab on the left side.
You can also access photos organized by People, Places, Memories, and more under the Photos heading.
If you want to find unwanted photos according to media type, click and expand the Media Types on the left sidebar, and choose the desired type, like Selfies.
Or access the unwanted photos in a specific album under the My Albums heading.
If you want to filter photos, go to the File menu and choose New Smart Album. Set the options and filters to display the photos.
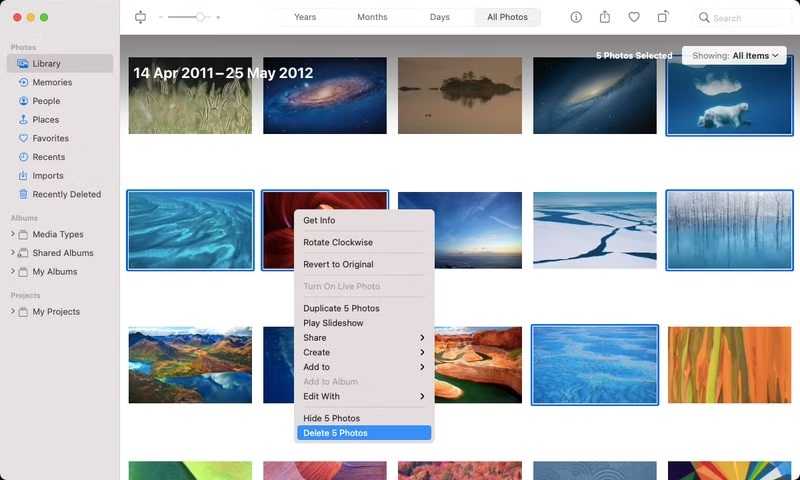
Step 3. Select one or several photos, right-click on one selected file, and choose Delete [number] Photos.
Step 4. Now, these photos are moved to the Recently Deleted album and stored here for 30 days. Go to the Recently Deleted album from the left sidebar.
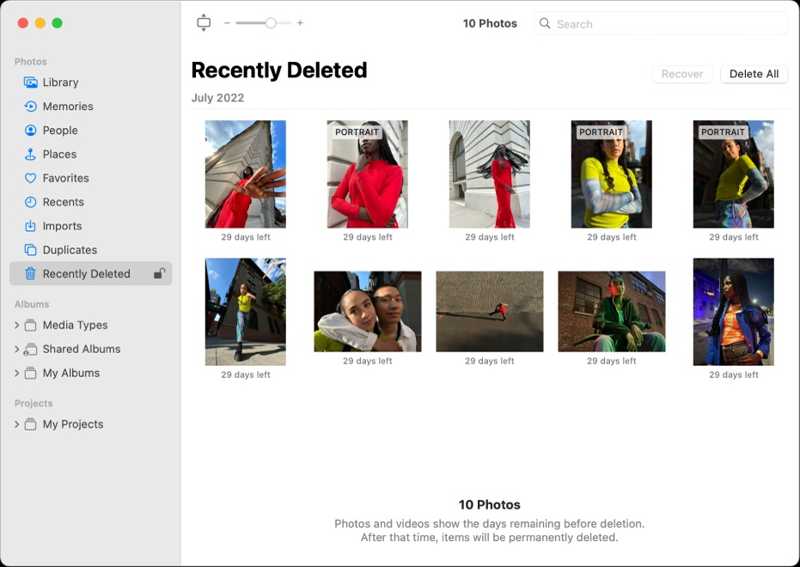
Step 5. At last, click the Delete All button, and confirm the changes.
Tips: Is there any faster way to delete photos on Mac? You can use a shortcut to make it! Just select the photo, and then press the Backspace key. If you want to delete multiple photos on Mac, like the steps in Part 1, you can press and hold Command, and then click your target photo. If you want to delete all photos on Mac, you can press Command + A simultaneously.
Part 3: How to Delete Photos on Mac in Finder
Another method to delete photos on a Mac is Finder. You can locate the unwanted photos in your Finder app and remove them.
The steps to delete photos on Mac using Finder are as follows:
Step 1. Open the Finder app from the Dock bar, and go to the folder where you store the photos that you intend to delete, such as the Downloads folder.
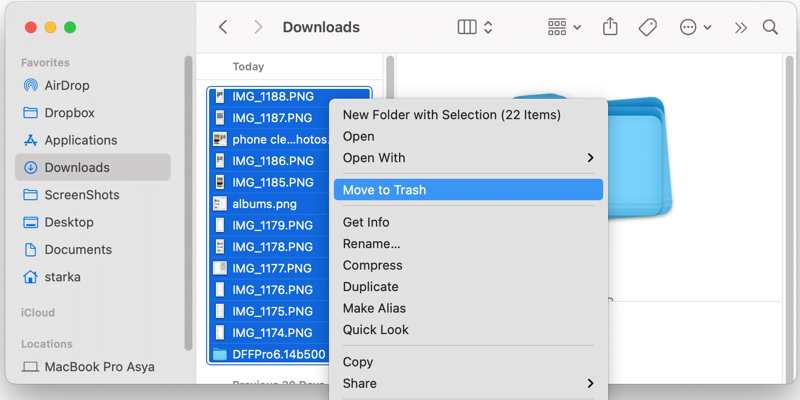
Step 2. Keep pressing the Cmd button and select the unwanted photos. Right-click on one of the selected photos and choose Move to Trash. You can also drag the files to the Trash like deleting photos on the Mac desktop.
Step 3. Next, right-click on the Bin button on the Dock bar, and choose Empty Bin to completely delete photos from your MacBook.
Part 4: How to Delete Mac Photo Library
If you want to delete all photos from your MacBook, besides pressing Command +A in the Photos app, you can also delete the entire Photo Library quickly. Here is the concrete workflow below:
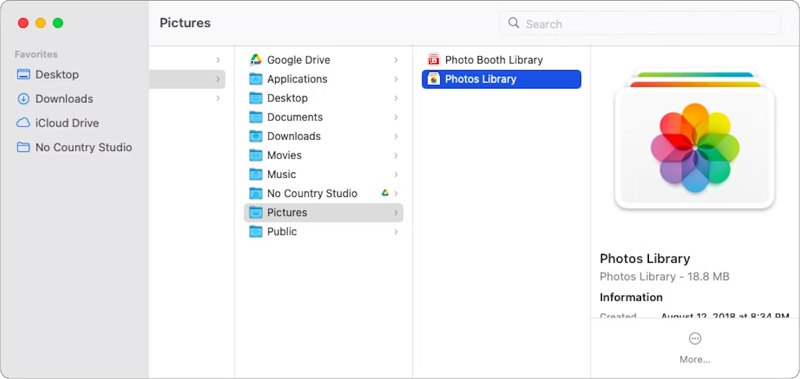
Step 1. Run your Finder app. Head to the Go menu on the menu bar, and choose Home.
Step 2. Go to the Pictures folder, and you should see the Photos Library file. Right-click on it and choose Move to Trash.
Step 3. Next, right-click on the Bin button on your Dock bar, and choose Empty Bin. Now, your photo library will become empty. This feature can also permanently delete emails on Mac.
Part 5: How to Delete Duplicate Photos on Mac
Due to iCloud Photos, it is easy to get duplicate photos on Mac. That takes up lots of space on your hard disk. The best option to keep your photo library tidy is to delete duplicate photos on your Mac. This section will show you how to delete photos on Mac to free up space.
Method 1: How to Delete Duplicate Photos in the Photos App
Step 1. Access the Photos app on your Mac.
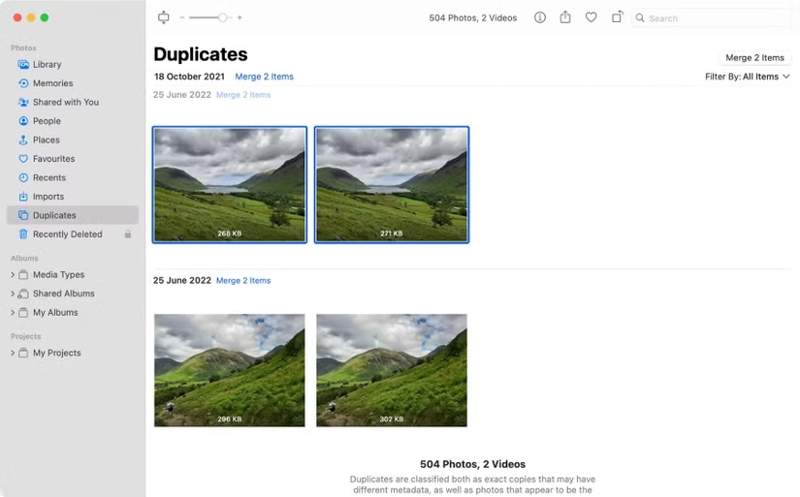
Step 2. Go to the Duplicates folder from the left sidebar. If your Mac finds any duplicates, they will be arranged by date in this folder.
Step 3. Select the duplicate photos, and click the Merge 2 Items button to keep the best quality of all copies. If you want to remove multiple duplicate photos, hold the Cmd key while selecting them, and click Merge X Items.
Method 2: How to Remove Duplicate Photos with Smart Folder
Step 1. If you want to remove duplicate photos on Mac outside of the Photos app, open the Finder app.
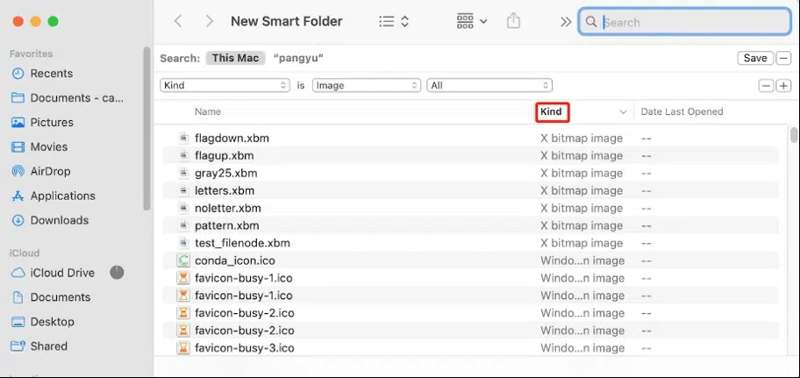
Step 2. Go to the File menu, and choose New Smart Folder.
Step 3. Select This Mac, and click the + button. Then pick Kind from the first drop-down list, and choose Image from the second one.
Step 4. Sort the images by hitting Name. Then delete the files with the same name.
Method 3: How to Delete Duplicate Photos on Mac in One Click
The built-in methods are only able to find duplicate photos according to name and date. That doesn’t work in all situations. Apeaksoft Mac Cleaner, on the other hand, uses AI to scan and identify duplicate photos quickly.
Delete Duplicate Photos on Mac Quickly
- Remove duplicate photos on Mac with one click.
- Use AI technology to precisely locate duplicate images.
- Support a wide range of image formats.
- Besides duplicate photos, it can also help you remove junk/large files to speed up your Mac system.
Secure Download

Follow the steps below to learn how to delete duplicate photos on Mac in one click:
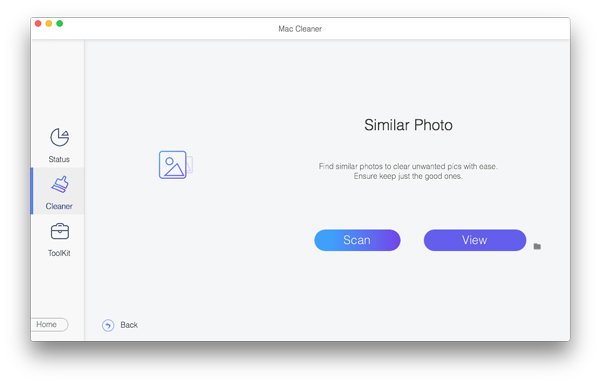
Step 1. Scan duplicate photos
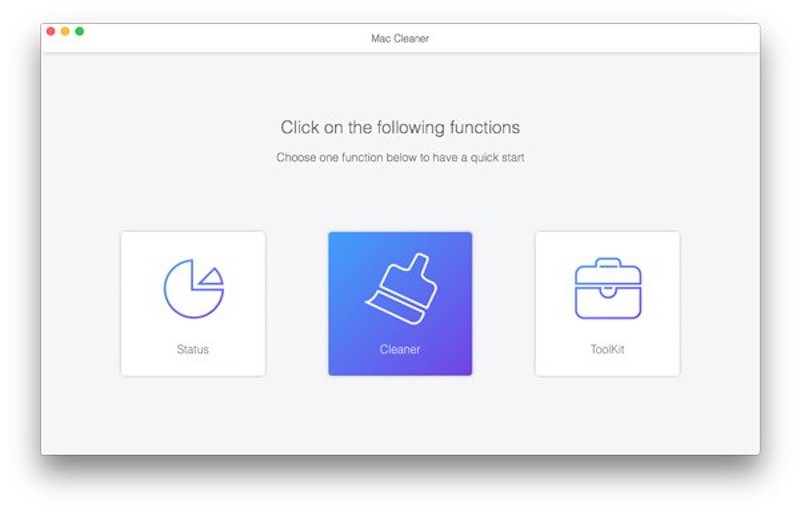
Launch the best photo manager for Mac after installing it on your computer. Click the Cleaner tool, and choose Similar Photo. Hit the Scan button to start looking for duplicate photos.
Step 2. Delete duplicate Mac photos
When photo scanning is done, click the View button to move to the next window. Here you can select the copies, and click the Clean button. If prompted, hit Clean to confirm it. Then your Mac photos should become tidy.
Tips: If you've deleted photos on Mac by mistake and wonder how to recover deleted photos on Mac, you can use another powerful software of Apeaksoft - Apeaksoft Data Recovery to recover deleted photos on Mac.
Conclusion
This guide describes how to delete pics on a Mac, how to delete photos on Mac but not iCloud, how to delete pictures on Mac with keyboard, etc. You can remove photos from a specific folder in the Finder app, from an album in the Photos app, or delete the entire photo library. More importantly, you can erase duplicate photos to keep your photo library organized. Apeaksoft Mac Cleaner is the easiest way to get rid of duplicate photos on Mac.
