iMessage is pre-installed on all Apple computers by default. You can send not only text messages, but also photos, videos, stickers, web links, contacts, location information and more over Wi-Fi. Thus, many people use iMessage on Mac and iPhone to chat with friends, families and coworkers. The iMessage app works with iOS 5.0 and later and Mac OS X Mountain Lion and later.

If you are new to iMessage, this is the entry-level user guide you are looking for. You can start or stop using iMessage on Mac with ease. What's more, you can manage and transfer messages between Apple phones, tablets and computers freely.
Part 1: How to Use iMessage on Mac
Here are frequently-asked questions while using iMessage on Mac. Just read and check if you encounter the same problem. By the way, you can get the solutions for some iMessage on Mac not working issues from the following paragraphs.
How to Turn Off iMessage on Mac
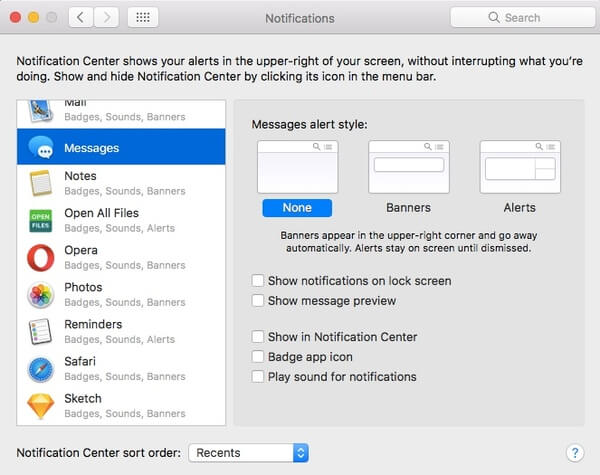
If you do not want to be disturbed by the popping-up messages, you can turn off iMessage notifications on Mac. Well, it can be regarded as the "Do not disturb" feature. You can still send and receive messages via iMessage on Mac. The only difference is that you will not be pestered by new alerts.
Step 1Unfold the "Apple" menu. Select "System Preferences" from its list.
Step 2Scroll down and click "Messages" in the left pane.
Step 3Choose "None" under "Messages alert styles".
Step 4Uncheck all options below to turn off iMessage on Mac.
How to Set Up iMessage on Mac
The first time you use iMessages on Mac, you need to activate the iMessage user account with your Apple ID. It is supported to receive messages from several accounts simultaneously. You can even message others by phone numbers within iMessage on Mac.
Step 1Run the "Messages" app. Sign into iMessage with Apple ID and password.
Step 2Select "Preferences" from the "Messages" drop-down list on the top.
Step 3Locate the "Accounts" section. Browse and select the phone number and email address that can be reached for messages at.
Step 4Mark before "Enable this account" to enable messages in iCloud. You can specify other details to activate iMessage on Mac.

If you find the phone number not showing up in iMessage on Mac issue, you need to check whether you have enabled iMessage on iPhone or not. You can activate iMessage on iPhone within the Settings app. Later, you can add a phone number to iMessage on Mac by syncing.
How to Sign Out of iMessage on Mac
If you log out of iMessages on Mac, you are not allowed to send or receive further messages. You can also sign out of your iCloud account in iMessages at the same time. Your iCloud account will not be influenced. Generally speaking, you just deregister iMessage from your iCloud account manually.
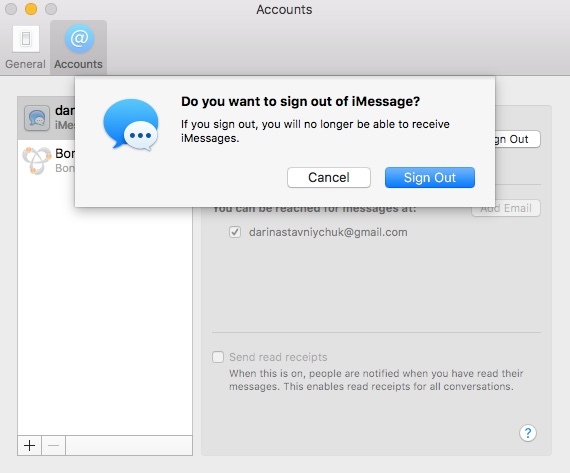
Step 1Run the "Messages" app. From the "Messages" menu, select "Preferences" to get a new window.
Step 2Click "Accounts" on the top. Select which iMessage account you want to disable.
Step 3Uncheck the "Enable this account" option. Click "Sign Out" next to your Apple ID.
Step 4When you are prompted with "Do you want to sign out of 'iMessage'?", click "Sign Out" to confirm. Now, you can disconnect iMessage from Mac successfully.
How to Delete iMessages on Mac
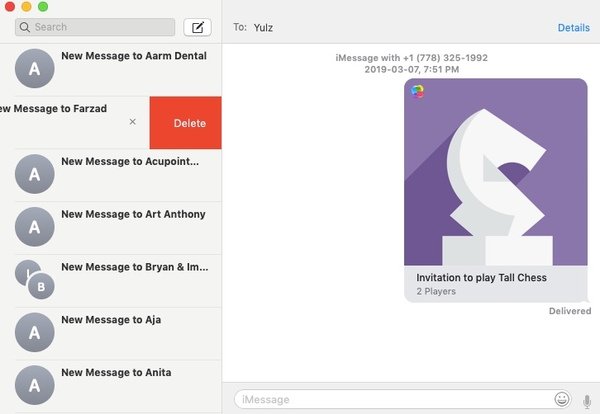
You can delete an iMessage conversion on Mac without extra tools, as well as the iMessage attachments. All your iMessage history will be in the left pane. You can delete iMessages on Mac completely and quickly.
Step 1Open the Messages application to get all iMessage conversions.
Step 2Choose the certain iMessage conversion you want to delete.
Step 3Click "Delete Conversion" from its right-click menu or "File" drop-down list.
Step 4Type "~/Library/Messages/Attachments/" in the "Go to Folder" dialog. Later, you can delete iMessage attachments on Mac.
Part 2: How to Transfer Messages between iPhone and Mac
Actually, you can transfer iMessage conversions and attachments from iPhone to Mac or Mac to iPhone effortlessly. Apeaksoft iPhone Transfer has simplified the whole process. You can transfer all kinds of files between iPhone and Mac in one click without data loss. Moreover, the contact assistant and preview window can help you manage iMessage on Mac and iPhone.
Main Features of the iPhone Transfer for Mac Software
- Transfer data safely and quickly from iPhone to Mac/PC/iPhone/iTunes.
- Transfer and manage messages, contacts, photos, videos, music and more.
- Fully support the latest iOS 26 devices, including iPhone 16/15/14/13/12/11/X, etc.
- Offer a safe, clean and intuitive interface.
- Cause no data loss while transferring files.
How to Transfer Messages from iPhone to Mac
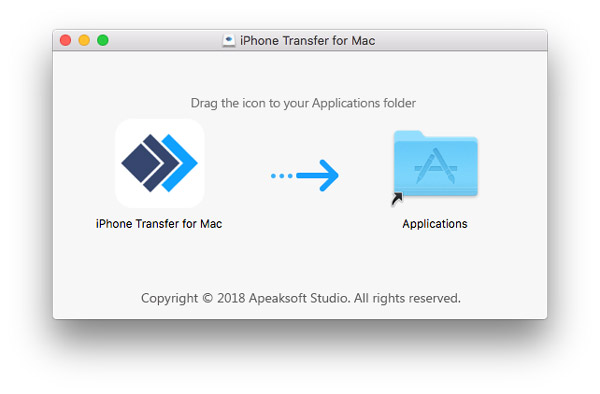
Step 1Free download, install and launch the iPhone Transfer for Mac software.
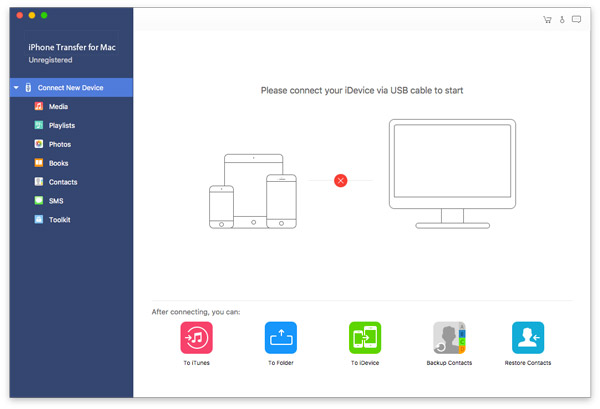
Step 2Plug iPhone into the Mac computer with a lightning USB cable. You need to tap "Trust" on your iPhone to continue the process.
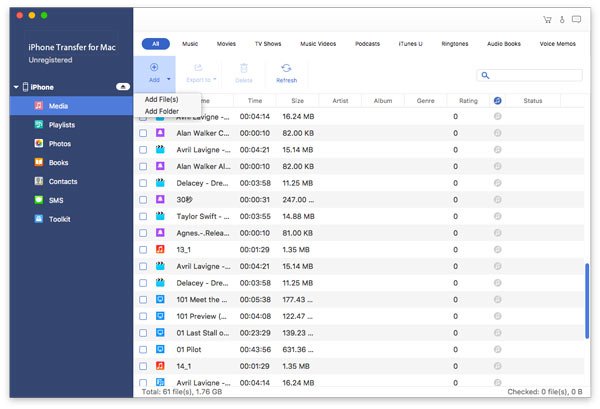
Step 3Click the certain file type in the left pane, like "SMS" or anything else. Then click "Add" followed by "Add File (s)" to add messages from Mac to iPhone.
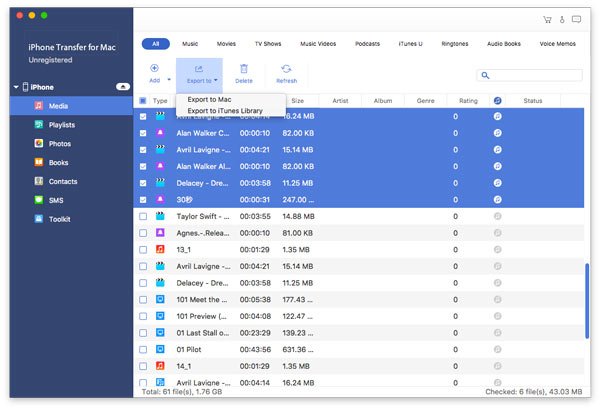
Step 4If you want to move some messages from iPhone to Mac for backup, you can click "Export to" followed by "Export to Mac" instead. Sooner, you can transfer the selected messages and attachments to your Mac computer without losing quality.
Now you can set up, turn off, disable and even delete iMessages on Mac. The superfast iPhone Transfer for Mac software can help you manage and transfer messages and other attached files in one stop. By the way, you can find the disappeared iPhone messages via this program too. Whatever, if you have any other questions about how to use iMessage on Mac, you can feel free to contact us. We are glad to help you whenever you need.