Webinar is a live web-based video conference that allows you to give a presentation to even thousands of people at one time at a low price.
However, if you do not want to miss any points in a webinar, taking notes is not enough. Recording a webinar will be a good solution.
But how to record a webinar?
This page collects three easy ways to capture a webinar on Windows 11/10/8/7 and Mac.

- Part 1. How to Record a Webinar on PC/Mac with Software
- Part 2. How to Record GoToWebinar Online with Built-in Recorder
- Part 3. Record Webinars with an Excellent Free Online Recorder
- Part 4. FAQs of Recording a Webinar
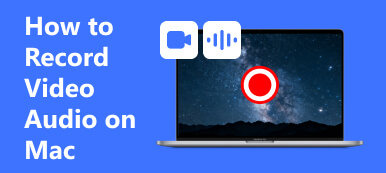
Part 1. How to record a webinar on PC/Mac with software
Want to edit the webinar recording while you record the video?
Want to record the live webinar without sitting in front of the computer by setting the schedule?
Wish to record webinar with the sound from system and microphone?
If yes, just take Apeaksoft Screen Recorder to make the webinar recording.
4,000,000+ Downloads
Record live webinar on Windows 11/10/8/7 and Mac.
Edit the recording file while you capture the webinar.
Record webinar with sound from computer and microphone.
Lock window or exclude window for recording a webinar.
Work as an Android webinar recorder to capture activities on your phone without lagging.
Step 1Just download and install the latest version of Apeaksoft Screen Recorder with the download button above, then install and launch the program on your computer to record on-screen activities for Webinar.
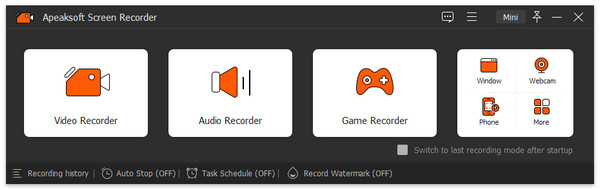
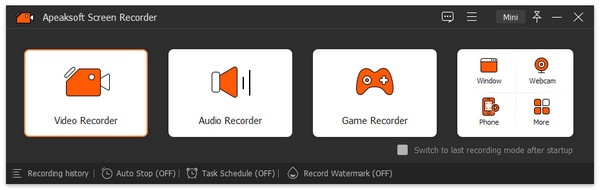
Step 2When you want to record Webinars, choose the "Video Recorder" button in the left of the interface. If you want to record audio or snapshot, you can also find the corresponding button in the same interface.
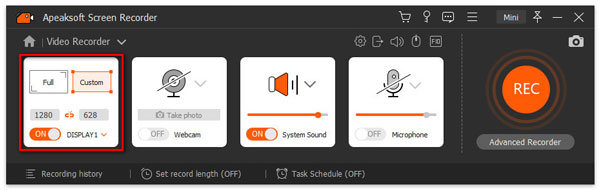
Step 3In the new window, you can change the settings for webinar recording one by one. Select the recording area as a full screen or customized window. Then make sure you have turned on the "System Sound" to hear all the content in the online conference.
If you don't want yourself and your voice recorded in the video, just remember to turn off the "Webcam" and "Microphone" shown as below.
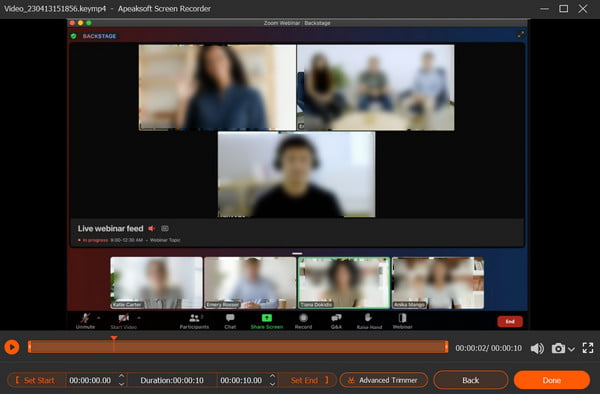
Step 4With all set, you can click the "REC" button and start your recording. During the process you can use the toolbox to change the recording settings if you like.
When you want to stop the recording, click the "Stop" button and you can preview the effect. Click "Save" button.
Step 5After that, you can view the recording with the following list. And there are other editing tools on the right side next to it if you need.
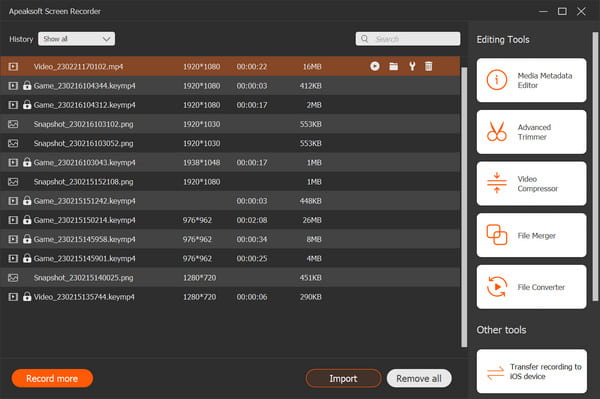
With the steps above, you are believed to capture a smooth and good-quality webinar video. And it's also worthwhile mentioning that Apeaksoft Screen Recorder functions not only as a desktop recorder, but also as an iPhone and iPad webinar recorder with selective access from the "Phone section" .
Tips
1. Make sure the audio quality before recording a webinar.
Try to choose a quiet environment to eliminate as much background noise as you can. We recommend you to test the audio before the day you record a Webinar in advance.
2. Enable a high quality webinar video.
Setup the best environment for the webcam, such as the lighting and optics, physical appearance.
3. Set schedule webinar recording.
If you are busy and cannot make time to sit in front of computer, just set the task schedule to let it record a webinar at certain time.
4. Make more entertainments apart from webinar recording
This software is not only working for recording webinar, it can also be as the video tutorial maker, music saver, video captures, gameplay maker on computer.
(Game recorder apps for iPhone and Android, click here.)
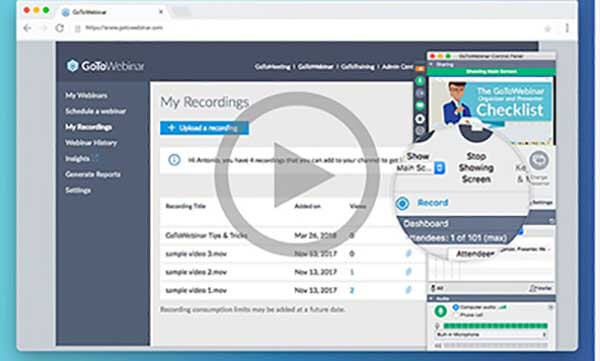
Part 2. How to record GoToWebinar online with built-in recorder
In addition to using screen recorder to record a webinar, some webinar platforms have their built-in recorders. We take GoToWebinar as an example. Next are the steps about how to record webinars with its built-in recorder.
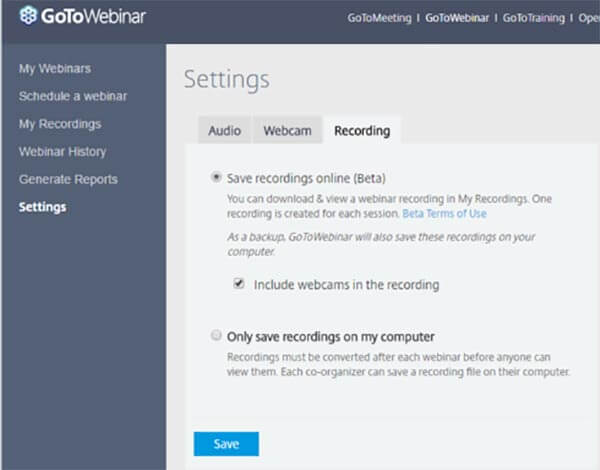
Step 1Sign into GoToWebinar. Click the "Setting" button in the menu to choose the "Recording" tab. If you want to record webinar automatically, you are able to click "Auto-record" option.
Step 2Click the "Recordings" to select where your recordings save. If you choose "Save recording online", your recording will save to your online account automatically. Or you can choose the "Raw file" button to save your webinar recording to your device.
Step 3Start your recording. Once everything is done, you are able to click "Stop" to save webinar recording on your computer. After that you can share the video to social media websites or further edit with other programs.
Part 3. Record Webinars with an Excellent Free Online Recorder
Have you ever thought about how to record webinar on laptop for free?Is there a 100% free tool that you can use without any worries about safety and the delays?
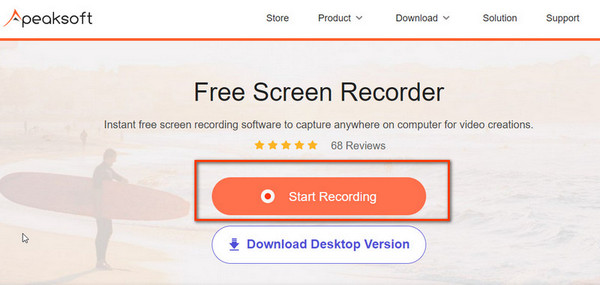
Apeaksoft Free Screen Recorder is your excellent choice.
You can use this online tool to record webinar for free and capture any on-screen activities within a few clicks.
Follow the instructions below to record your webinar.
Step 1Click "Start Recording" and download the launcher to your PC. Then follow the instructions to continue.
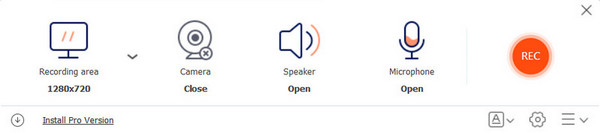
Step 2In the pop-up window, you can select the recording area and make audio settings to get ready.
Make sure you turn on the "Speaker" and "Microphone" to record the talking from other people and yourself respectively.
Close the "Camera" option if you don't want yourself recorded in the video. Then click "REC" button to start recording.
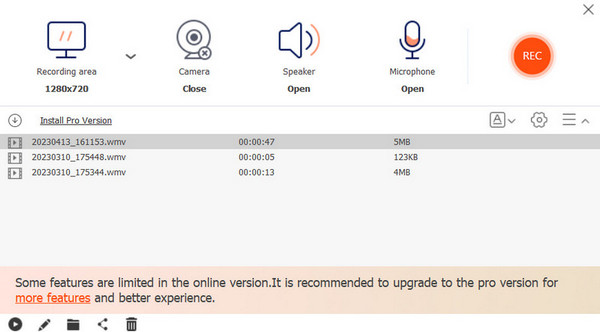
Step 3Click the "End" button to complete the recording process. Then you can view all recorded videos in the next window. Here you can play, rename, share or delete the file if you want.
 You May Also Have Interest in:
Part 4. FAQs of recording a webinar
Question 1. Can I record a webinar on iPhone?
You can record a webinar on iPhone with a built-in recorder. Before you can start recording, you'll need to make sure you've enabled screen recording in the Control Center, and that the Control Center can be accessed from any app.
Question 2. How do I record a webinar online?
An online recording app can help you capture a webinar online. You can try Apeaksoft Free Online Screen Recorder to make the webinar recording on your computer. It is totally free, and you don’t have to install extra programs on your computer.
Question 3. Is there any other online webinar recording recommendation?
You can use the above mentioned Apeaksoft Screen Recorder to record any live webinar in high quality. Just download this webinar recording tool to start the recording.
Conclusion
After reading this tutorial, you are able to know how to record a webinar and what you should notice for recording a webinar. What's more, you can also find free Webinar recorders to get the video files. If your webinar project supports built-in recording, just use it. If not, Apeaksoft Screen Recorder will be a good option.
If you have any questions, you can share them in the comments.