Unlike traditional text message, iMessage is an instant message service, so it is not only available on iPhone and iPad, but also working on Mac. But there are some questions involved with using iMessage on computers, such as how to set up iMessage on Mac computers, is it possible to use iMessage on Windows PCs, how to save iMessages to computer, etc.

In this post, we are going to answer these questions and tell you basic knowledge you should know about using iMessage on computer, including Mac and Windows. If you are appetite on message and want to save money on SMS fees, you will find our post is useful.
- Part 1: How to set up iMessages on the Mac
- Part 2: How to Use iMessage on Windows PC
- Part 3: How to transfer iMessages to computer
Part 1: How to set up iMessages on Mac
iMessage is a popular instant message services, launched by Apple. One benefit of this service is available to both iOS devices and Mac computers. Similar to using iMessage on iPhone, you have to set up and activate iMessage on computer first.
Step 1. Start the Message app from your desktop dock, or you can find it in Applications folder.
Step 2. On the pop up window, input your Apple ID and password; then click the "Sign in" button. Enter your verification code, if you have turned on two-step verification or two-factor authentication.
If you want to sync iMessages between iPhone and Mac, you should sign in the same Apple ID on both devices. iMessages not working on Mac?

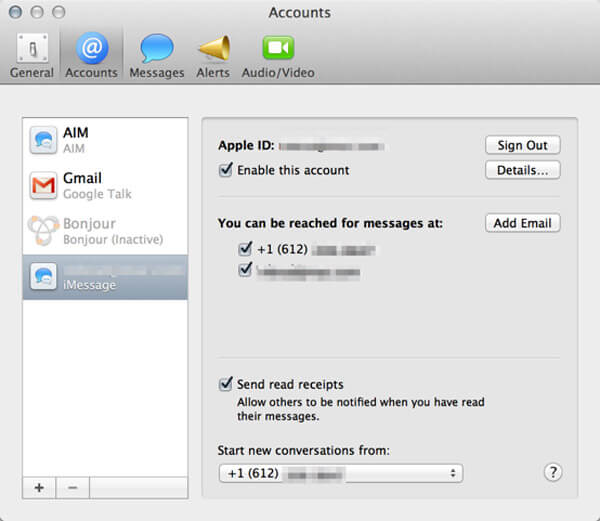
Step 3. Now, access iMessage, go to "Message" > "Preferences" on top ribbon and then select the "Account" tab. Here you can add your phone number and email address that you wish to catch up with.
Step 4. After setting up iMessage on computer, you can send and receive messages, videos, voice messages, emoji, and photos on Mac.
Sync iMessage between Mac and iOS
To sync iMessages between Mac and iOS devices, you need to set up iMesssage in iCloud as well.
On Mac:
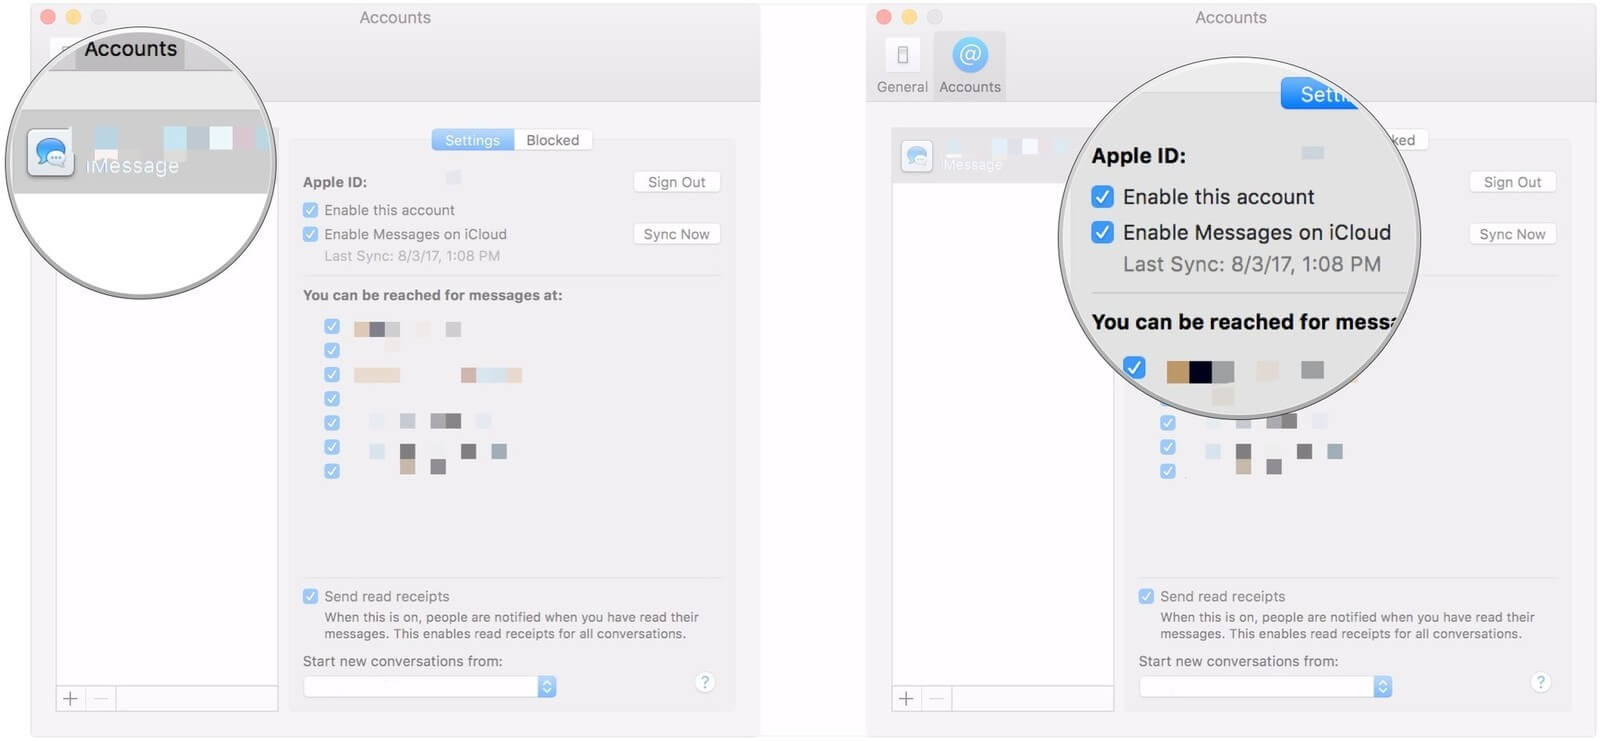
Step 1. Start the Message app on Mac, head to "Message"> "Preferences"> "Account".
Step 2. Tick the checkbox in front of "Enable Messages on iCloud".
Step 3. Press the "Sync Now" button.
On iPhone:
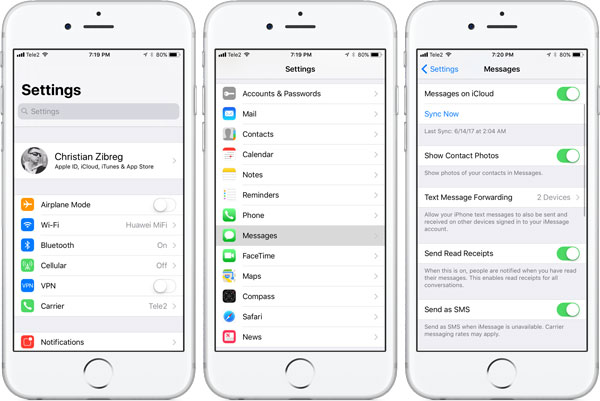
Step 1. Go to "Settings" > [your Apple ID] > "iCloud", toggle on "Message" option.
Step 2. Back to Settings, open "Message" and tap "Sync Now" to start syncing message to Mac via iCloud.
Now, the iMessages sent or received on Mac will sync to your iPhone automatically.
Check the post and get to know the comprehensive guide to use iMessage on Mac.
Part 2: How to Use iMessage on Windows PC
According to Apple, iMessage is only available to Mac and iOS. Is it possible to use iMessage on computers running Windows 10/8/7/XP? The answer is yes.
Use iMessage on Windows PC via Chrome Remote Desktop.
This way needs a Mac computer that has set up iMessage and a Windows PC.
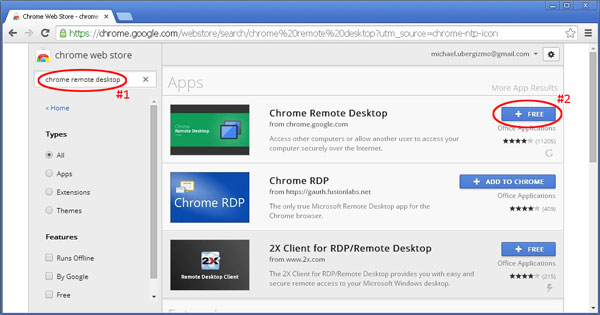
Step 1. Start the Chrome browser on your Windows PC, go to "Web Store", search and install "Chrome Remote Desktop" app to Chrome. Do the same operation on the Mac computer.
Step 2. Install "Chrome Remote Desktop Host Installer" on the Mac separately.
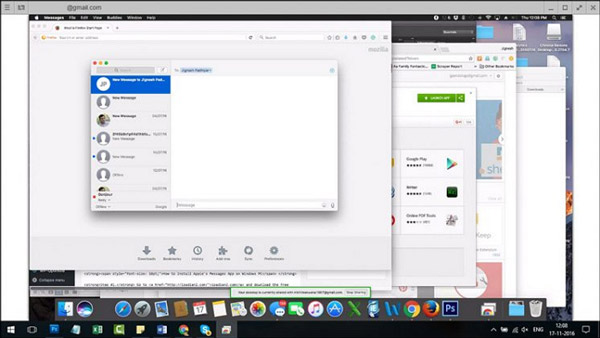
Step 3. Now, open the Chrome Remote Desktop and use the random "access code" to access Mac apps on Windows PC.
Use iMessage on Windows PC via third party emulator
If you only have an iPhone but no Mac computer, is there any way to use iMessage on computer running Windows? Some third party emulators could help you achieve it, such as iPadian 2.
Step 1. Visit iPadian official website, download the emulator and install it on your Windows PC.
Step 2. Start the emulator software, read the Terms and Conditions carefully and the click "Accept" if you are sure.
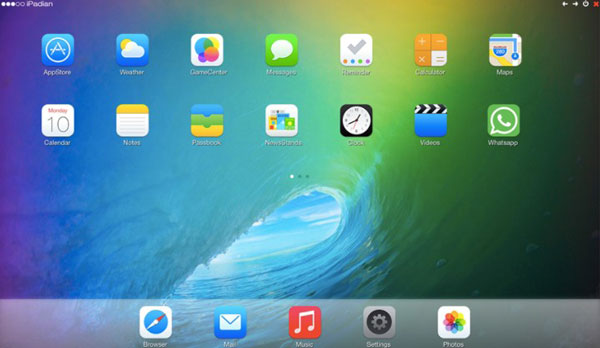
Step 3. Now, search iMessage in the emulator and download the iOS app to your PC. Then launch the app and start using iMessage on computer.
There are many third party emulators for using iOS apps on Windows PCs, but we cannot guarantee their security. You'd better consider carefully and get emulator software from trustable sources.
Part 3: How to transfer iMessages to computer
There are several reasons that you want to transfer iMessage to computer. For example, saving iMessage on computer is a good idea to avoid important messages loss. Moreover, it is a safe way to look at iMessage on computer. From this point, we recommend Apeaksoft iOS Data Backup & Restore. Its key features include:
- Selectively back up iMessages from iPhone or iPad to computer quickly.
- Save iMessages to computer in the original conditions.
- Create a backup for iOS devices including all current data and files.
- View iMessages on computer at any time.
- Restore lost iMessages to computer or iDevice from backup.
- Support all iPhone X/8/8 Plus/7/7 Plus6/6s/5/5s/5c/SE/, iPad Pro/Mini/Air and iPod Touch.
- Available to Windows 10/8/8.1/7/XP and Mac OS.
In a word, iOS Data Backup & Restore is the best way to transfer iMessages to computer.
Step 1. Install the iMessage transfer to your computer
Download and install iOS Data Backup & Restore on your computer. There is one version for Windows and Mac respectively. Connect your iPhone to the computer using the Lightning cable.
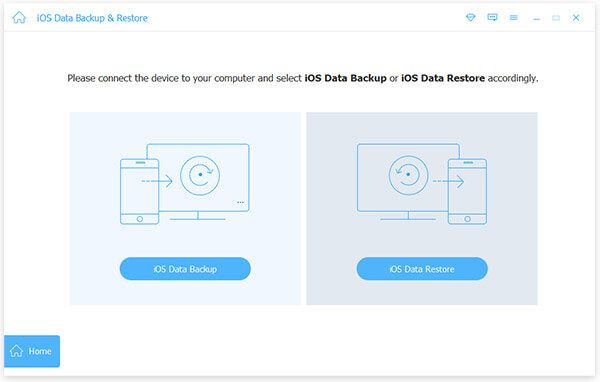
Step 2. Preparations for iMessages transfer
Click the "iOS Data Backup" button on home interface. Then you will face two options, "Standard backup" and "Encrypted backup". If you want to protect your iMessage, select latter one and drop your password. Click the "Start" button to go to next window.
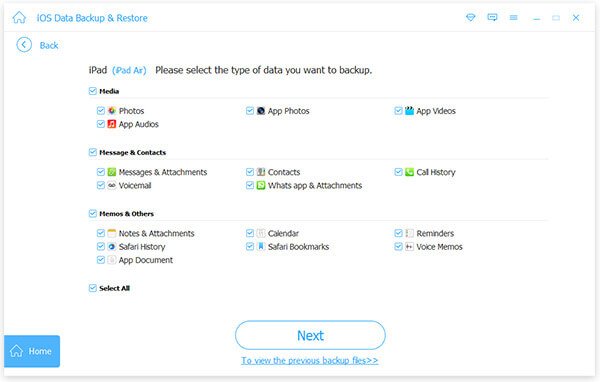
Step 3. Transfer iMessages on computer in one click
When taken to the detailed window, select "Messages" and "Messages Attachments" on left sidebar. All iMessages currently on your iPhone will show up on right side. You can decide to transfer all iMessages and attachments to computer or certain ones. After selecting, click the "Next" button to start transferring iMessage from iPhone to computer.
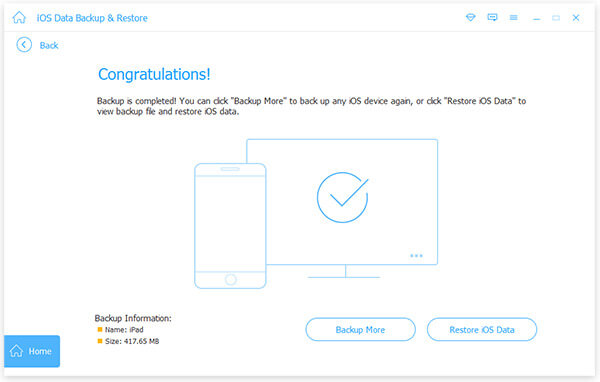
When it is done, you can view your iMessage on your Windows PC or Mac computer.
Conclusion
In this tutorial we have shared some wonderful ideas to use iMessage on Mac. When we talk about messages, most people believe it is an important feature of mobile phone. But after reading this post, you might understand that iMessage is available to computer as well. Now, you can send and receive messages via iMessage on computer running Mac or Windows. To transfer iMessages to computer, we recommended Apeaksoft iOS Data Backup & Restore, because it is easy to use and able to selectively save iMessages on computer.