A screenshot on iPhone should be more useful than a simple explanation. How to screenshot on an iPhone with ease? Is there a method to add annotation, apply blur and tweak the screenshot? Whether you need to have a screenshot on your iPhone, or manage the screenshot with ease, you can learn more details about the 4 efficient methods to screenshot on iPhone with ease from the article.

- Part 1: The Default Methods to Screenshot on iPhone
- Part 2: How to Screenshot on iPhone via Assistive Touch
- Part 3: How to Screenshot on iPhone with Fingerprint Sensor
- Part 4: How to Screenshot on Mirrored iPhone with Ease
- Part 5: FAQs about How to Screenshot on iPhone
Part 1: The Default Methods to Screenshot on iPhone
When you are using iPhone X or later models, the screenshot on an iPhone is no longer involved with the Home button. Just follow the following steps to take a screenshot on iPhone.
Step 1Press the Side button and the Volume Up button at the same time on your iPhone.
Step 2The screen flashes and the camera noise sounds, to indicate that you took a screenshot on an iPhone.
Step 3There is a thumbnail of screenshot temporarily appears in the lower-left corner of your iPhone screen.
Part 2: How to Screenshot on iPhone via Assistive Touch
Assistive Touch is another method to screenshot on an iPhone, which you can use the on-screen Home button to get a desired photo. It is an easy method to configure and take screenshot within a couple of taps.
Step 1Go to the Settings app on your iPhone. Choose the General option to select the Accessibility option.
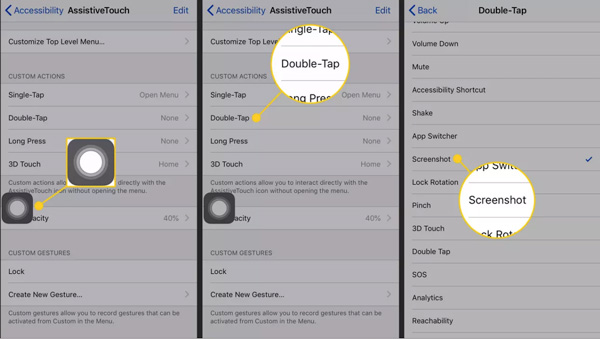
Step 2Tap the AssistiveTouch option and turn on the AssistiveTouch toggle switch to add the on-screen Home button.
Step 3After that, in the Custom Action section to assign a command to take a screenshot on an iPhone.
Step 4Tap the AssistiveTouch button on the screen. Have a single tap or the selected gesture to take a screenshot.
Part 3: How to Screenshot on iPhone with Fingerprint Sensor
When you are using iPhone 11 or above, you can also use a fingerprint sensor to screenshot on your iPhone. It is more a straightforward method to save the photos to your Gallery within one tap.
Step 1When you locate the screen you want to take a snapshot, you can long press the volume button and simultaneously place your finger on the fingerprint sensor.
Step 2After that, you can release both buttons and the screenshot will be captured on your iPhone. It will be saved directly to your gallery, which you can view, share and edit the screenshot.
Part 4: How to Screenshot on Mirrored iPhone with Ease
If you want to take a customized screenshot of iPhone, add annotation/mouse cursor/watermark, edit the snapshots and even manage the photos with ease, Apeaksoft Screen Recorder is a versatile snipping tool on Windows and Mac to capture the mirrored screenshot on your iPhone. It enables you to tweak the audio/video settings, add annotation/watermark/shapes, and even edit the recording with ease.

4,000,000+ Downloads
Record screen videos, microphone voice, system audio and snapshots.
Tweak the frame rate, sample rate, video/audio codec, bitrate and more.
Add annotation, watermark, shapes, texts, arrows, and more elements.
Edit and manage the recordings, such as view, play, share, delete, etc.
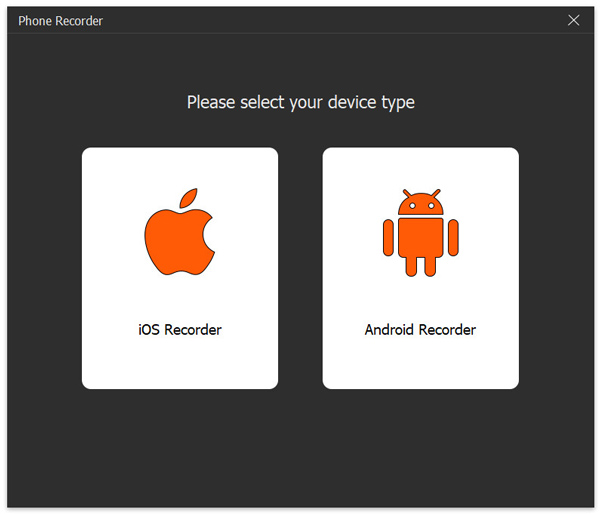
Step 1Download and install the snipping tool, you can launch the program on your computer. On the main interface, choose the Phone option to take a snapshot.
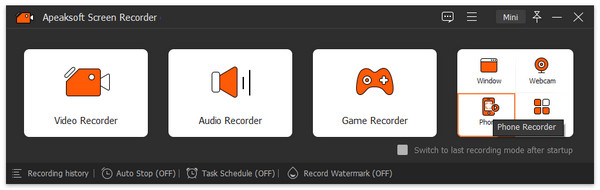
Step 2To screenshot on iPhone, here you should select iOS Recorder.
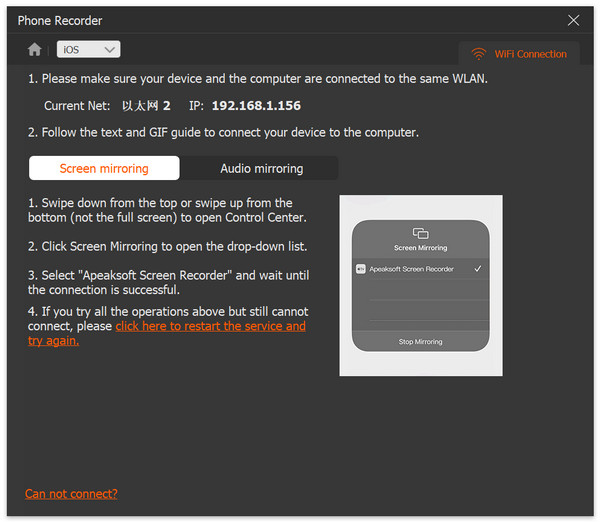
Step 3You need to make sure that your iPhone and the computer are connected to the same Wi-Fi. Then, choose Screen mirroring to continue. Open your iPhone, and swipe down from the top or swipe up from the bottom to open Control Center. click the little white icon at the top-right corner to expand the music playback menu, and select Apeaksoft Screen Recorder.
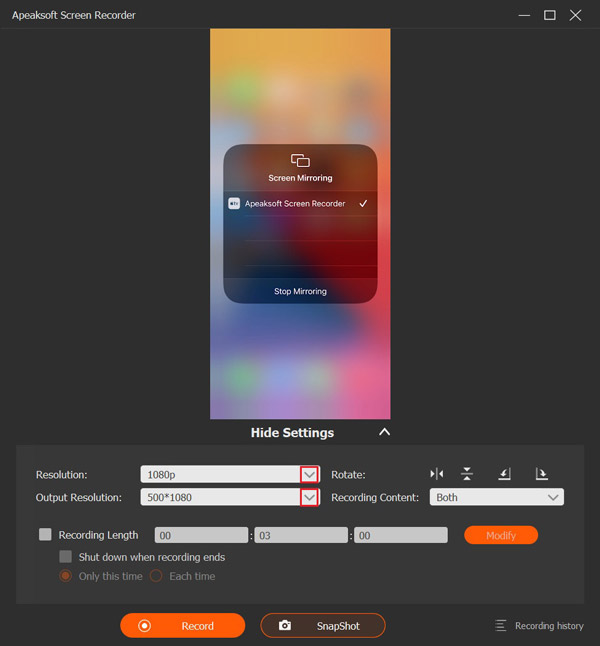
Step 4 Now, your iPhone screen will be displayed on your computer, and you can click the SnapShot button at the bottom of the window to screenshot on your iPhone.
That's all for taking screenshots on iPhone. You can also use this tool to record audio on iPhone.
Don't miss:
How to Screenshot in Windows Media Player
How to Take Scroll Screenshots
Part 5: FAQs about How to Screenshot on iPhone
1. Where to Locate The Screenshot on iPhone?
It goes the same after you take a screenshot on an iPad or iPhone. You can locate it in Photos app. Tap the Albums button in the bottom side, scroll down and tap the Screenshot option to view all the screenshots you have taken. If you cannot locate the screenshots, you can view the photos in the Camera Roll album instead.
2. How to Share The Screenshot on iPhone?
Long press and hold on the screenshot displaying in the lower-left corner of your iPhone screen. Select the device or social media app you want to send the screenshots. Go ahead and tap on the Share button to share the captured screenshot on iPhone.
3. How to Makeup the Screenshot on iPhone?
If you have already taken the screenshot on your iPhone, you can tap the screenshot in your camera roll. Tap the Edit option in the top right corner and choose the three-dot button located in the top right corner. Select the Markup option on the popup menu.
Conclusion
If you need to screenshot on your iPhone, you can learn more about the 4 most efficient methods from the article. The buttons of the iPhone are the easiest method to take an iPhone snapshot. Of course, you can also use Fingerprint Sensor or Assistive Touch to get the screenshot. Apeaksoft Screen Recorder is a versatile iPhone screen recorder to take screen video, capture audio files and take snapshots.