Apeaksoft Free Video Editor is a free editing program for Mac users from App Store. It can rotate, crop, clip, merge, watermark, and add other editing effects into a video the professional video editing tool to rotate, crop, add watermark, convert video/audio files on your computer.
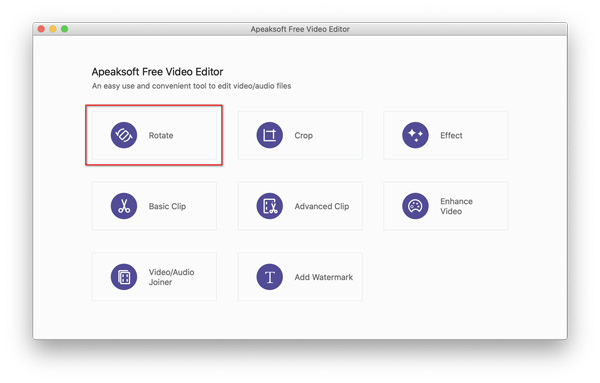
Step 1. Choose an editing function
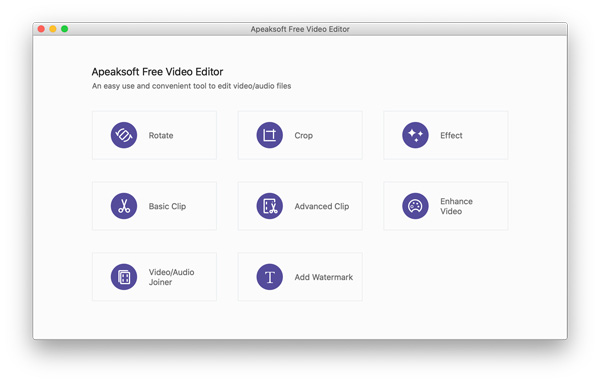
After installing Free Video Editor on Mac, just launch it. In the main interface, you should select the editing function from Rotate,
Step 2. Start editing video effects
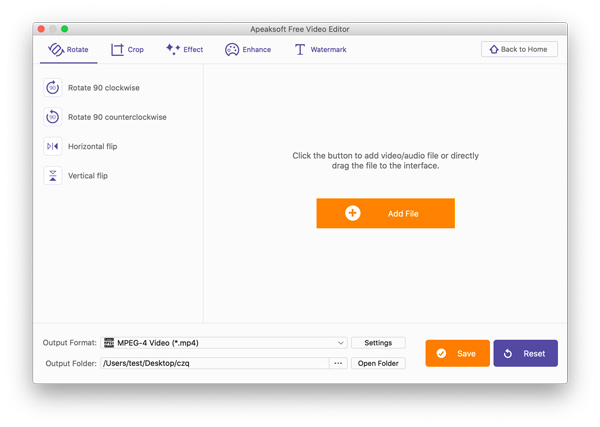
After choosing an editing function, click the Add File button to import the video file that you want to edit and apply the effect.
Step 3. Export edited video
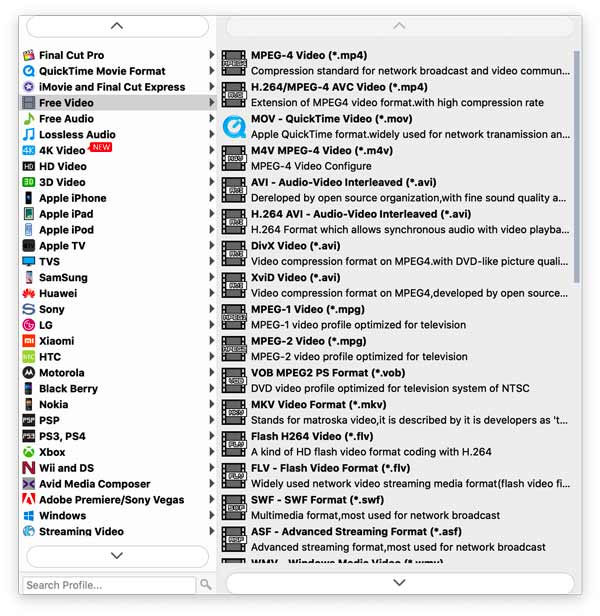
After making the editing effects, select the drop-down option of Output Format to pick up a format.
Click the three-dot next to Open Folder to set a location to store the rotated file.
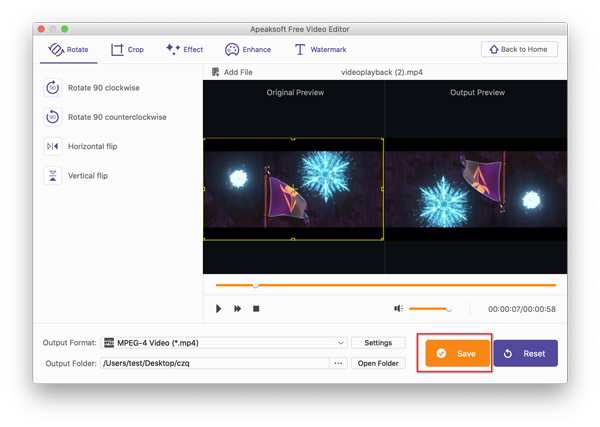
Finally, click Save to export the edited video on your computer.
The Rotate function enables you to rotate sideways video and flip file video vertically and horizontally.
Step 1. Select Rotate
Click Rotate from the main interface to enter the Rotate window.
Step 2. Rotate video
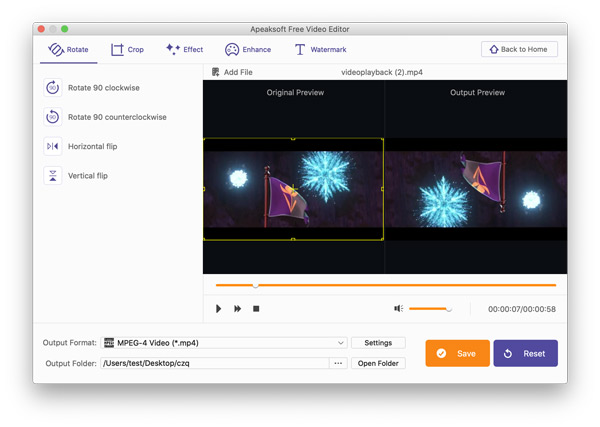
In the pop-up window, click the Add File button to load the video that you want to rotate.
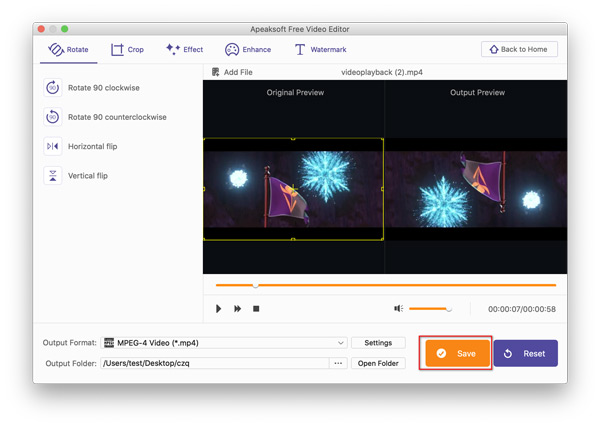
Click the rotate option from the left pane (Rotate 90 clockwise, Rotate 90 counterclockwise, Horizontal flip, or Vertical flip). Meanwhile, you can preview both the original video and the rotated video on the right window.
Step 3. Save rotated video
After applying the rotating effect, choose a format for the output file by clicking the drop-down option of Output Format.
Click the three-dot next to Open Folder to browse and select a location to store the rotated file.
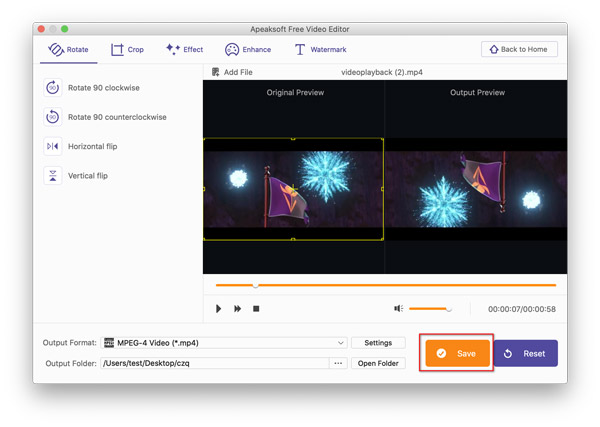
Click Save to start exporting the rotated video.
Crop features on zooming in/out a video file to magnify or get rid of the black edges of a video file.
Step 1. Select Crop
Click Crop from the main interface to enter the Crop window.
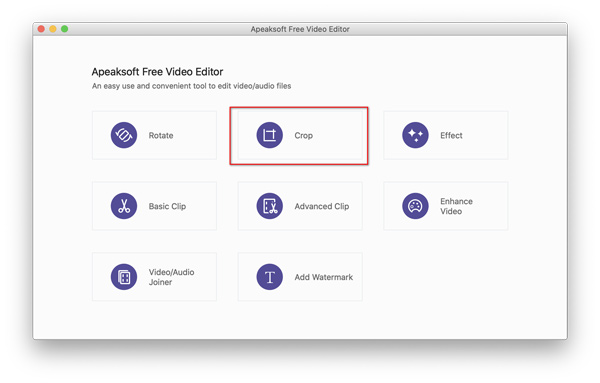
Step 2. Crop video
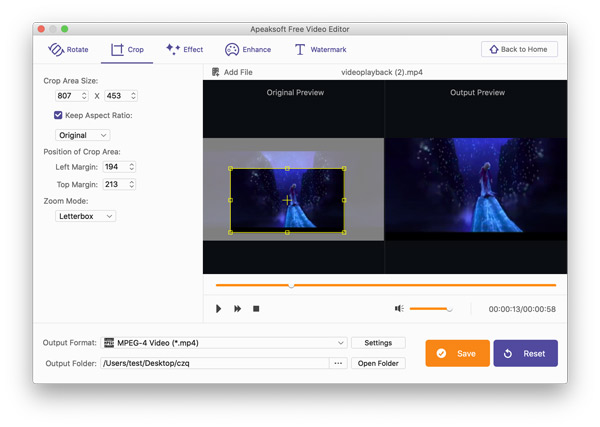
In the pop-up window, you should click the Add File button to put the video that you want to crop into this software.
From the left pane, you can see the crop area size, position, and zoom mode.
Drag and click your mouse to draw the rectangular shape to set the crop area and position. You can set the area by setting the value from the left pane under Crop Area Size and Position of Crop Area.
Optionally, you can tick the box of Keep Aspect Ratio to set it as Original, 16:9, 4:3, or Crop area.
Next, you should choose Zoom Mode as Letterbox, Medium, Pan & Scan, or Full.
Step 3. Export cropped video
After applying the cropping feature, select an output format for the video under the drop-down option of Output Format.
Click the three-dot next to Open Folder to find a location to save the rotated file.
Click Save to export the cropped video file.
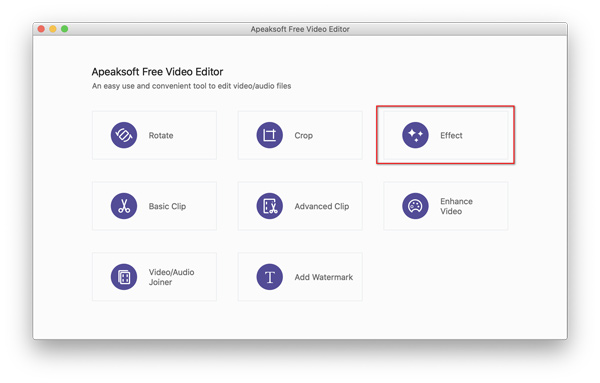
Effect feature let you adjust the video contrast, hue, saturation, and brightness manually.
Step 1. Select Effect
Click Effect from the main interface to enter the Effect window.
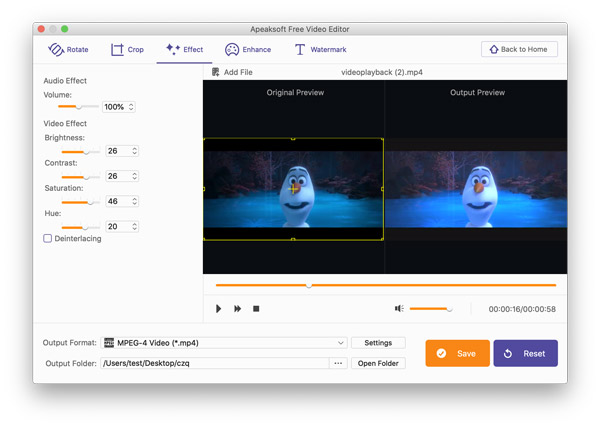
Step 2. Adjust video effects
In the pop-up window, you should click the Add File button to get the video that you want to adjust the video effect for.
From the left pane, you can drag the threshold slider to adjust the brightness, contrast, hue, and saturation.
Moreover, the volume threshold slide is left for you to set for the video file.
The Deinterlacing option at the bottom is optional for you, too.
Step 3. Export video
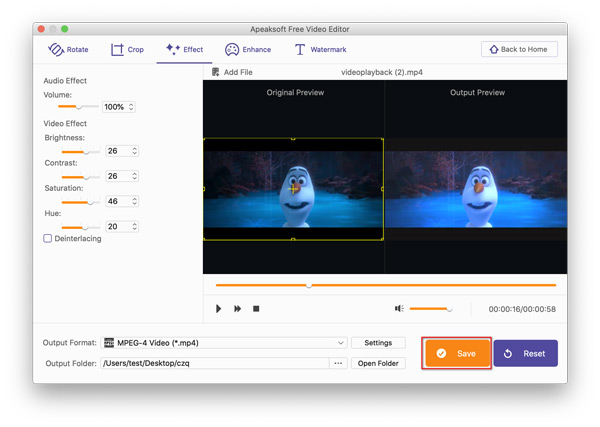
After applying the effect function, set an output format for the video under the drop-down option of Output Format.
The three-dot icon next to Open Folder lets you find a location to save the file.
Click Save to export the file immediately.
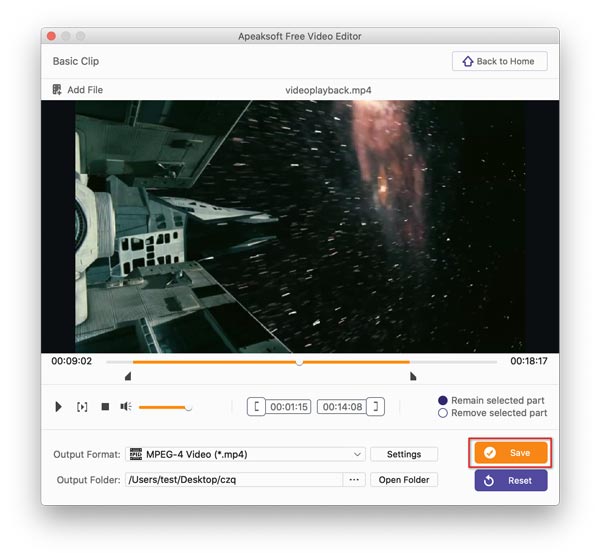
Basic Clip is another free feature in Free Video Editor, which lets you create video and audio clips easily.
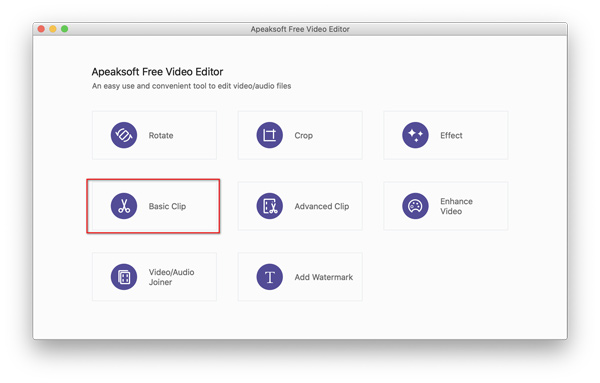
Step 1. Select Basic Clip
Click Basic Clip from the main interface to enter the Basic Clip window.
Step 2. Create video clip
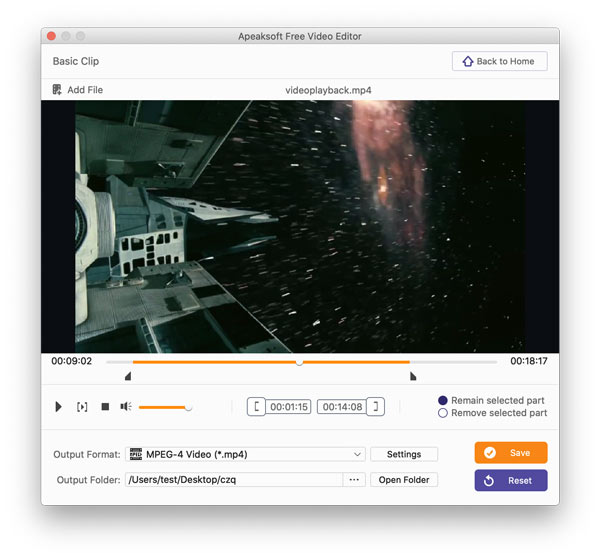
In the pop-up window, you should click the Add File button to add the video or audio that you want to clip.
Drag the slide bar to set the starting and ending time, and tick the box of Remain selected part or Remove selected part.
Step 3. Export video or audio clip
After applying the clipping function, you need to choose a video or music format for the output file from the drop-down option of Output Format.
Do not forget to click the three-dot icon next to Open Folder to choose the place to store the video or audio clip on your Mac.
Finally, click Save to export the clip immediately.
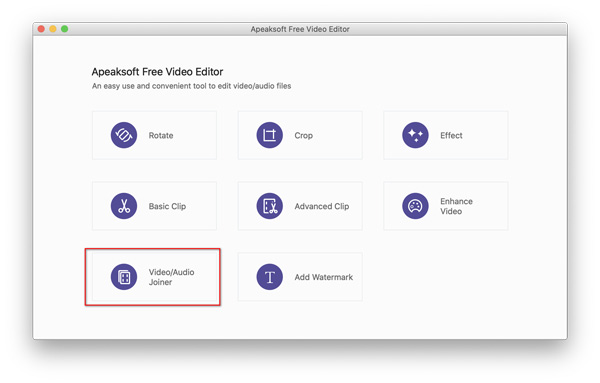
Video/Audio Joiner is a free function to combine 2 or more video and music files into one long file in the arranged order.
Step 1. Select Video/Audio Joiner
Click Video/Audio Joiner in the main interface.
Step 2. Combine video and audio
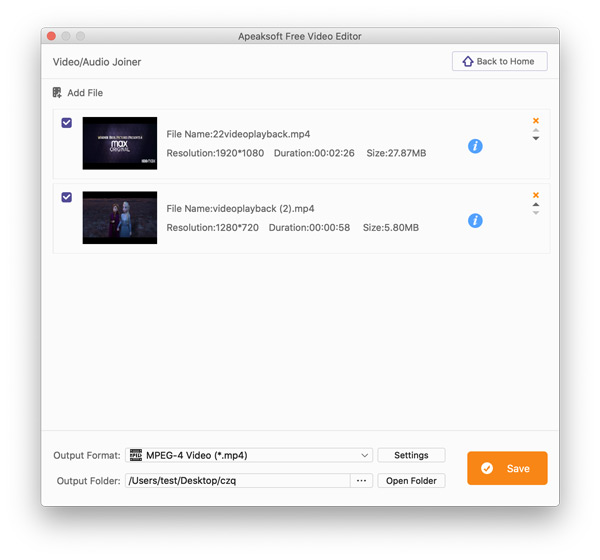
In the pop-up window, you should click the Add File button to import 2 or more video or/and music files into this software.
Click the arrow-up or arrow-down icon to arrange the video or music order.
Step 3. Save combined video or music
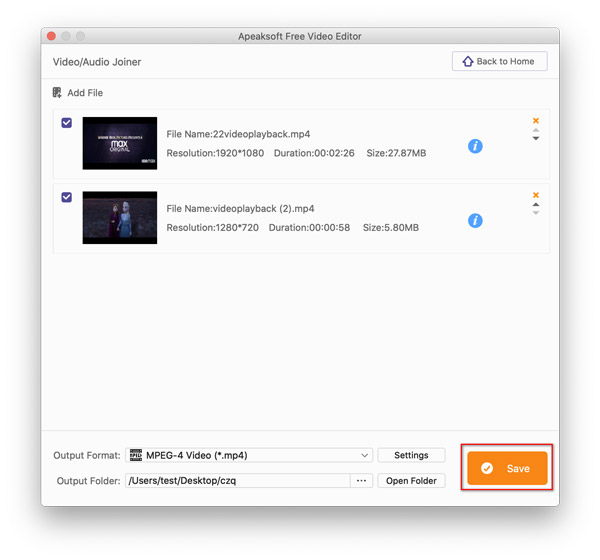
After arranging the order, you should select the output file format by clicking the drop-down option of Output Format.
Moreover, click the three-dot icon next to Open Folder to find the place to save the video or audio clip on your Mac.
Finally, click Save to export the merged video or music immediately.
Watermark is a feature that allows you to add a text or image mark as your video logo before you share it with others.
Step 1. Select Watermark
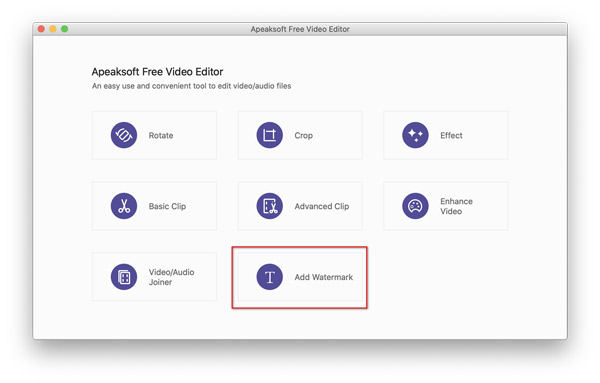
Click Add Watermark in the main interface.
Step 2. Add text or image watermark into a video
In the pop-up window, you should click the Add File button to import the video that you want to add a watermark.
Checkmark Enable Watermark, then you are given the options to select Text or Picture.
Text: You can type any word, and click the T image to set the font, font size, font style, effects, etc., and adjust the text color by clicking the icon next to the T image.
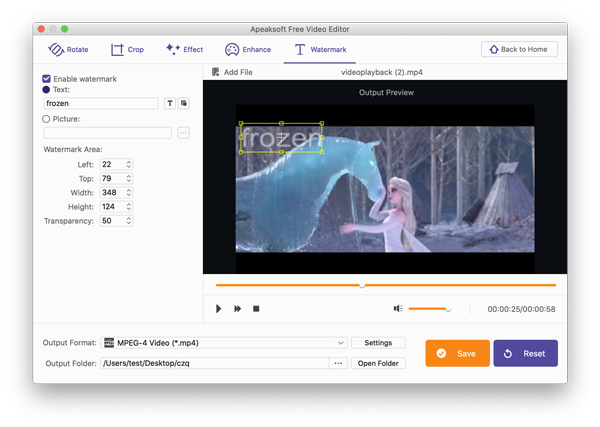
Picture: While selecting Picture, you need to click the three-dot to browse and select a picture on your Mac and set it as an image watermark.
The Watermark Area option lets you adjust the watermark area and transparency as you wish.
Step 3. Export watermarked video
After completing adding watermark into the video, pick up an output format file by clicking the drop-down option of Output Format.
Find a location to store the watermarked video by clicking the three-dot icon next to Open Folder on your Mac.
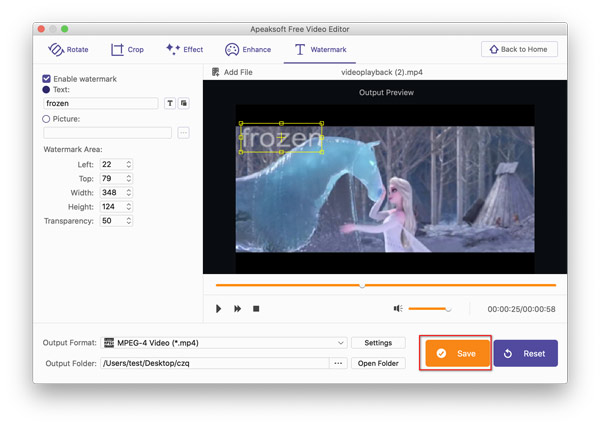
Finally, click Save to export the watermarked video right now.
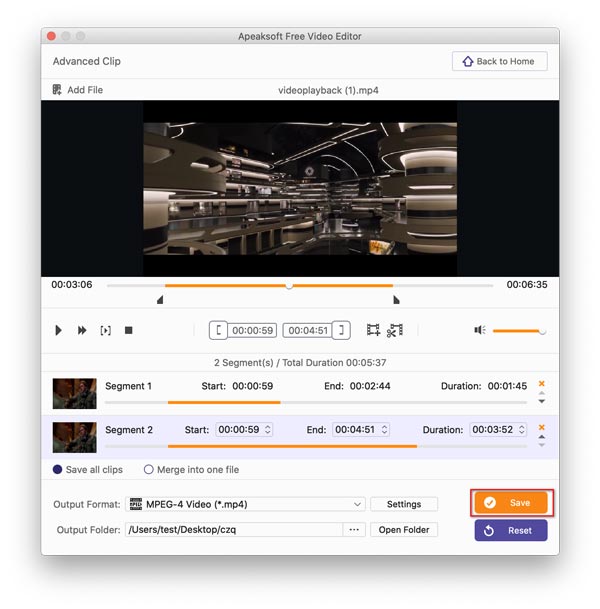
Advanced Clip is the upgraded feature based on Basic Clip. It offers you more options to split and clip video or audio conveniently.
Step 1. Select Advanced Clip
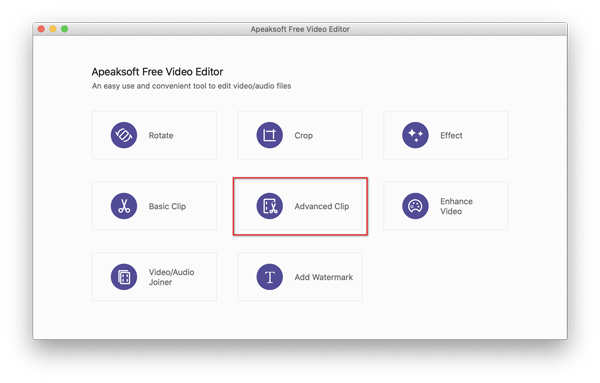
Click Advanced Clip in the main interface.
Step 2. Create video clips
In the pop-up window, you should click the Add File button to import the video or music that you want to clip.
Drag the progressing bar to set the starting and ending time for the video or music. You are also allowed to set the time by adjusting the time value.
Then click the New clip or Split to create video clips.
It lets you clip a video into multiple parts, and use the arrow-down or arrow-up icon to arrange the clips order by ticking the box of Merge into one file.

Step 3. Export video clips
After making all the clips done, click the drop-down option of Output Format to select an output format for the clips.
Click the three-dot icon next to Open Folder to navigate the location to store the video or audio clips.
Finally, click Save to export the audio or video clips.
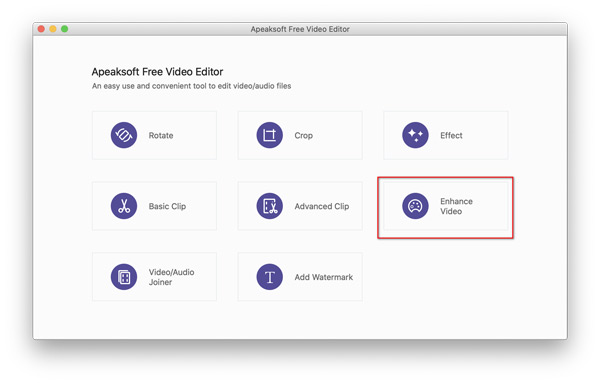
Enhance is another upgraded feature for Mac users, which can improve video quality via the enhancement utility.
Step 1. Select Enhance Video
Click Enhance Video in the main interface to enter the Enhance window.
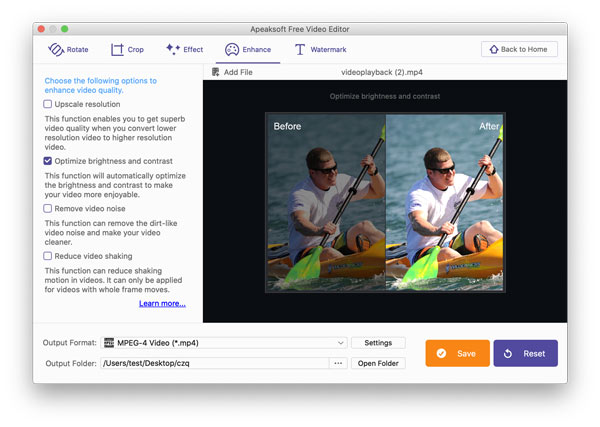
Step 2. Enhance video in 4 ways
In the pop-up window, you should click the Add File button to add the video that you want to enhance quality.
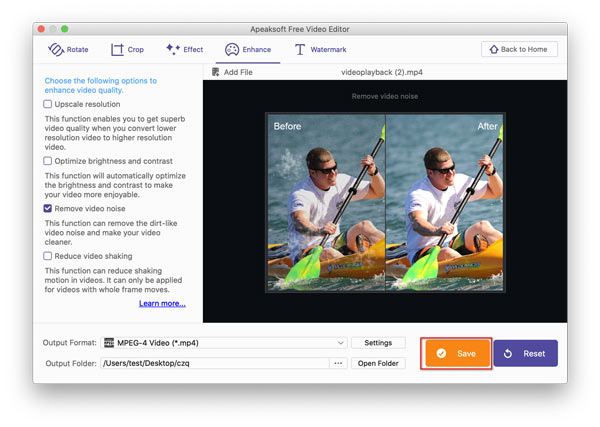
There are 4 options in the left sidebar, which lets you enhance video quality in 4 ways.
Upscale resolution: If you tick the box of this option, it can improve your SD video into a higher resolution to get a superb video quality.
Optimize brightness and contrast: This option can adjust the video brightness and contrast automatically to output the best quality.
Remove video noise: This feature can remove the dirt-like spots on a video and make your video cleaner.
Reduce video shaking: The use of this feature can reduce video shaking and stabilize a recorded shaky video.
Step 3. Export video
After applying the enhancement features you selected, you should click the drop-down option of Output Format to choose a format for the enhanced video file.
After that, click the three-dot icon next to Open Folder to find a location to export the enhanced video file.
Finally, click Save to save the video file on your Mac.
